
An example of Nginx configuration for serving a specific file over https with basic login and password authentication.
🖐️Эй!
Subscribe to our Telegram channel @r4ven_me📱, so you don’t miss new posts on the website 😉. If you have questions or just want to chat about the topic, feel free to join the Raven chat at @r4ven_me_chat🧐.
Foreword

Recently, I was solving a problem: it was necessary to transfer files collected from multiple servers in a closed network segment to an external server for further processing👨💻.
Access from the internal network to the external one was absent. From the external network, access to the closed segment was possible only to one of the servers on port 443/tcp, where Nginx was running, serving application services. SSH and FTP protocols were unavailable, and other TCP ports were also closed by the firewall🤷♂️.
However, hosts within the closed segment were accessible to each other via SSH.
Accordingly, from the server where Nginx was running, I organized the collection of necessary files from all other servers. Everything had to be configured without interrupting the operation of application services🙄.
Therefore… a separate virtual host was added to the Nginx configuration using self-signed certificates (though regular ones could be used if available😑). Access with authentication was also configured for a specific archive file in the server’s file system at a predefined URL.
This way, it was possible to organize the secure delivery of necessary data under limited conditions.
Today, we will discuss how exactly I configured Nginx to solve this problem in this short HowTo.
📝 The configuration example in the article was performed in a Debian 13 distribution environment. To install Nginx, run:
sudo apt update && sudo apt install -y nginx

systemctl status nginxInput Data
| Key | Value |
|---|---|
| System with Nginx | Debian 13 |
| Client machine | LMDE7 |
| Virtual host | archive.r4ven.me |
| HTTP basic auth user | ivan |
| HTTP basic auth password | secretpassword |
Creating a Test Archive File
📝 For further work, we will need sudo rights.
Create a test directory and an archive with data, for example, with files from /etc/profile.d/:
sudo mkdir -vp /opt/data

sudo tar -v -c -z -f /opt/data/archive.tgz /etc/profile.d/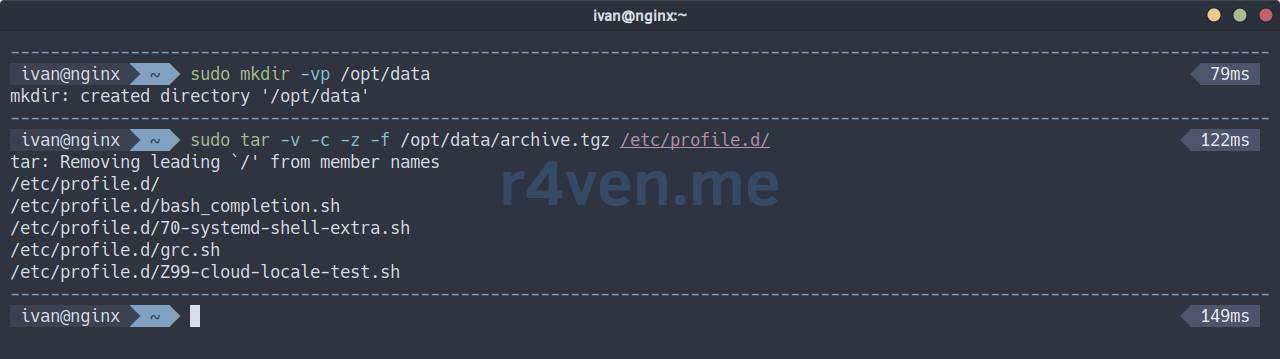
💡 More details about working with archives in Linux here.
Creating a User File
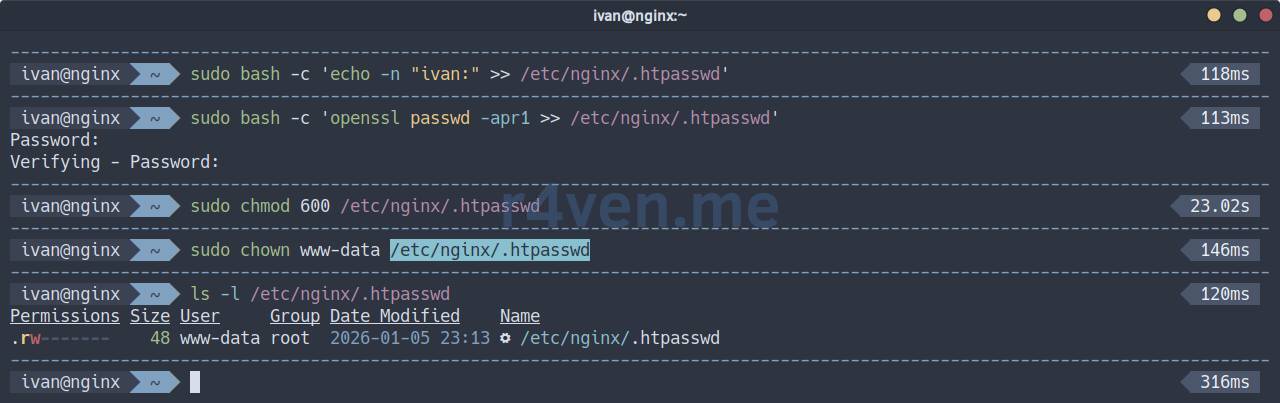
On the target server, from where you need to retrieve the archive with files, create a user for HTTP basic auth:
sudo bash -c 'echo -n "ivan:" >> /etc/nginx/.htpasswd'

sudo bash -c 'openssl passwd -apr1 >> /etc/nginx/.htpasswd'

sudo chmod 600 /etc/nginx/.htpasswd

sudo chown www-data /etc/nginx/.htpasswd☝️ Replace the login and password with your own. Also, replace www-data in the chmod command with the name of the user under which Nginx worker processes are running.
Creating Self-Signed Certificates for the Domain
Generate a self-signed certificate with a validity period of 20 years🙈:
sudo mkdir -vp /etc/nginx/ssl

sudo openssl req -x509 -nodes -days 7300 \
    -newkey rsa:4096 \
    -keyout /etc/nginx/ssl/archive.r4ven.me.key \
    -out /etc/nginx/ssl/archive.r4ven.me.crt \
    -subj "/C=RU/ST=Moscow/L=Moscow/O=IVAN/OU=TEST/CN=archive.r4ven.me"
💡 If you have a valid TLS certificate, use it.
Editing the Config
Add an additional Nginx config archive.conf to conf.d:
sudo nvim /etc/nginx/conf.d/archive.confserver {
listen 443 ssl;
server_name archive.r4ven.me;
ssl_certificate /etc/nginx/ssl/archive.r4ven.me.crt;
ssl_certificate_key /etc/nginx/ssl/archive.r4ven.me.key;
location /archive-file-url {
auth_basic "Secure Files Area";
auth_basic_user_file /etc/nginx/.htpasswd;
alias /opt/data/archive.tgz;
}
}Where the alias parameter specifies the path to the desired file. In this example, /opt/data/archive.tgz.
Check and reload the configuration:
sudo nginx -t

sudo nginx -s reload

systemctl status nginx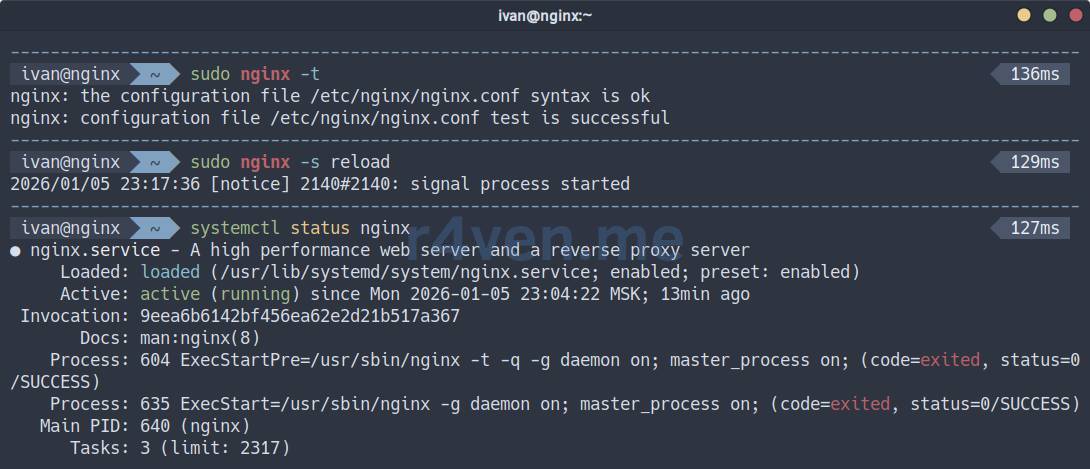
Checking Access with curl
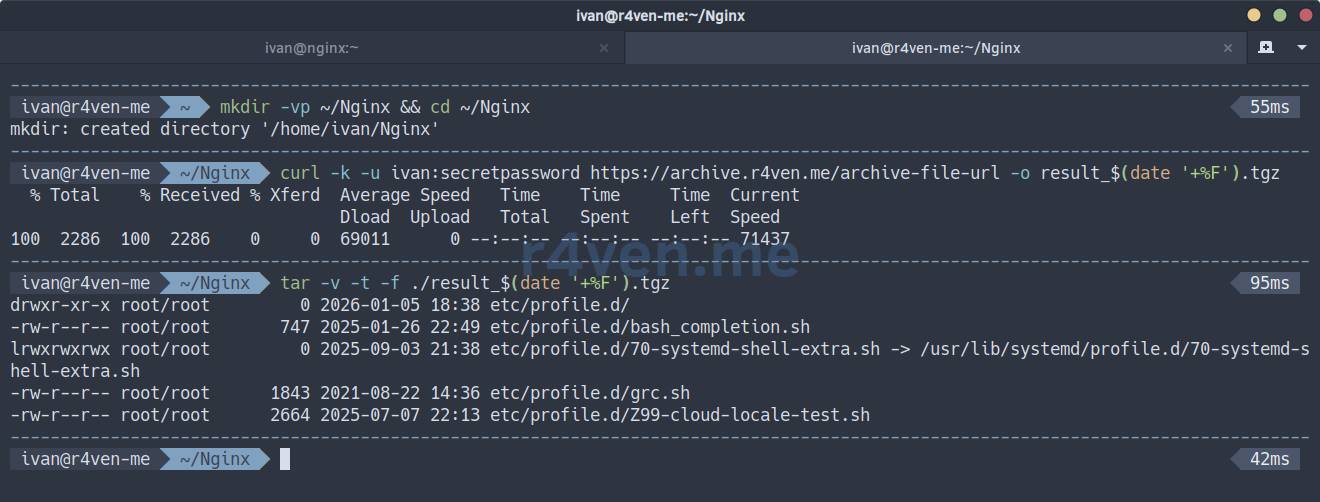
On the client machine, download the archive using curl and check it:
mkdir -vp ~/Nginx && cd ~/Nginx

curl -k -u ivan:secretpassword https://archive.r4ven.me/archive-file-url -o result_$(date '+%F').tgz

tar -v -t -f ./result_$(date '+%F').tgz📝 Note
- The
-k(--insecure) flag in thecurlcommand disables certificate validation. Remember that we are using self-signed certificates☝️. - The
-uflag specifies authentication credentials. - The
$(date '+%F')construct inserts the current date into the filename.
To avoid exposing the password in the command line (and its history), save it, for example, to a .env file in the current directory:
echo 'ivan:secretpassword' > ./.env

chmod 600 ./.env

curl -k -u $(< ./.env) https://archive.r4ven.me/archive-file-url -o ./result_$(date '+%F').tgz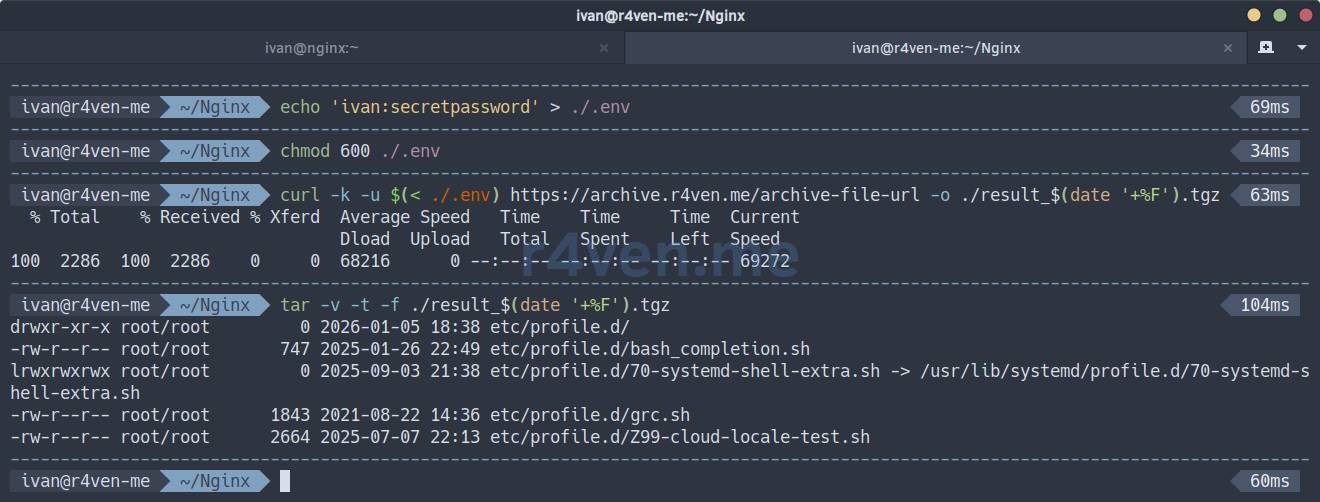
(Optional) Adding a Self-Signed Certificate to the Trusted List
When using self-signed certificates, it can be useful to add their public part to the trust store on the client machine. And when accessing with curl, avoid using the -k (--insecure) flag. This way, unsafe interaction can be prevented in case of certificate compromise.
Save the public certificate to a file:
echo | openssl s_client -connect archive.r4ven.me:443 -servername archive.r4ven.me 2> /dev/null | openssl x509 -outform PEM | tee ./archive.r4ven.me.crt
Copy it to the trusted certificate store and update the data:
sudo cp -v ./archive.r4ven.me.crt /usr/local/share/ca-certificates/archive.r4ven.me.crt

sudo update-ca-certificatesCheck access without the --insecure flag:
curl -I -u $(< ./.env) https://archive.r4ven.me/archive-file-url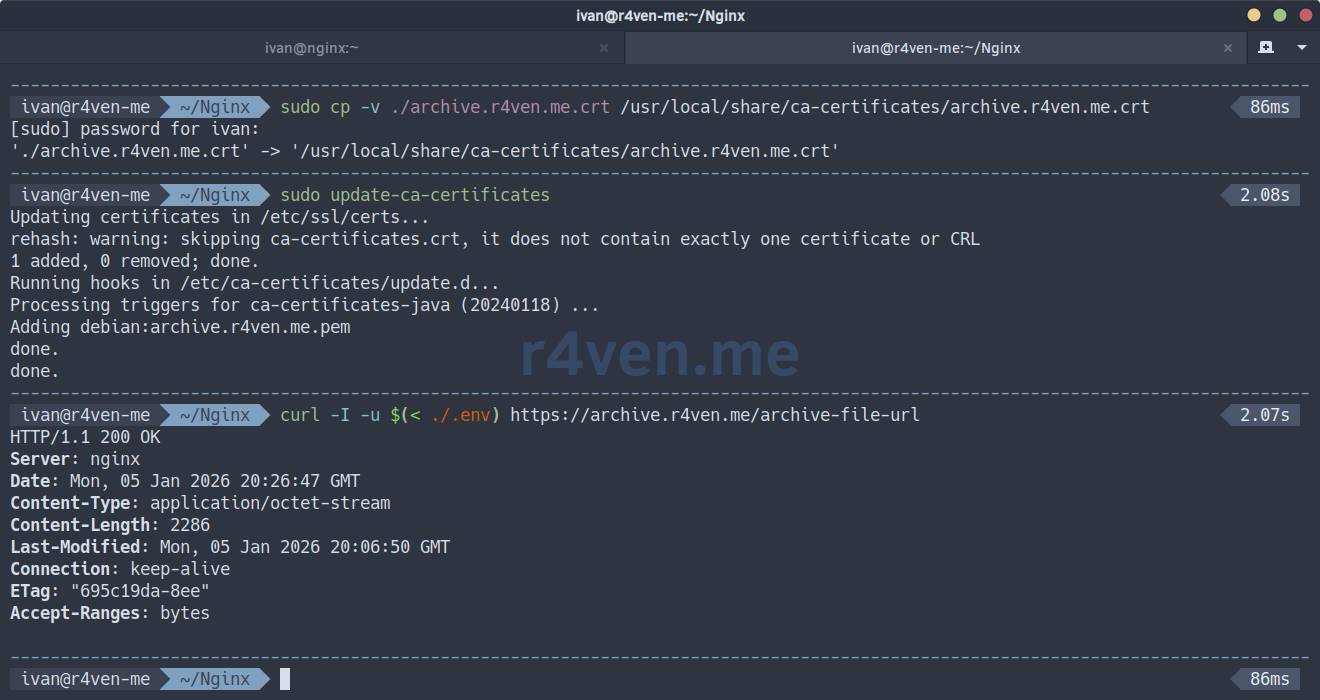
Everything works😌. Now you can securely download and process files in your scripts📝.
Thank you for reading. Good luck!
👨💻Ну и…
Don’t forget about our Telegram channel 📱 and chat 💬 All the best ✌️
That should be it. If not, check the logs 🙂