
Today we’ll install a Debian GNU/Linux 12 server on a virtual machine created with the VirtualBox hypervisor.
All actions were performed in a Linux Mint 21.1 environment. For Windows, all the steps are the same.
Introduction
In previous posts, we learned what a hypervisor and a virtual machine are, and also installed one of the popular hypervisors — VirtualBox on our Linux Mint.
Today we’ll create a new virtual machine with VirtualBox and install a fresh Debian 12 server on it without a graphical interface.
In upcoming posts, we’ll look at remotely connecting to this server via the secure connection protocol — SSH, and perform the initial server setup to prepare it for further use. Don’t miss it, it’ll be interesting and useful)
A few words about the Debian project
Debian is one of the most popular and influential projects in the world of free and open-source software. As part of the project, since August 1993, the distribution of the same name, based on the Linux kernel, has been developed and maintained. This distribution is (not without reason) positioned as a stable, secure, and free product, recognized by a huge community over many years.
The Debian GNU/Linux distribution offers a wide selection of programs and tools for users and developers, support for many hardware platforms, and an active community. It’s often used on servers of all kinds, but not only there. This distribution can easily be used as an OS with a desktop environment on a workstation.
The name “Debian” comes from the names of the project’s founder, Ian Murdock, and his wife, Debra.
Join our channel: t.me/r4ven_me and chat: t.me/r4ven_me_chat on Telegram.
Downloading the distribution for installation
First of all, we need to download the Debian 12 image (distribution) from the official website: https://www.debian.org/download. On this page, we download the currently latest iso image — debian-12.0.0-amd64-netinst.iso.
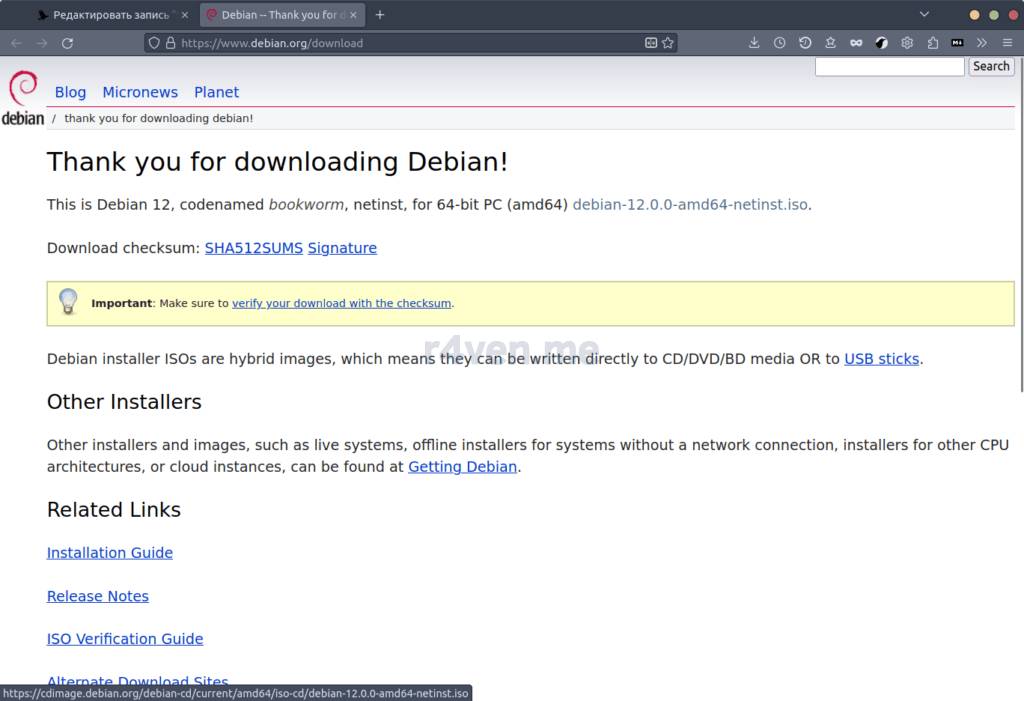
netinst in this file’s name stands for “net install.” That’s why the distribution size is minimal — only 770+ MB. Everything needed for the system installation is inside the image.
Please note that a mandatory condition is having an internet connection.
Creating a virtual machine in VirtualBox
The process of creating a VM in VirtualBox is extremely simple. The program has a fairly convenient “creation wizard,” which will quickly guide you step by step to the desired result.
Here I’ll just attach screenshots of creating the VM. You can read more about each step of the wizard in another one of my posts, where we installed Linux Mint in VirtualBox: Step 5. Creating a virtual machine. The only thing to note: when specifying the disk storage size for the VM, if possible, specify at least 20 GB. This is necessary for the VM to work correctly in the future, when we’ll be installing various server software on it)
We create a new VM:
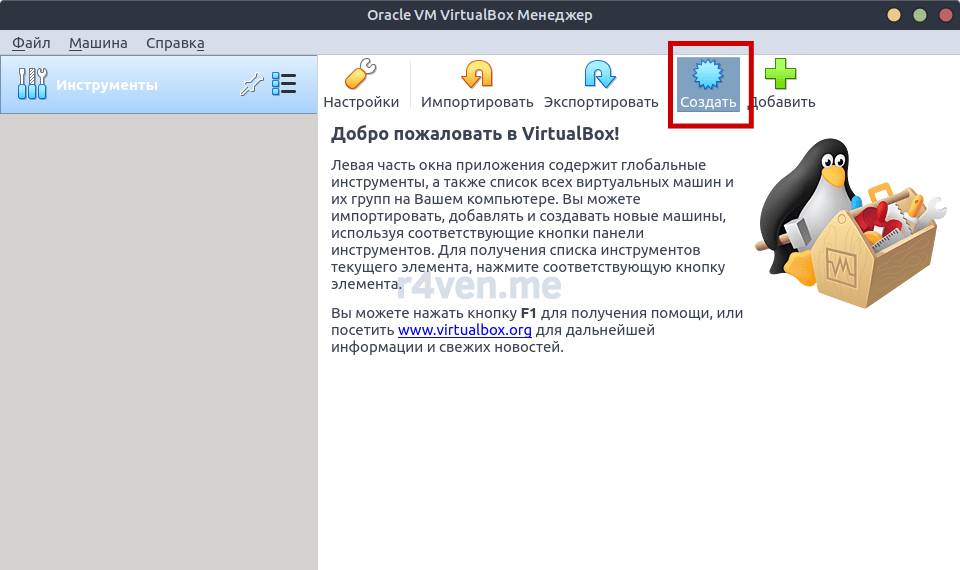
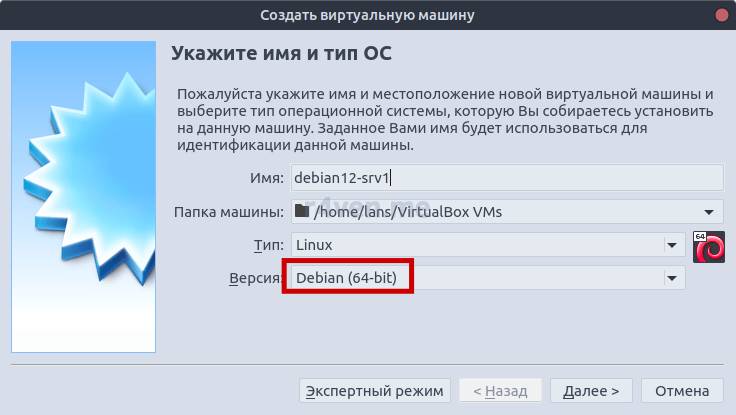
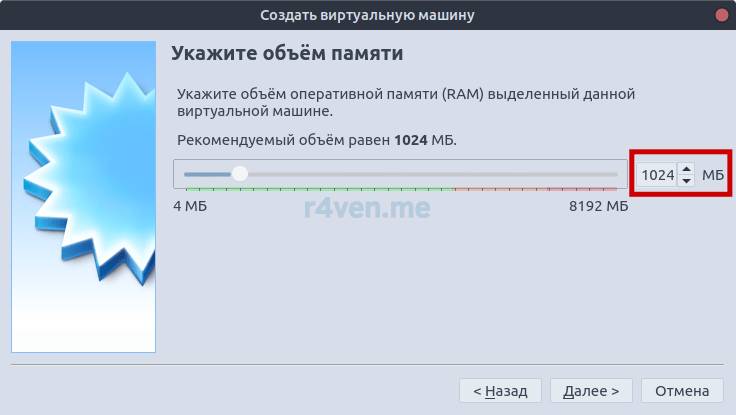
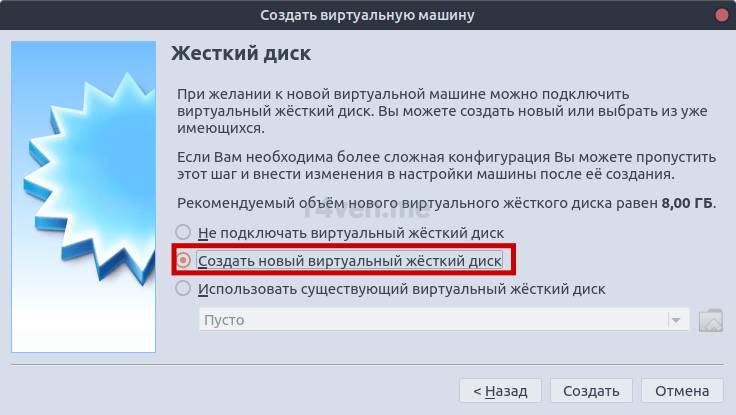
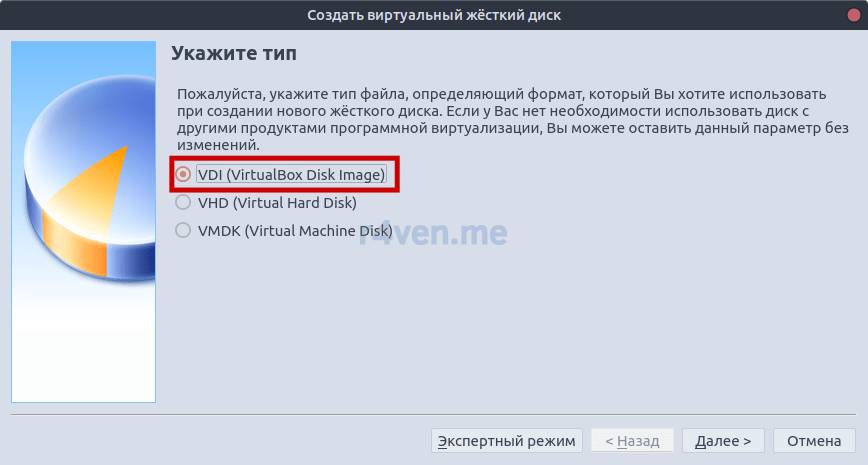
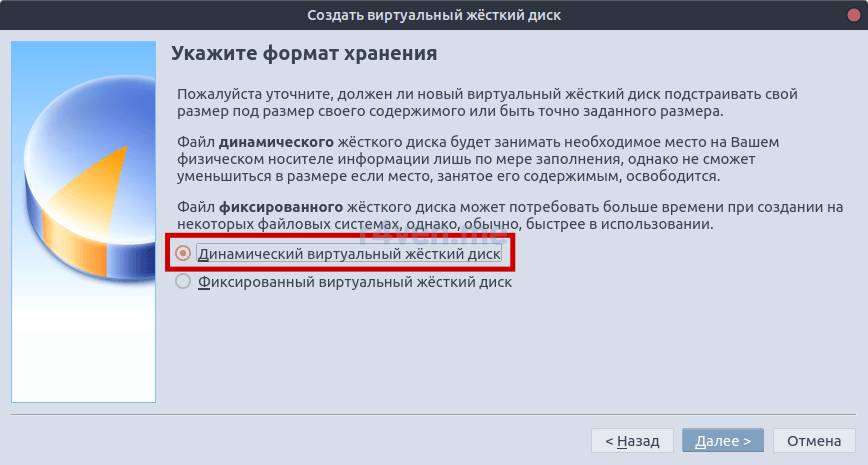
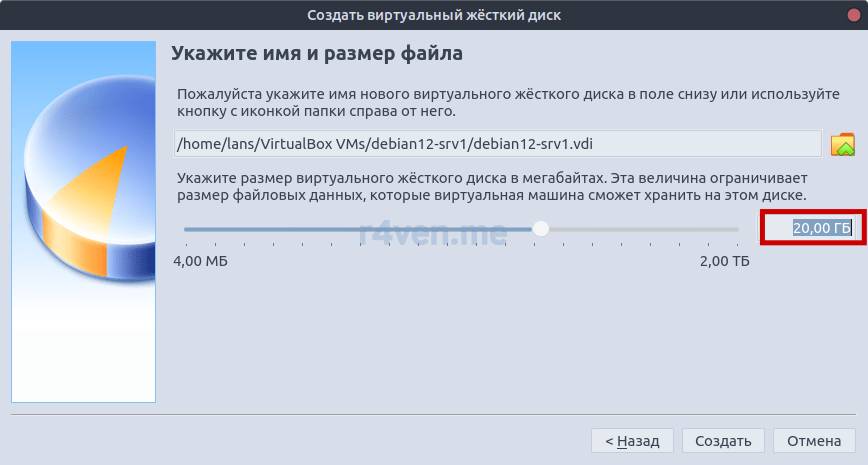
Creating a new virtual machine in VirtualBox
Now let’s “insert the disk” in the form of the previously downloaded iso image into the virtual CD-rom (hello to the old-timers) of our new VM. Select the VM and click “Settings.” Then as shown in the screenshots:
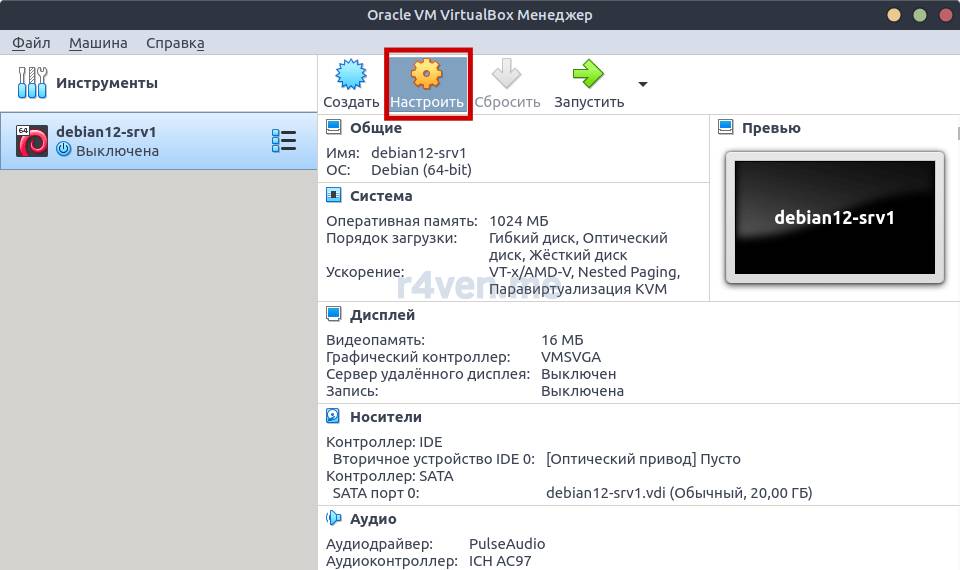
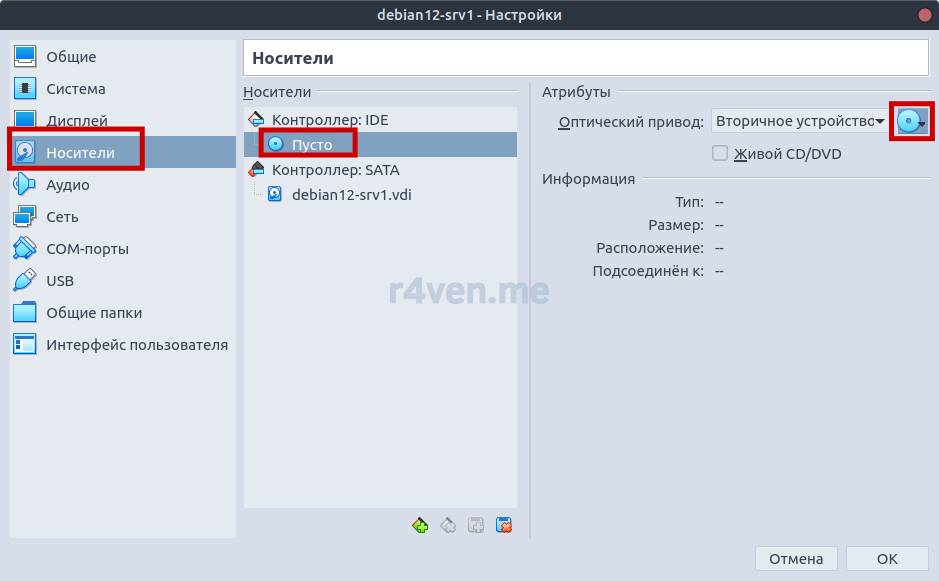
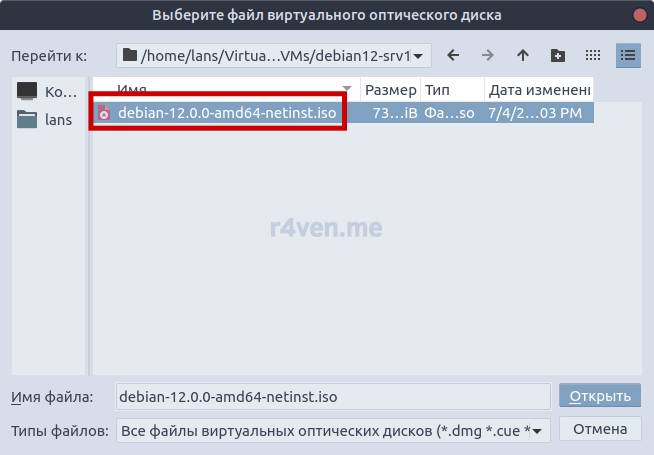
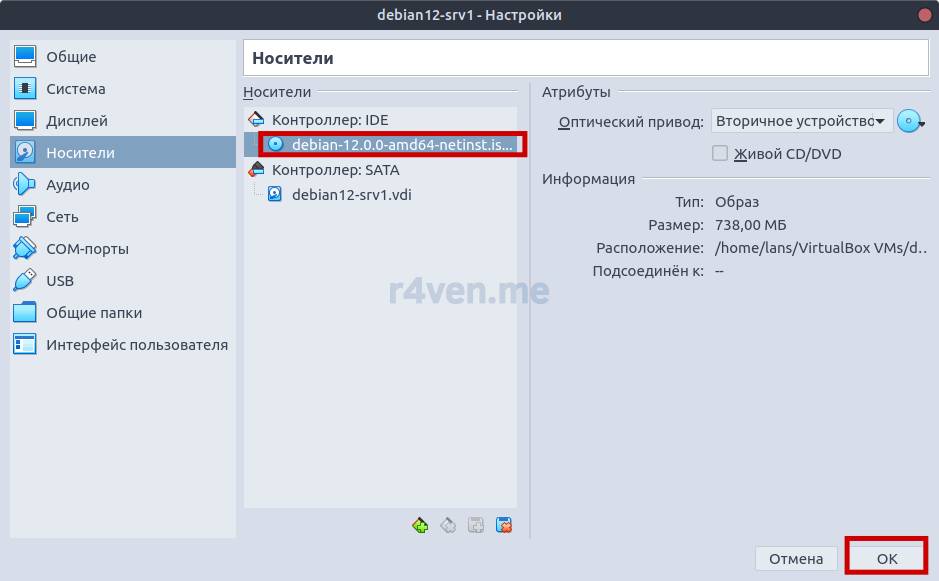
Attaching the distribution’s ISO image to the VM
Installing Debian 12 in VirtualBox
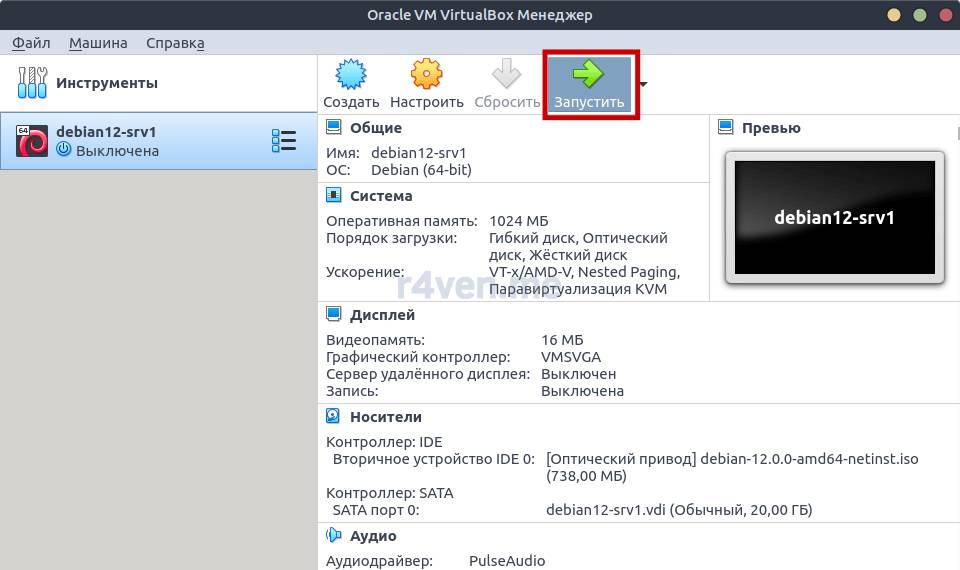
After we’ve created and configured our new virtual machine — let’s start it:
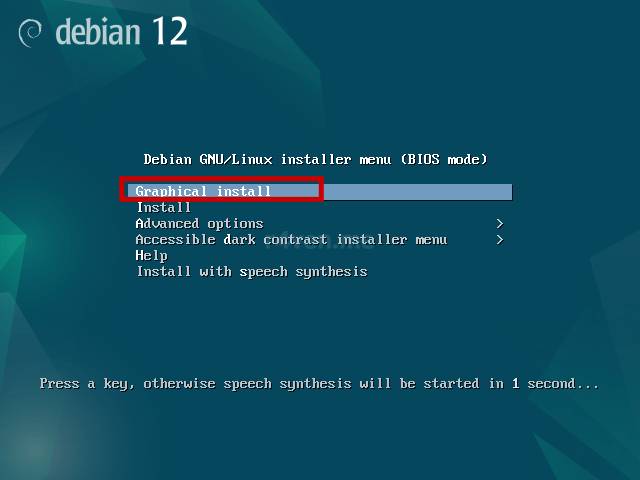
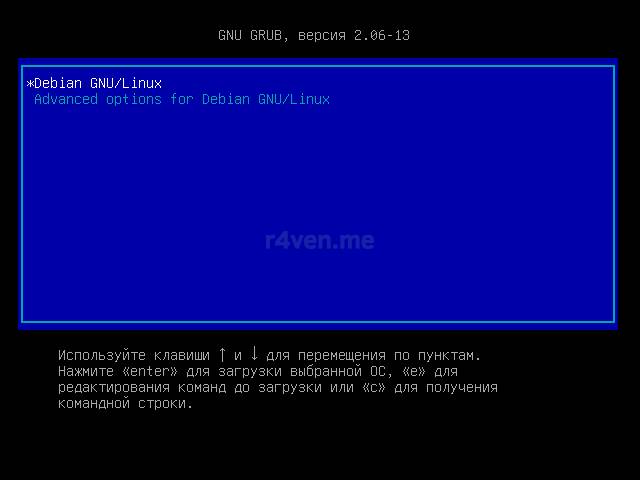
After starting, we’ll see the virtual monitor of our machine. Here we select the first item and press Enter, or simply do nothing — after a few seconds the boot will start automatically:
If you suddenly lose control over your pointing device such as a mouse after clicking into the VM window, and can’t move it outside the window boundaries — just press the VirtualBox host key, which is right Ctrl on the keyboard by default. After pressing it, the mouse should be released)
We choose the Russian language, location, and keyboard layout, as well as the layout-switching method (default Alt+Shift). Accordingly, click Continue:
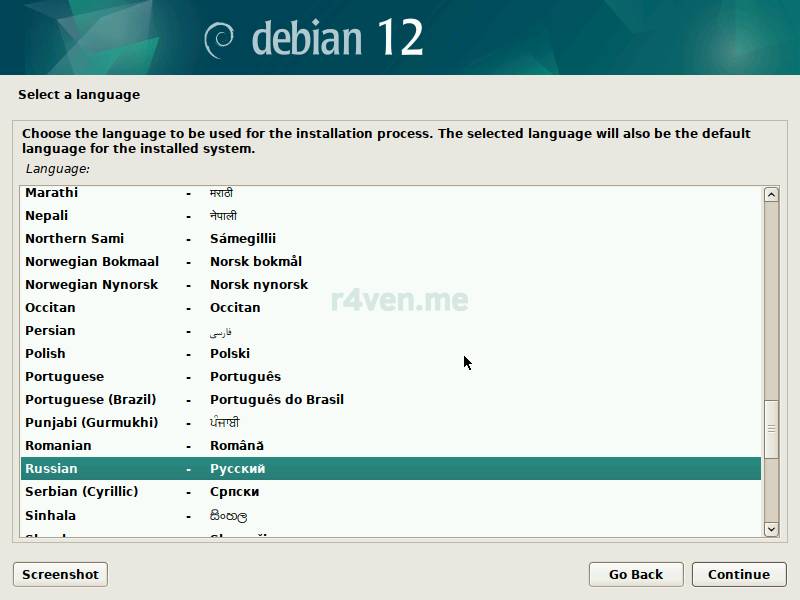
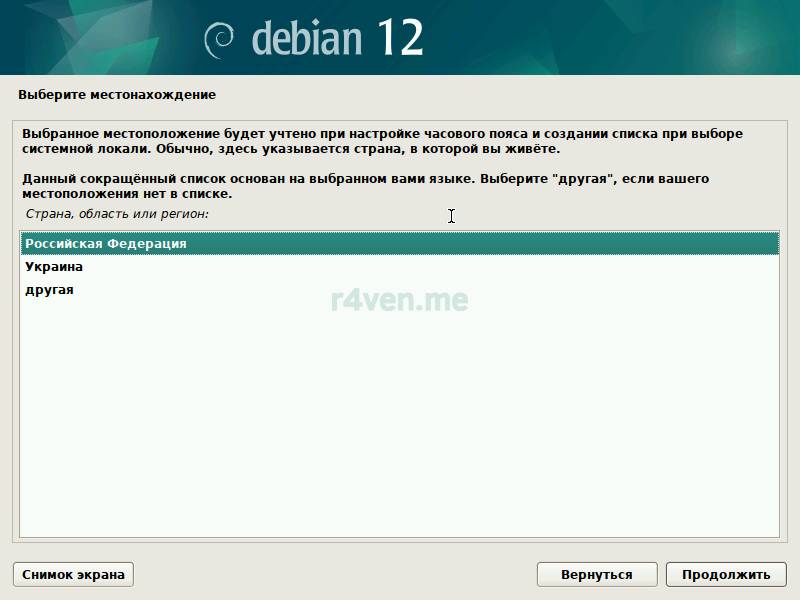
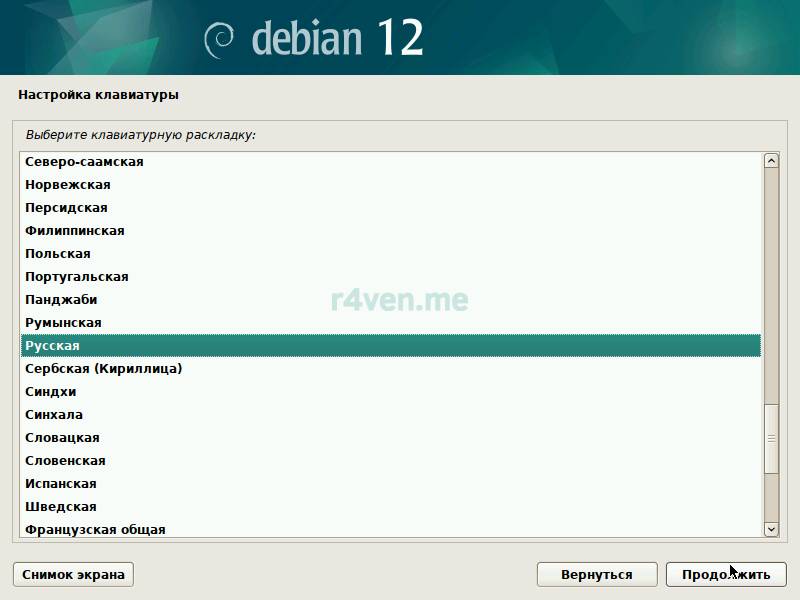
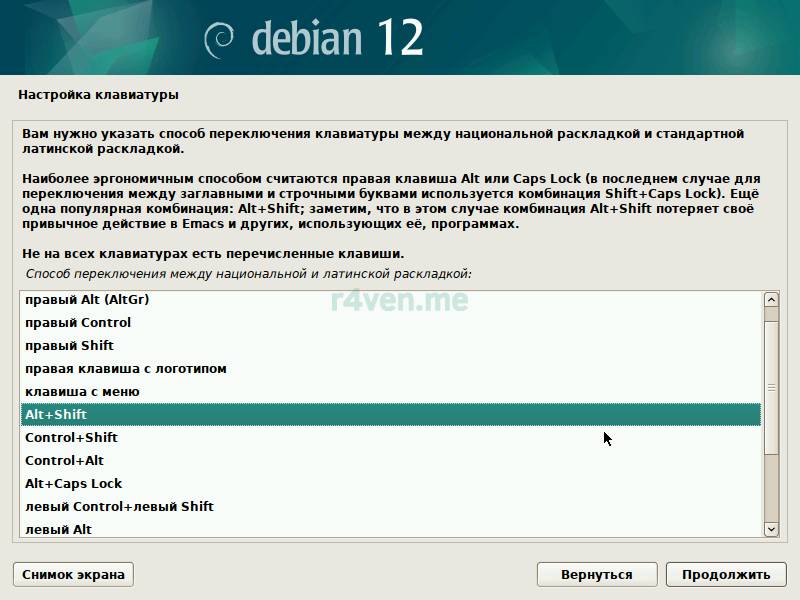
Setting language, geolocation and keyboard layout
At the next step, we specify the name of our server. You can specify anything you like:
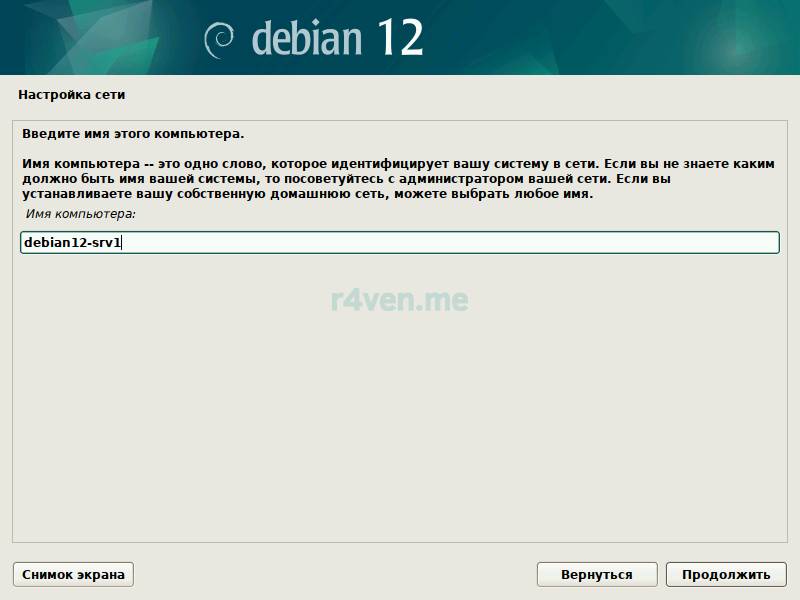
Next comes network configuration. By default, in VirtualBox all virtual machines are given settings using the DHCP protocol, and access to the network via NAT technology. That is, a kind of router runs inside VirtualBox, which gets network access through the host (your computer) system.
As a result of what was said above, if you haven’t manually changed the VM’s network settings, the network parameters should be determined automatically, and the corresponding steps of the Debian installer will finish without user involvement:
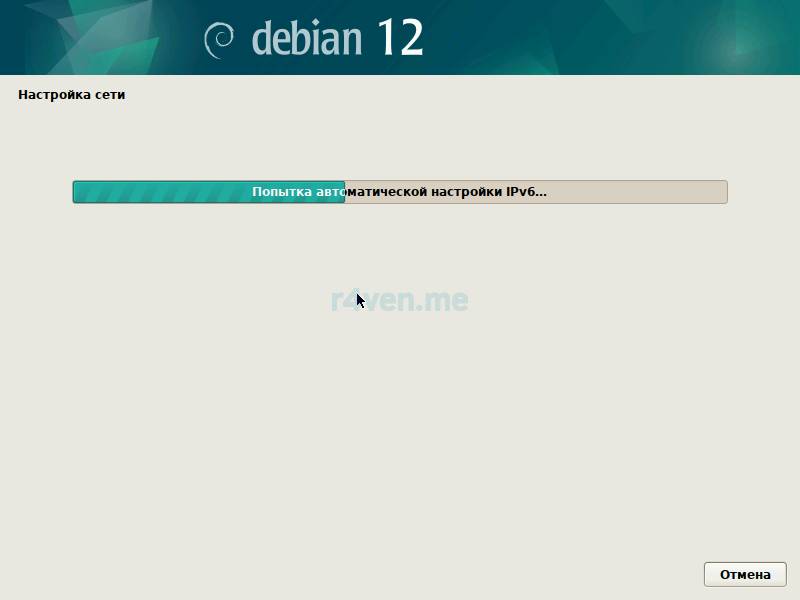
Manual network configuration is beyond the scope of this post, so we won’t cover that option today)
Next you’ll be asked to specify the server’s domain. We leave this field empty:
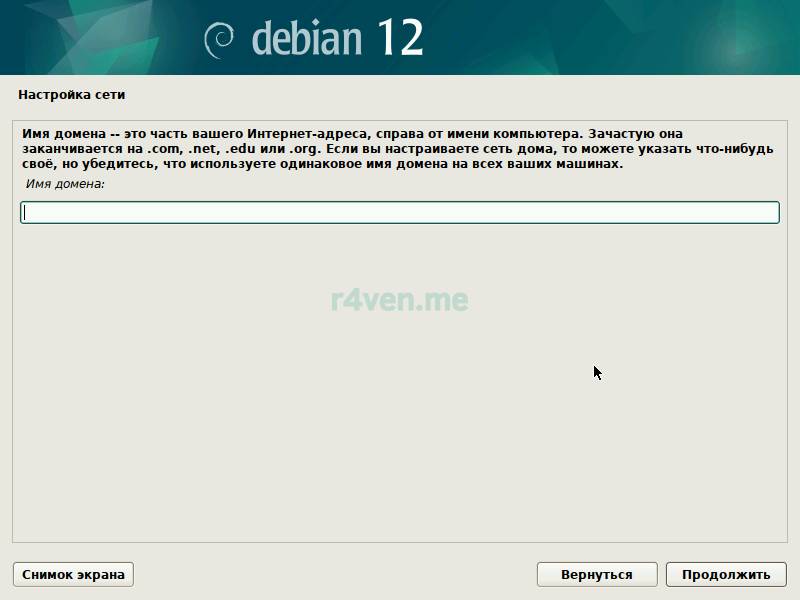
Now we need to set a password for the root user, then create a new user by specifying their name and setting a password for them:
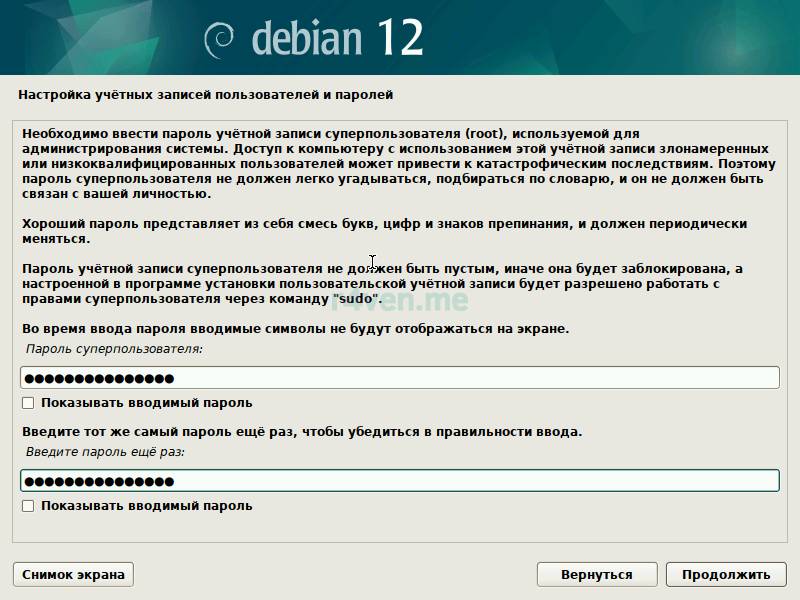
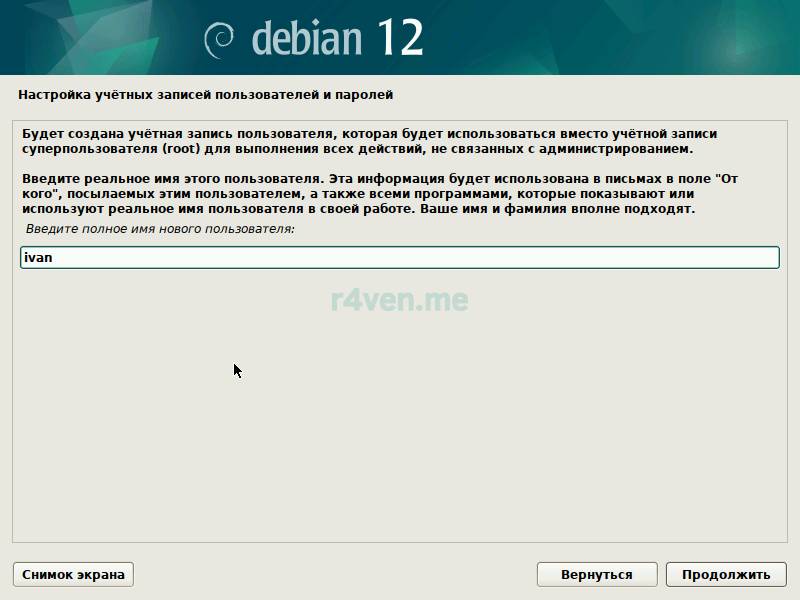
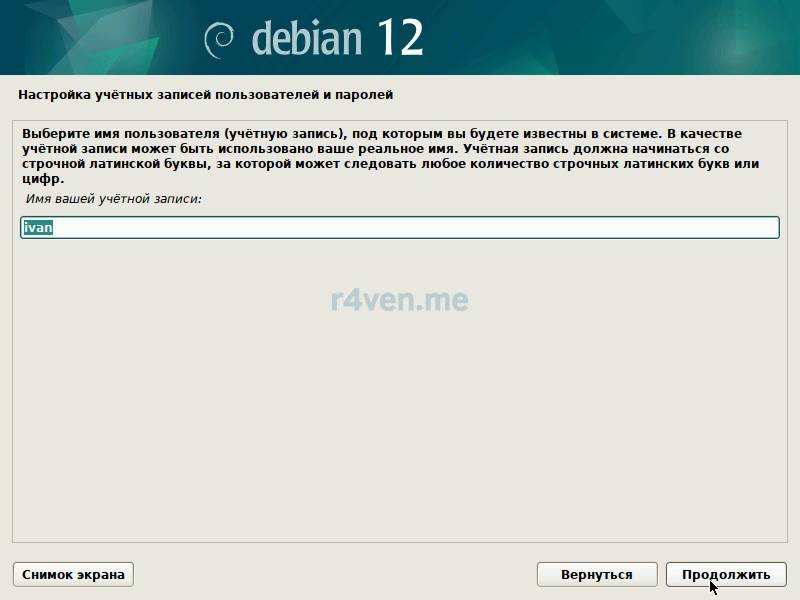
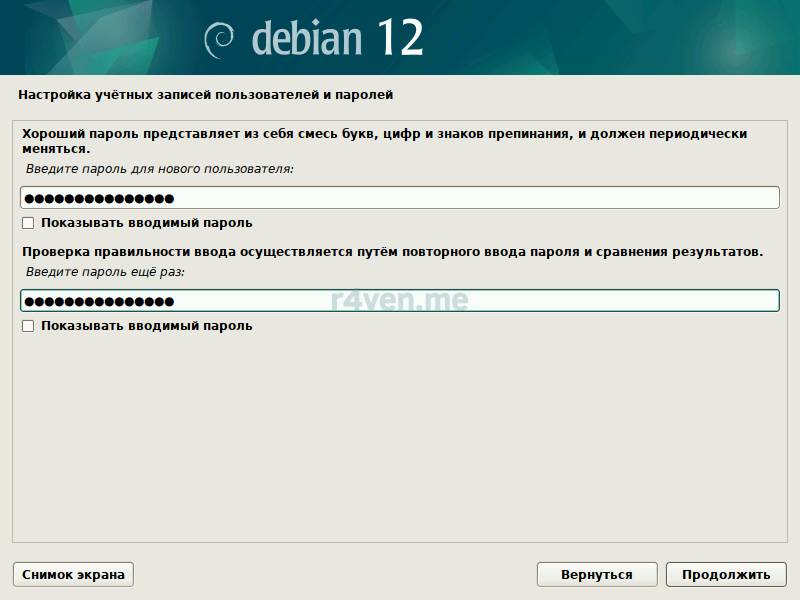
Setting the root password and creating a new user
Let’s move on. We specify the time zone:
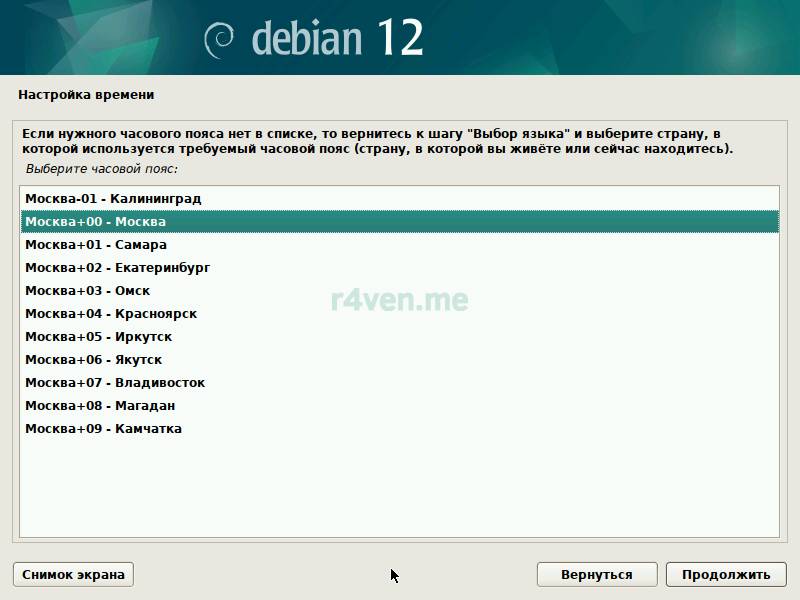
And we move on to partitioning the disk space. Disk partitioning is usually one of the trickier parts of installing a system. But only if you need specific settings, like splitting the disk into several partitions of a particular size, creating RAID arrays, etc. By the way, the Debian installer can do all of this in graphical mode, but that topic also goes beyond the scope of this post.
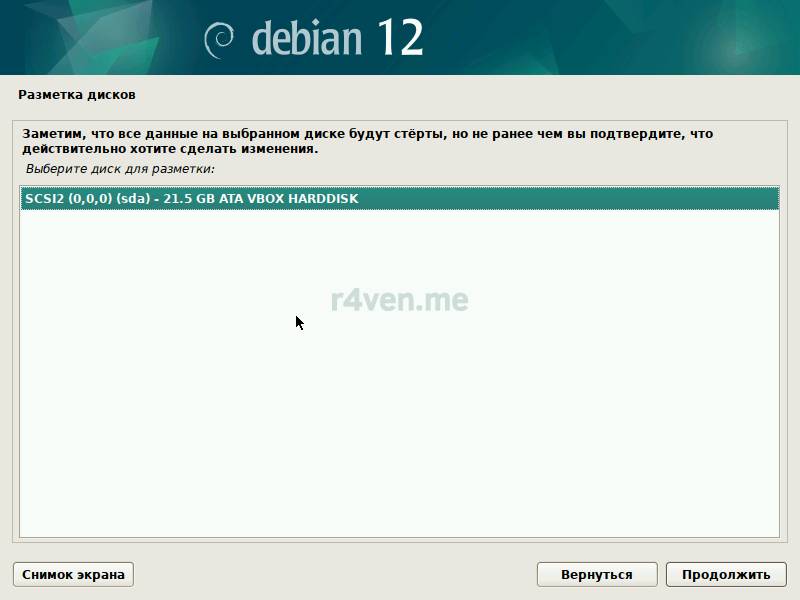
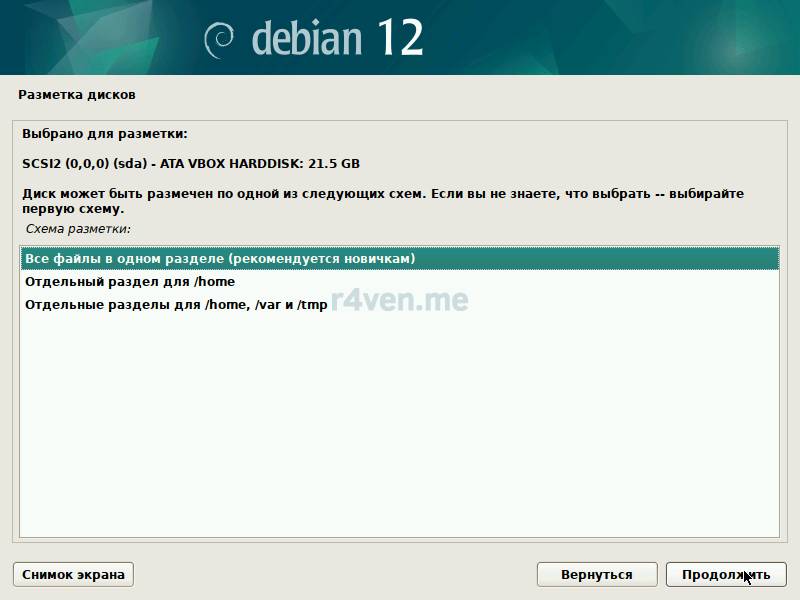
I’ll definitely make separate, detailed posts about disk space management in Linux in the future. For now, we just choose the 2nd option: Guided — use entire disk and set up LVM (we’ll need LVM in the future), then specify our disk, which we created when creating the VM. After that, we choose the 1st option: All files in one partition and confirm the chosen layout by selecting “Yes” and “Continue”:
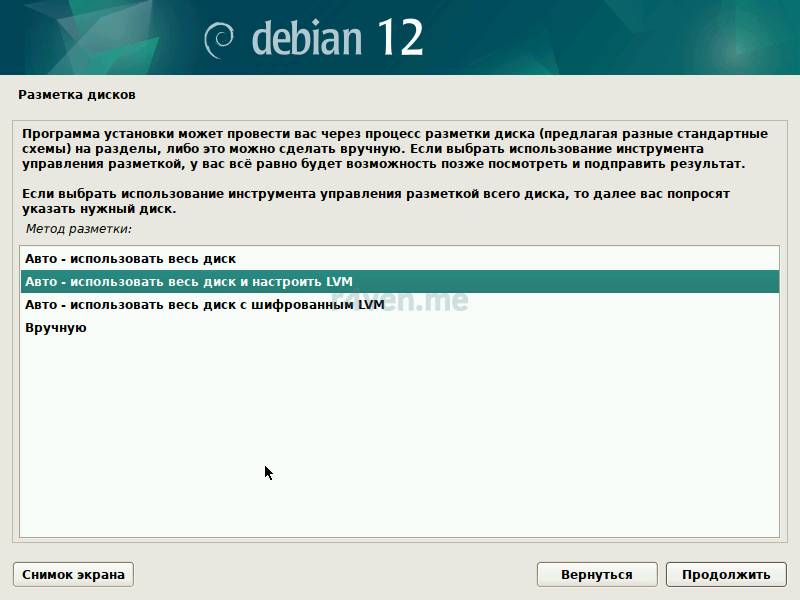
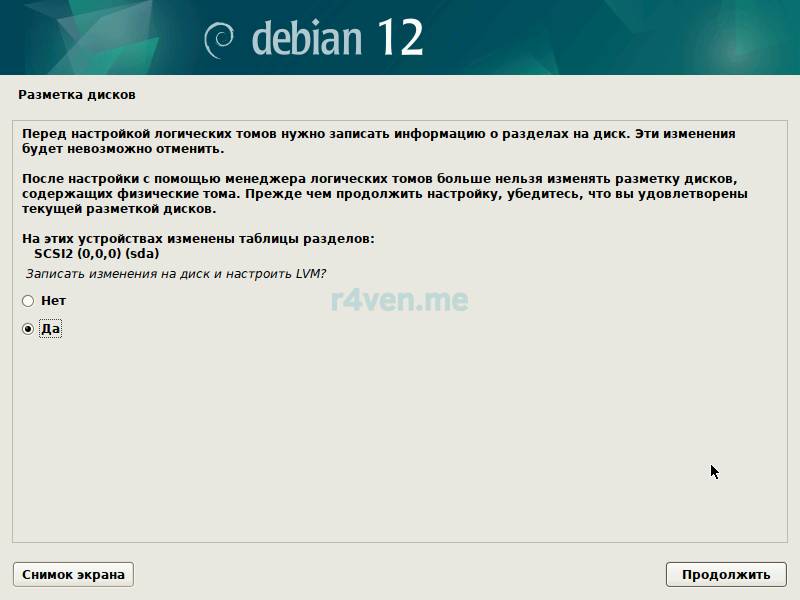
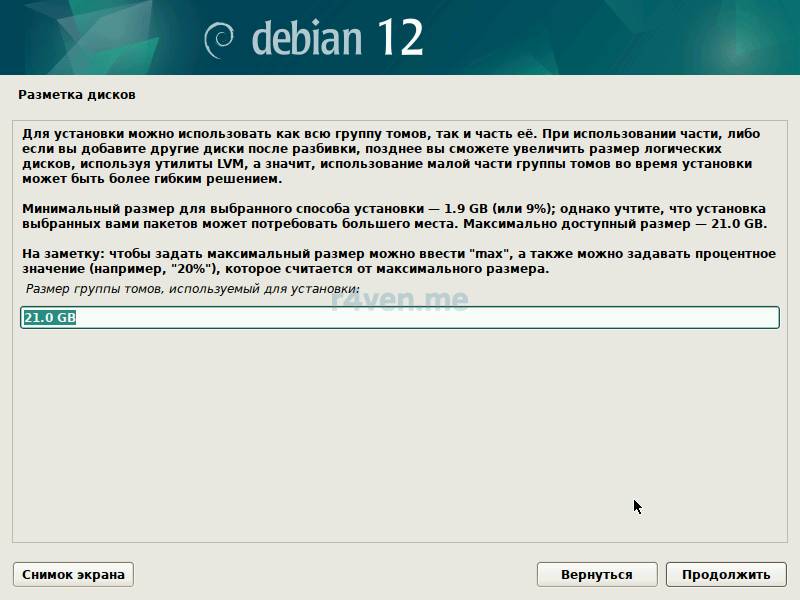
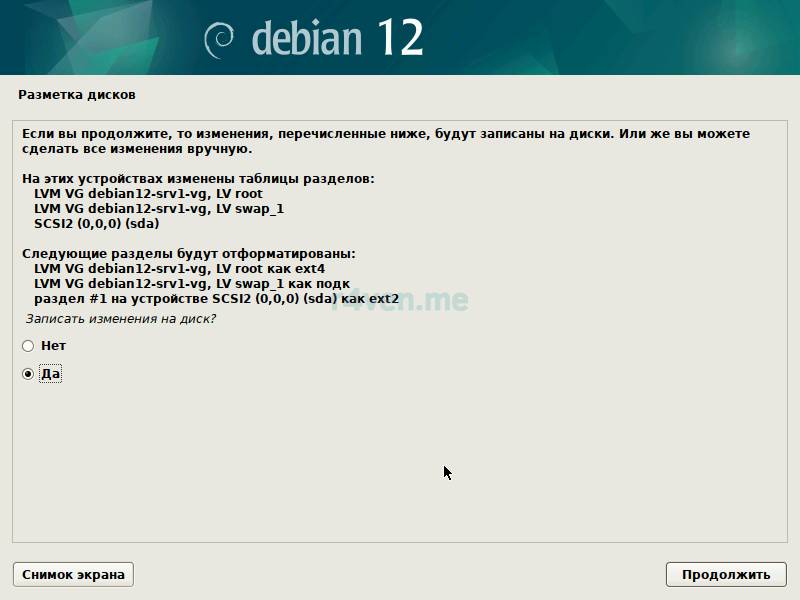
At the next step, we leave the used OS disk space size unchanged (it will be equal to 100% of its size) and once more confirm writing to disk by choosing “Yes” and clicking “Continue”:
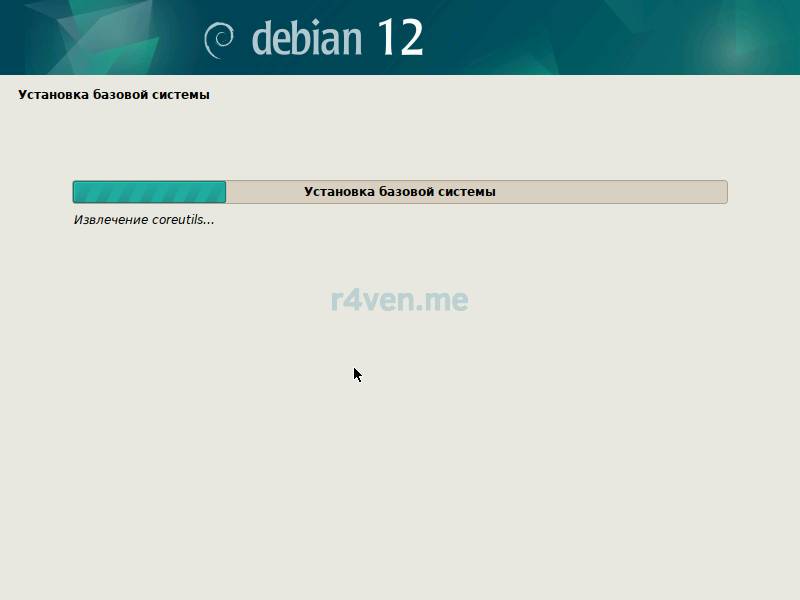
The base system installation will begin:
After a while, the installation wizard will ask about whether to scan for additional software sources — we leave “No”. Next, we specify a mirror of the Debian distribution’s repositories — specifying the desired country and provider. If needed, you can specify proxy server parameters. If none is used — leave the field empty and continue:
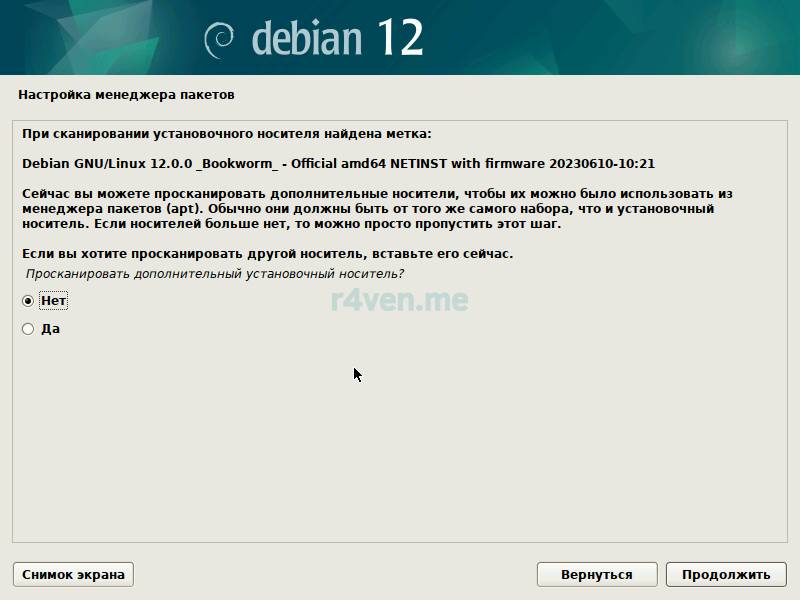
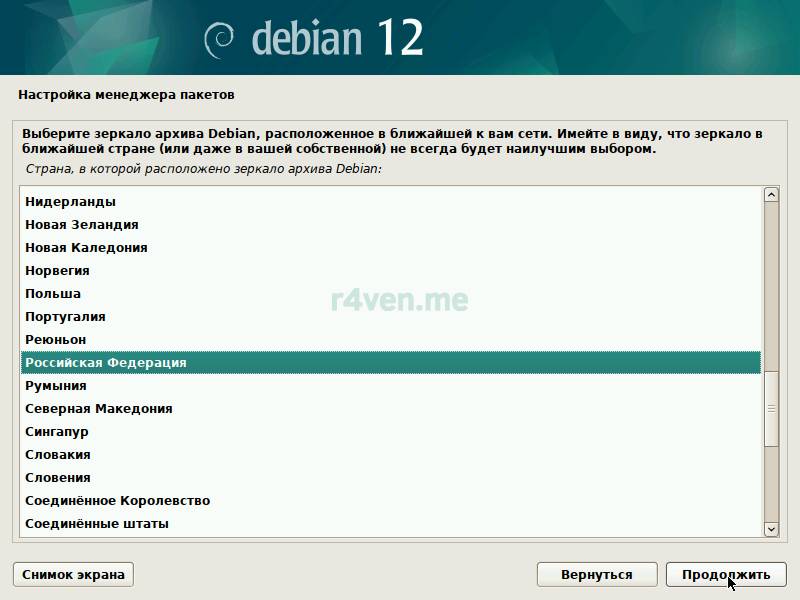
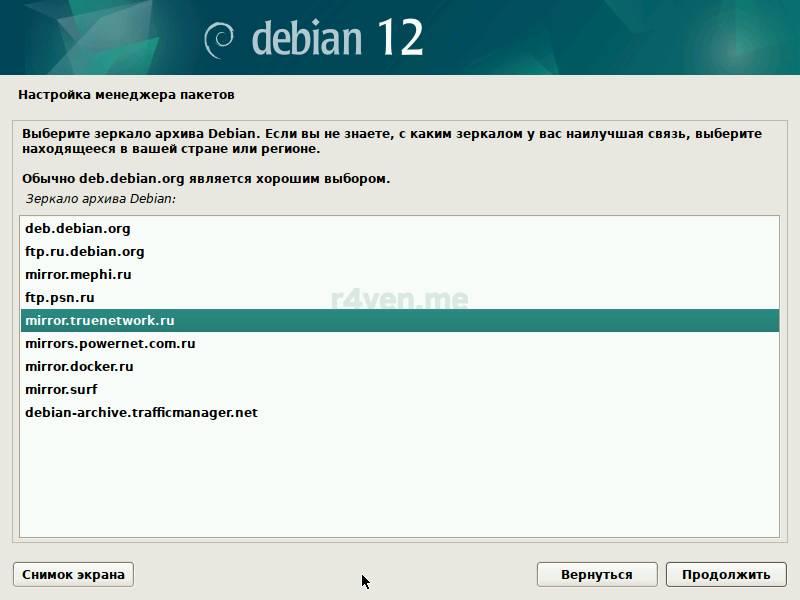
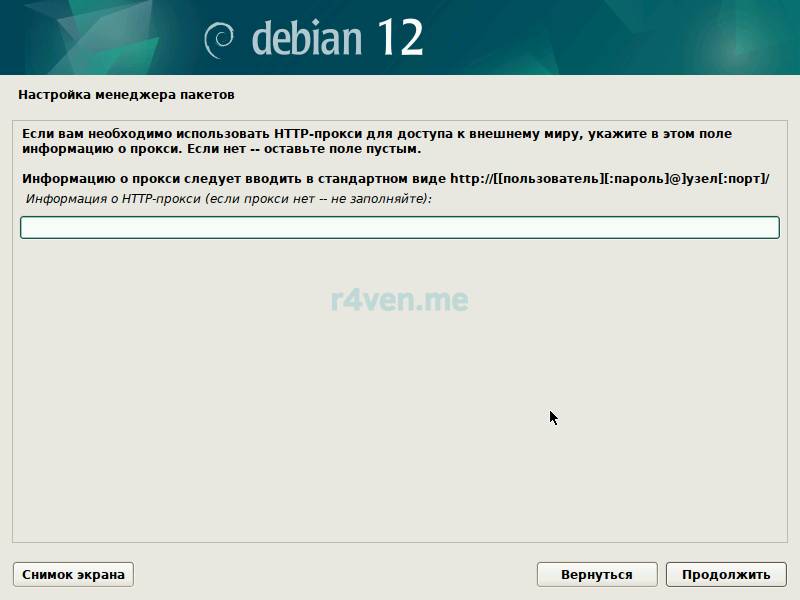
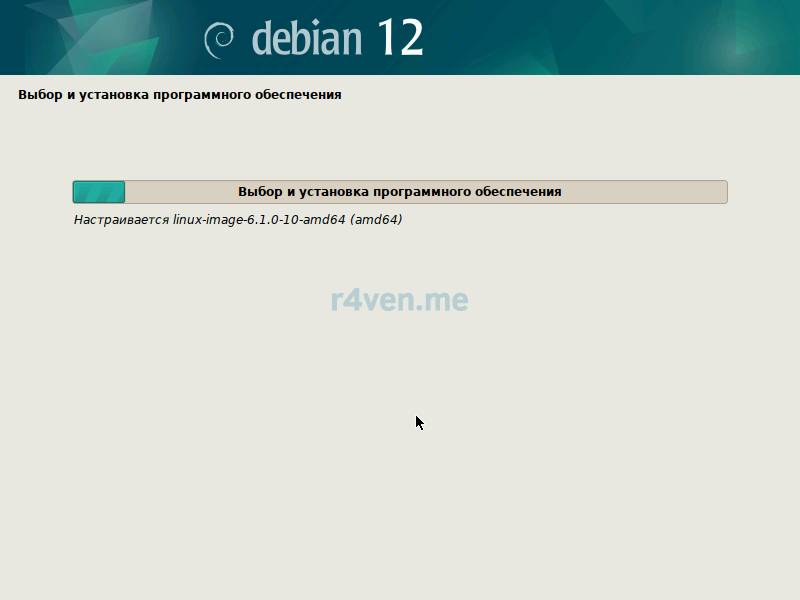
Choosing software sources and configuring a proxy
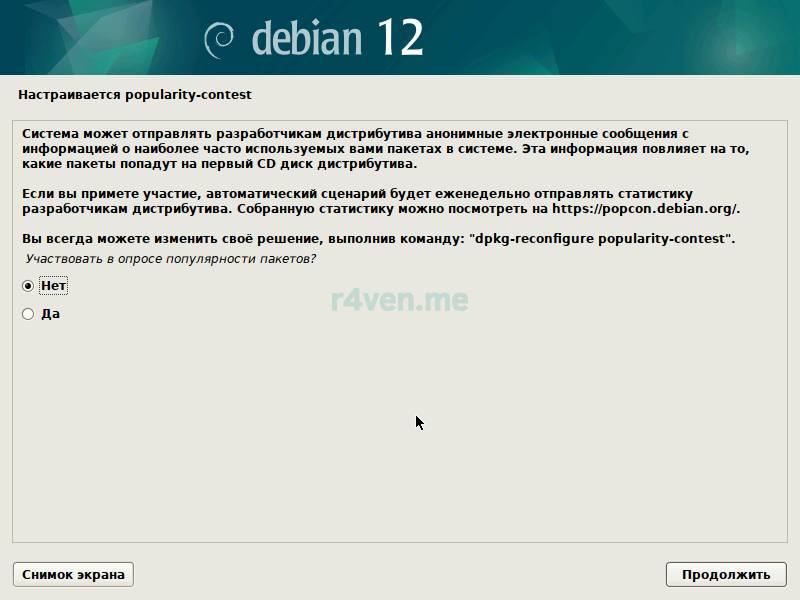
Now you’ll be asked whether you want to send anonymous statistics to the distribution’s developers. This is up to you:
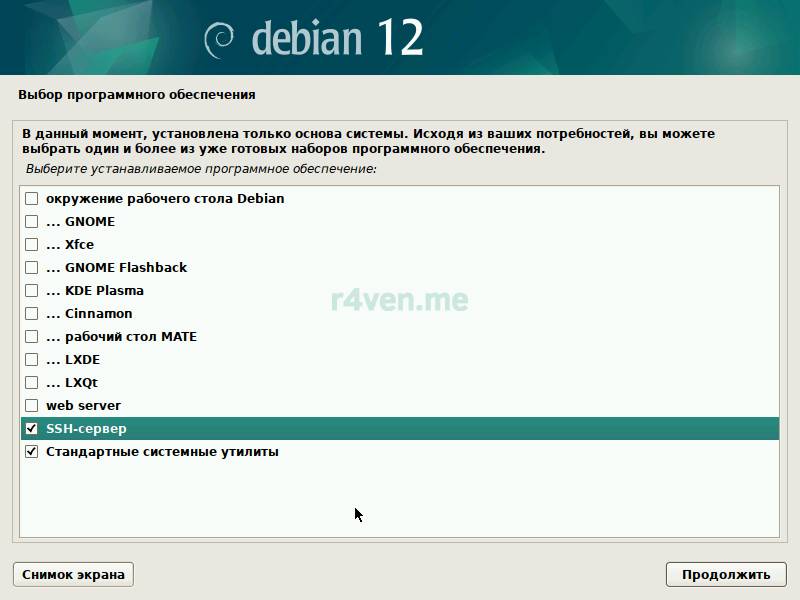
And this step is interesting — choosing programs to install. Since our goal today is to install a server without graphics, from the whole list we leave only two items checked: SSH server and standard system utilities (!!! uncheck the Debian desktop environment box !!!):
The home stretch. Every Linux system is started by a particular bootloader program. In Debian, this is Grub 2 by default. Since we only have one disk drive — we select it, then “Yes,” and click “Continue”:
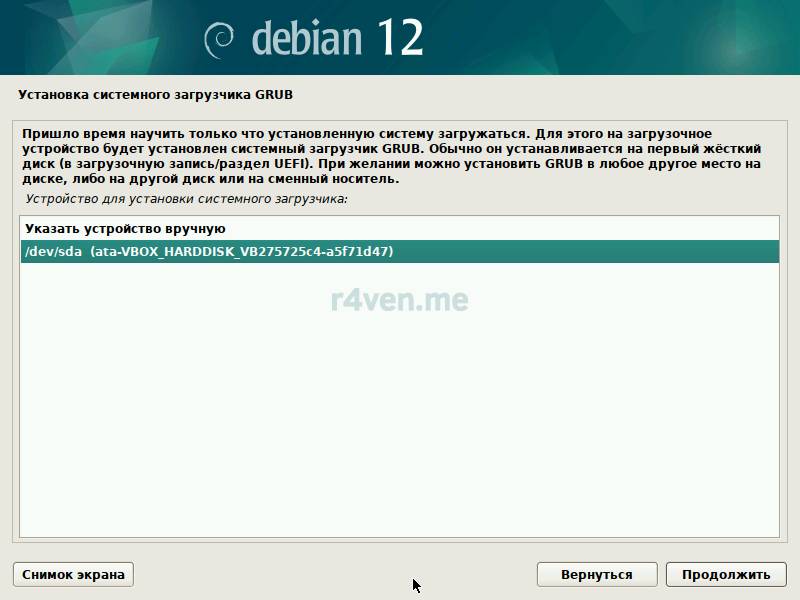
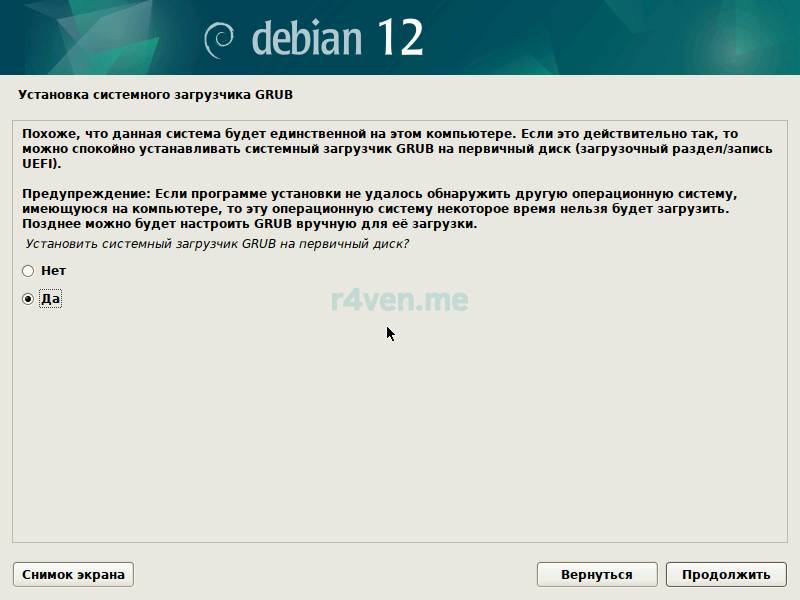
Installing the Grub bootloader
After installing the bootloader, the installer will report that the Debian 12 installation on our virtual machine is complete. Click “Continue” and the VM will reboot:
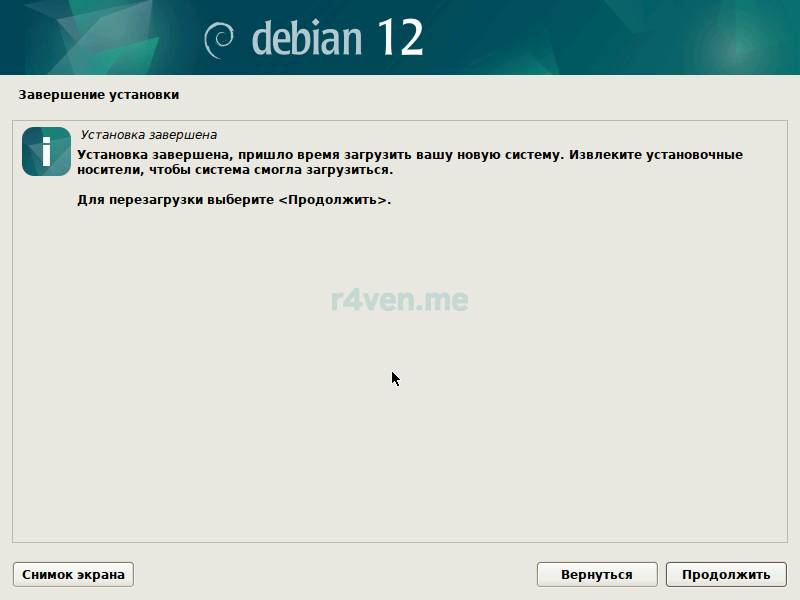
Booting into the installed OS
Our installed and running VM:
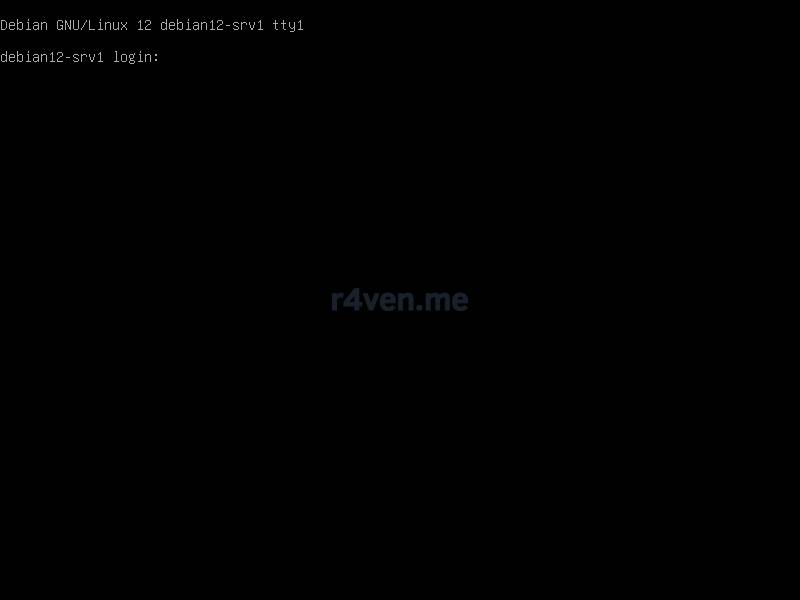
We enter the name and then the password of the user we created. Well, here we are, in the system. Let’s check the OS version and network availability, for example like this:
hostnamectl

cat /etc/os-release

uname -a

ping -с3 ya.ru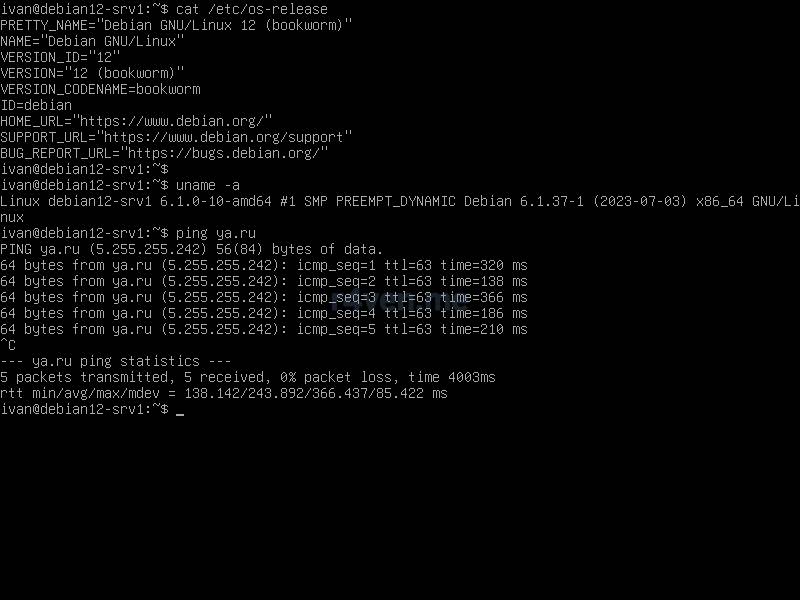
At the end, let’s do a bit of configuration: install the sudo package and add our user to the corresponding group.
Why is this needed?
In Linux there are two main ways of obtaining superuser (root) privileges: the su and sudo commands. The latter is not present in Debian by default. Both perform the same function: obtaining system administrator privileges for a regular user. However, the sudo utility has broader and more flexible capabilities for using such privileges. That’s why it’s recommended to use it, but nobody’s stopping you from using the su command)
Let’s switch to root:
suAfter entering the password we’ll end up in the root user’s console, indicated by the # symbol at the end of the command prompt.
You can also check this with the command:
whoamiThe command shows the name of the user under whose account the shell session was launched. Now let’s install the sudo utility and add our user to the group of the same name:
apt update && apt install sudo

gpasswd -a ivan sudo*Replace ivan with your Linux username.
For the changes to take effect, you need to log back into the system. We exit twice: first from the root session, then from our user’s session:
exit

exitNow we log back into the system and check that sudo works:
sudo -s

whoami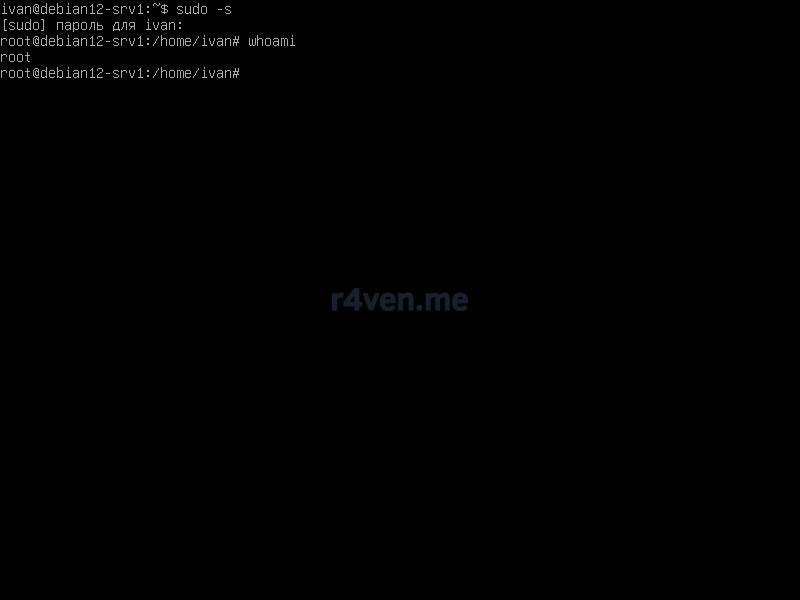
Excellent. This completes the Debian 12 installation.
You can shut down the VM with the command:
sudo poweroffAfterword
So, today we performed a from-scratch installation of a Debian 12 server on a virtual machine in VirtualBox. We also did a bit of configuration in the form of installing the sudo utility and adding our user to the privileged group.
In the next posts I’ll explain how to connect to our VM via SSH and perform basic system configuration + server security.
Thanks for reading! All the best)
Useful sources
- Official Debian project website
- Download the latest version of Debian (12)
- Debian project — Wikipedia
- Installing VirtualBox in Linux Mint 21
- Installing VirtualBox in Windows 10
👨💻And…
Don’t forget about our Telegram channel 📱 and chat
Or maybe you want to become a co-author? Then click here🔗
💬 All the best ✌️
That should be it. If not, check the logs 🙂

Comments