The software has, for some reason, become politicized. Debian maintainers ignore this fact. Just keep it in mind.
Greetings!
Today’s post is a bit of a themed one: how to create a New Year mood with a snowstorm on your Linux computer’s desktop. We’ll talk about an open source utility — Xsnow. As tradition dictates, we’ll install and configure it on Linux Mint)
P.S. Happy upcoming holidays to everyone! 🎅🎅🎅
🖐️Hey!
Subscribe to our Telegram channel @r4ven_me📱, so you don’t miss new posts on the website 😉. If you have questions or just want to chat about the topic, feel free to join the Raven chat at @r4ven_me_chat🧐.
Preface
The Xsnow utility has been around for a very long time. According to the English Wikipedia, its origins date back to 1984, and then in the early 90s it moved to the X Window System (the classic Linux subsystem responsible for graphical display) thanks to its author Rick Jansen.
I’m not great at translating, so I’ll give a short excerpt from the wiki in English:
Xsnow is a software application that creates the appearance of snow falling on the elements of the graphical user interface of a computer system. Xsnow was originally created as a virtual greeting card for Macintosh systems in 1984. In 1993, the concept was ported to the X Window System as Xsnow, and was included on a number of Linux distributions in the late 1990s.
Wikipedia
While preparing the material, I discovered something interesting.
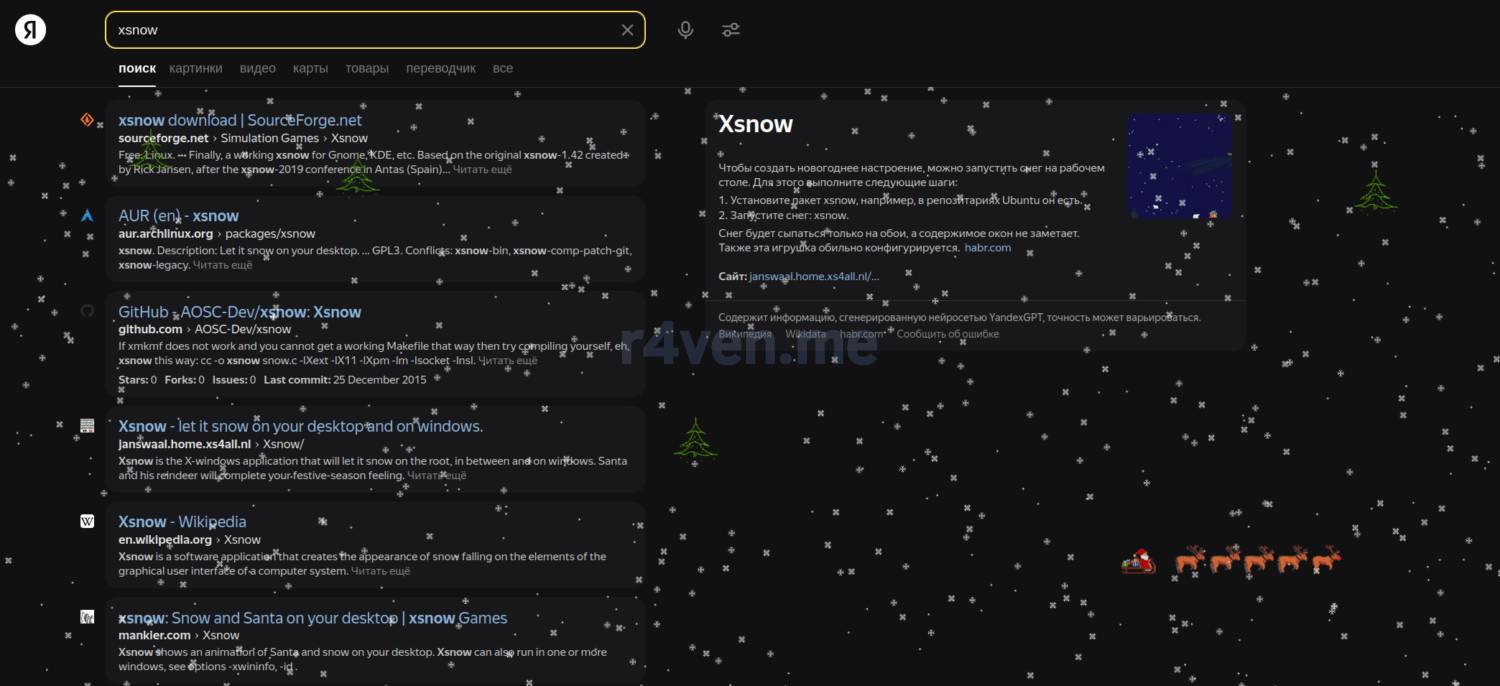
If you search xsnow on Yandex right now, you can see a cool reference! Snow will start falling in the browser and Santa will fly off about his business. Just like it looks in Xsnow. Honestly, I didn’t expect that from a search engine) paying tribute to old-school stuff) commendable)
Installing xsnow on Linux Mint
Before installing xsnow, I did a preliminary search in the Linux Mint repositories. Here’s what the short description of this package says:
BASH
sudo apt search xsnow
Click to expand and view more
Short and to the point)
So, to install the Xsnow utility on Linux Mint 21, run in the terminal:
BASH
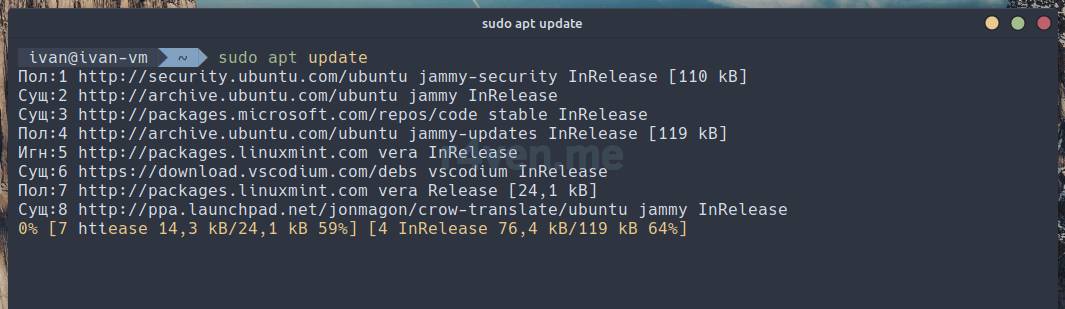
sudo apt update

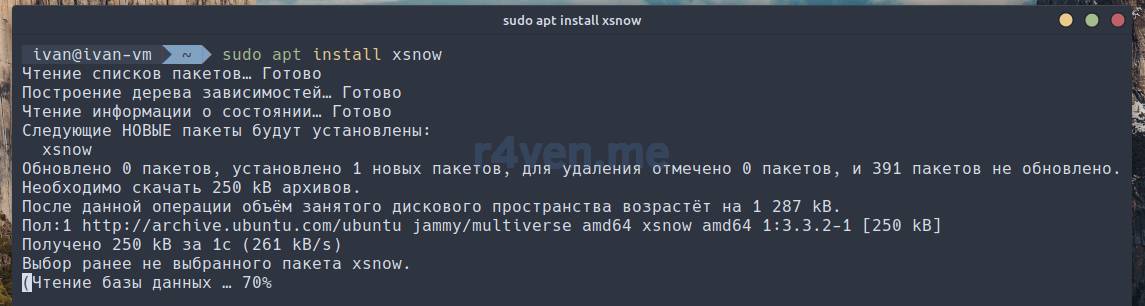
sudo apt install xsnow
Click to expand and view more
Updating the package cache
Installing xsnow
Done.
Configuring xsnow
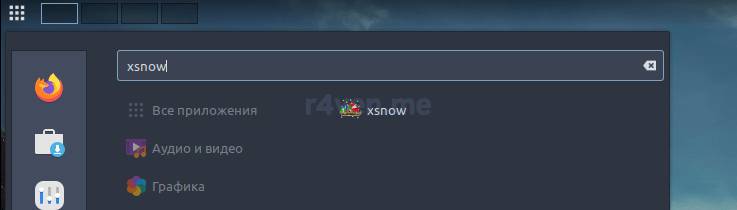
You can launch the utility via the terminal or the main menu:
Launching xsnow
BASH
xsnow
Click to expand and view more
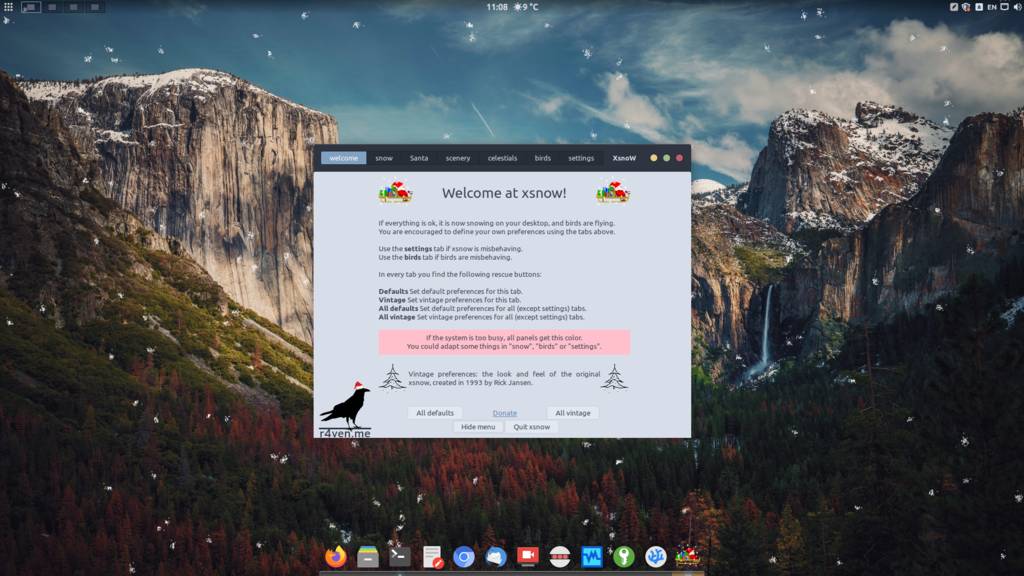
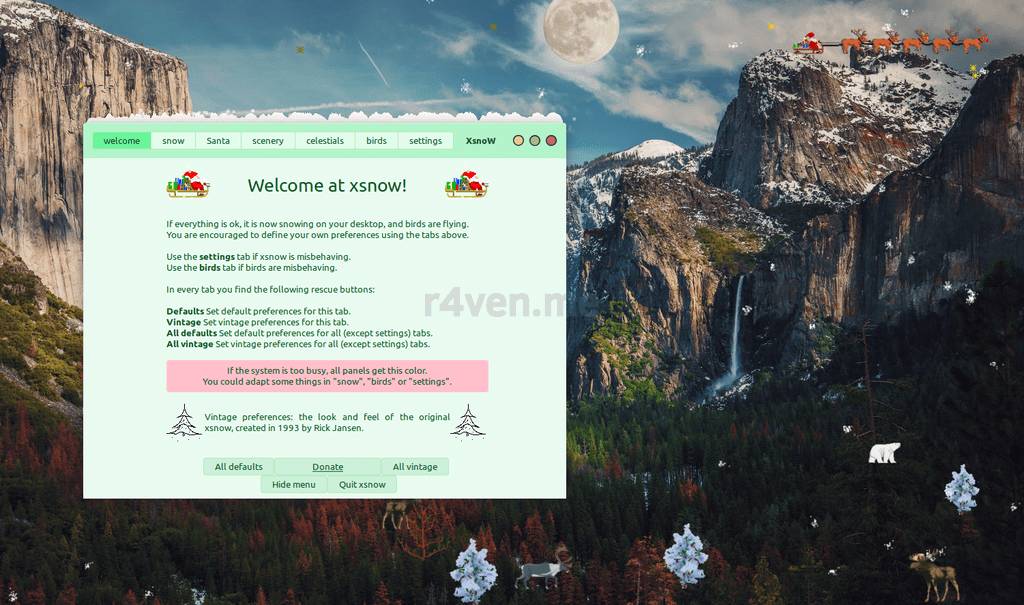
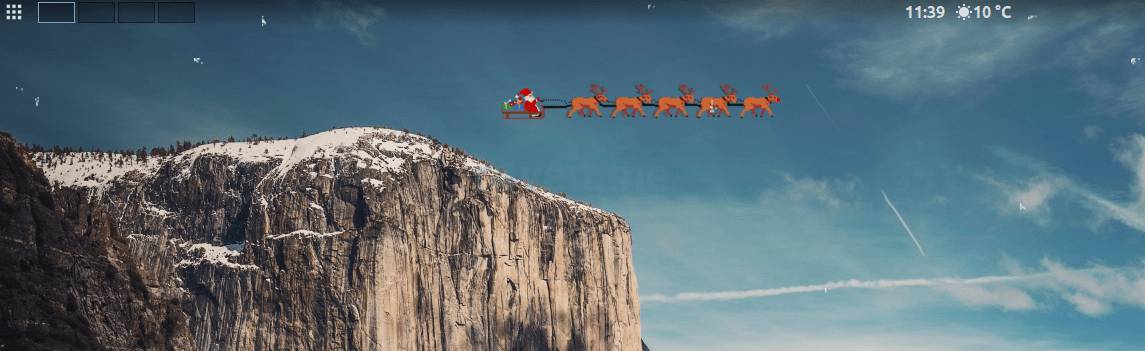
After launching, the default settings will apply and a bit of a mess will start on the desktop)
A bit of a mess)
You can explore the settings, there are quite a lot of them.
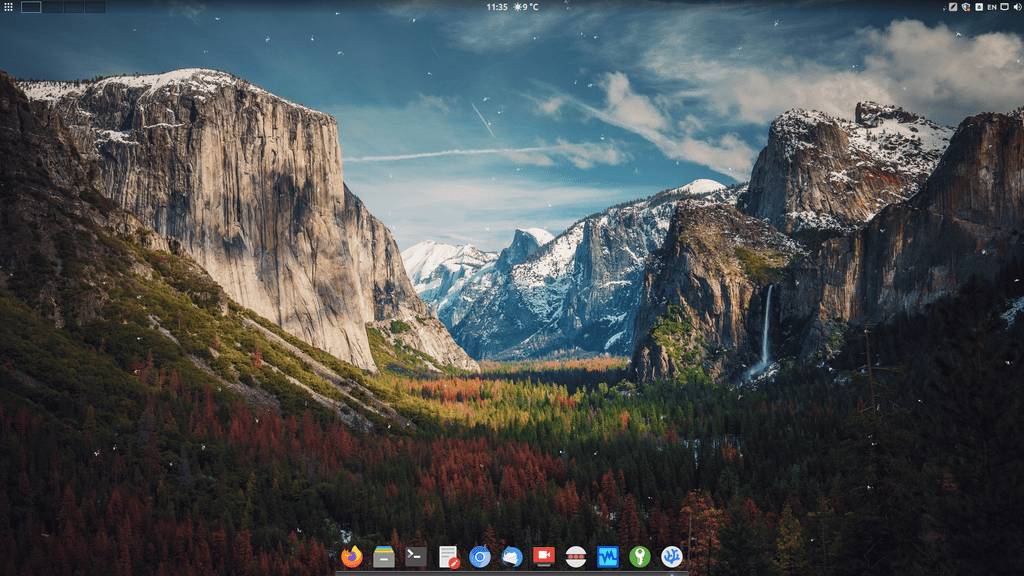
Personally, I prefer minimalism and usually turn off almost everything except the snow. I set the intensity and speed of the falling snow to my liking.
It looks roughly like this:
Xsnow minimalism)
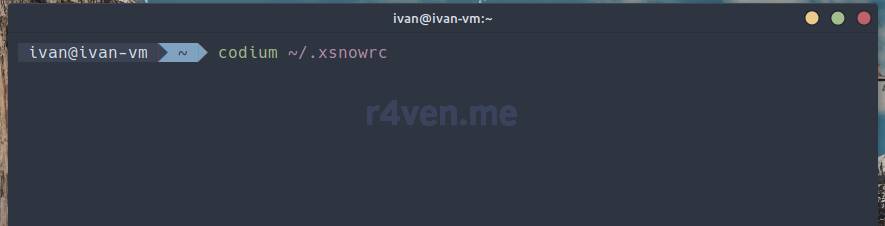
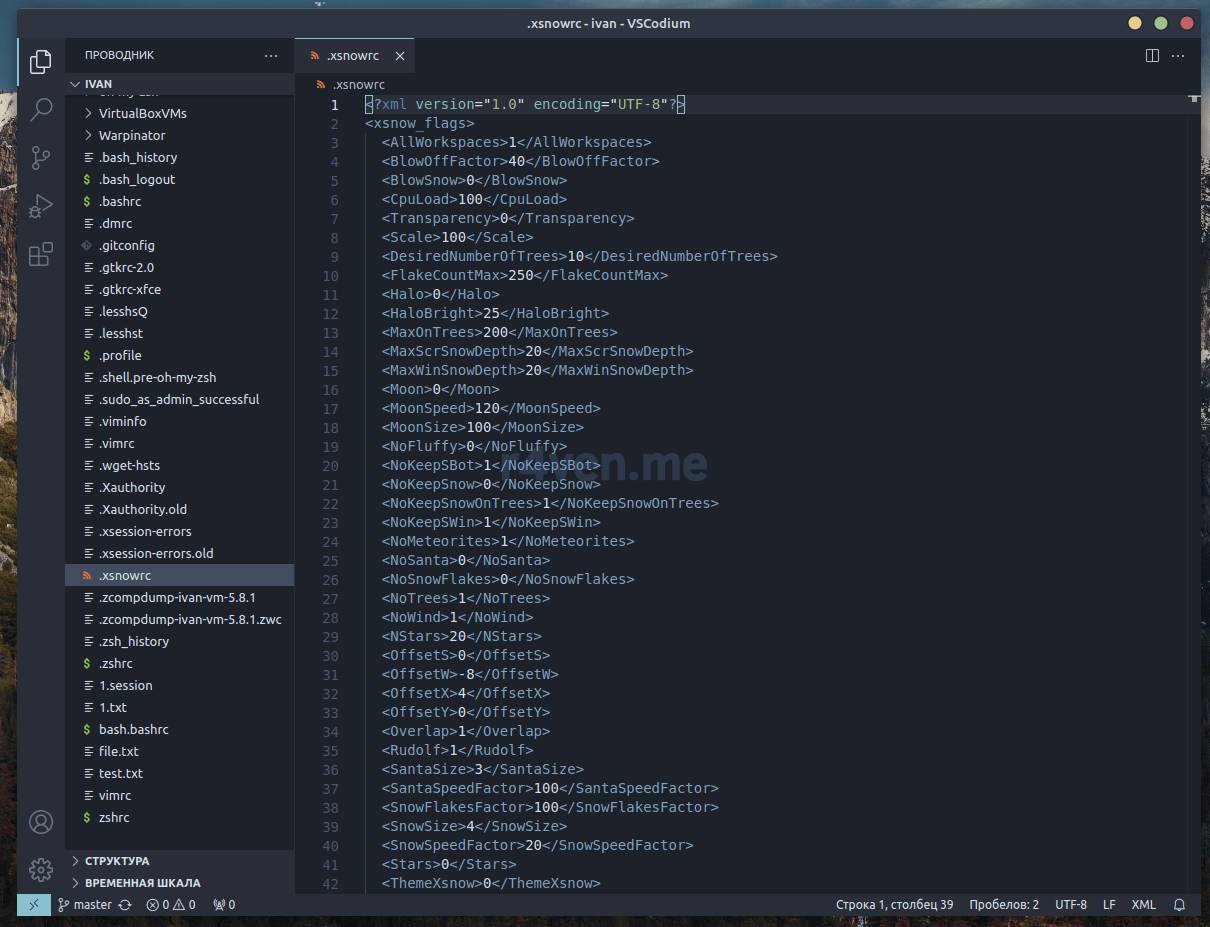
If you share my views, you can copy my config into your system. To do this, you need to open and edit the configuration file ~/.xsnowrc (which has recently switched to XML format) in any text editor.
By the way, I recently had a note about a fork of the VSCode code editor stripped of telemetry, called — VSCodium. So let’s open the Xsnow config with it:




Comments