
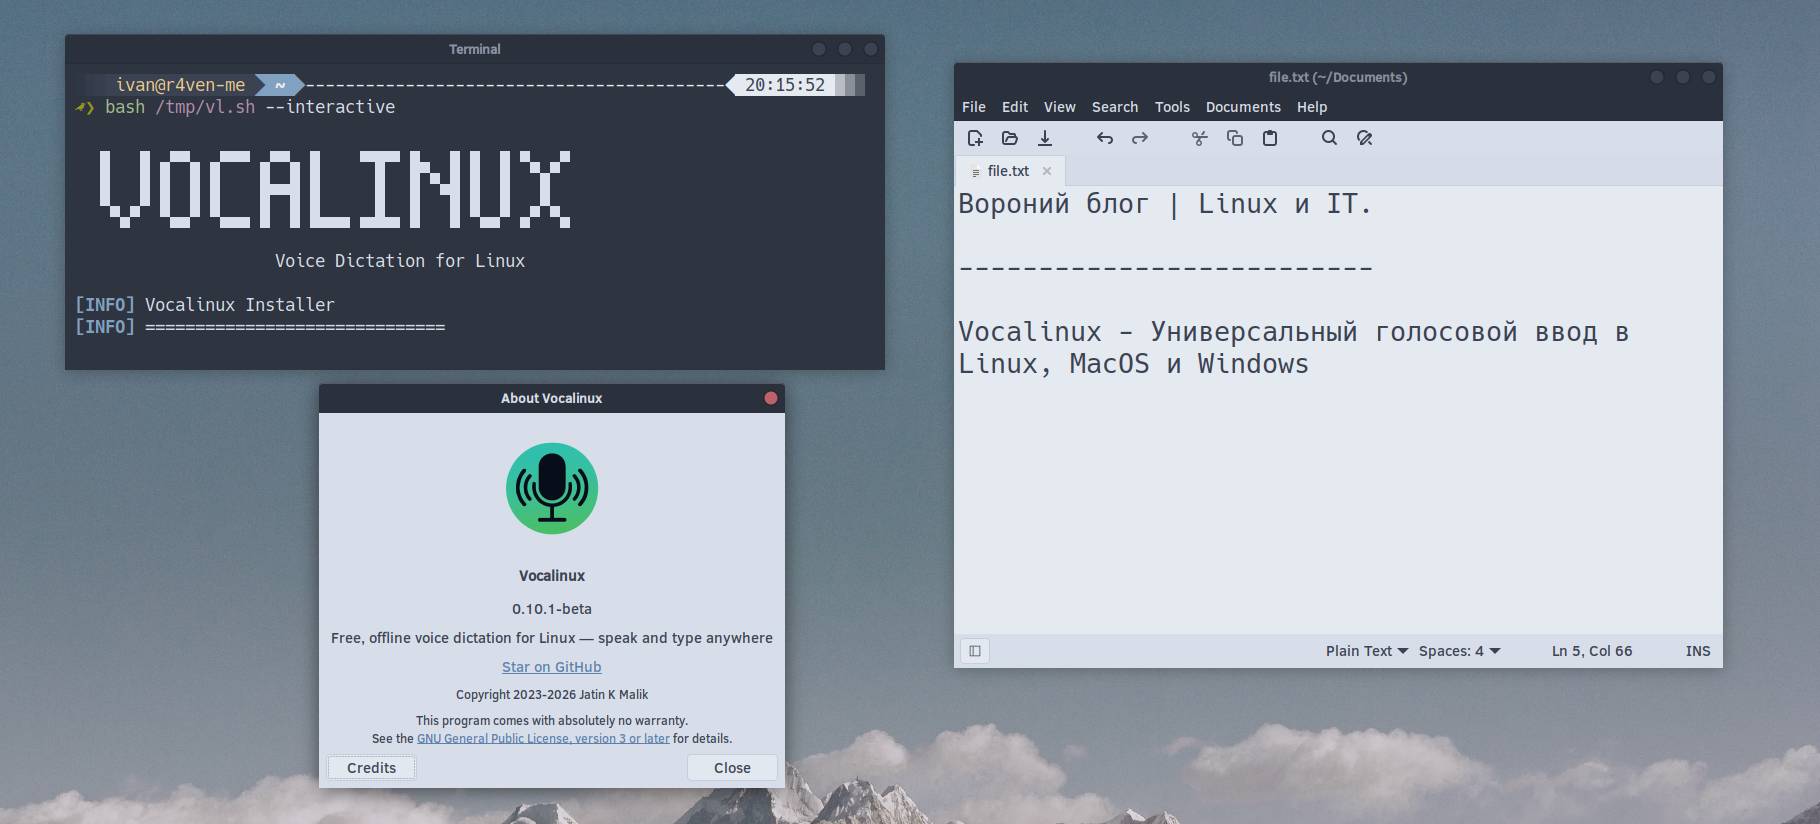
A free cross-platform utility for voice input of text directly into any Linux application. Works completely offline, supports three recognition engines, GPU acceleration and customizable hotkeys. I liked it 😌.
🖐️Hey!
Subscribe to our Telegram channel @r4ven_me📱, so you don’t miss new posts on the website 😉. If you have questions or just want to chat about the topic, feel free to join the Raven chat at @r4ven_me_chat🧐.
Preamble
VocaLinux is an open-source software (GPLv3) that allows you to dictate text into any application. There are ready-made builds for Linux 🐧, macOS or Windows. Speech recognition works completely offline, three built-in engines are available (whisper.cpp, OpenAI Whisper, VOSK), automatic GPU acceleration via Vulkan and customizable hotkeys.

I hate voice messages in messengers. So voice input is a novelty for me. But despite this, I sometimes used voice input in applications like ChatGPT or Claude.
Then I came across this software. The idea of confidential and universal voice input with AI-based recognition seemed quite interesting. I have a relatively decent external microphone (Fifine), so I decided to try it. Spoiler: I liked it. But I still don’t record voice messages, just so you know 😑.
A bit about recognition engines
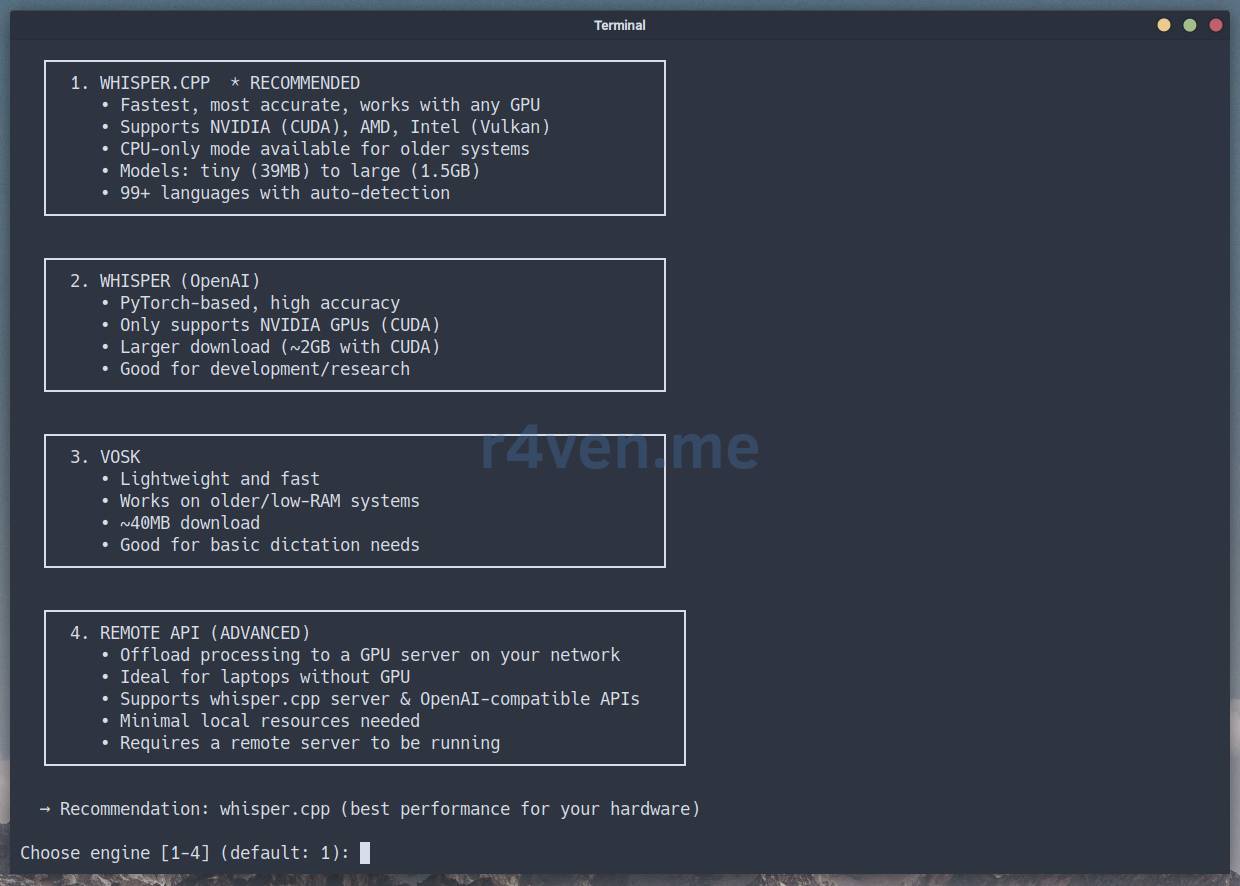
Before moving on to installation, let’s briefly discuss the available recognition engines that VocaLinux offers:
- whisper.cpp - fast and lightweight implementation of OpenAI’s Whisper model in C++. Works well on CPU and GPU, uses less memory than the original implementation. By default, this is the installer’s choice.
- OpenAI Whisper - the original implementation in Python. Recognizes more accurately but requires more resources. If you have a powerful GPU, it makes sense to try it.
- VOSK - compact local engine based on Kaldi. The fastest on weak machines, but less accurate. If you need maximum responsiveness and memory is critical, choose it.
Initial Setup
This article used:
| Software | Version |
|---|---|
| Linux Mint | 22.3 |
| VocaLinux | 0.10.1-beta |
Installing VocaLinux

The VocaLinux installation script is on GitHub. We won’t run it blindly, but will definitely check its contents via VirusTotal using the vt-cli utility, which we discussed last time:
vt scan file <(curl -Ls https://raw.githubusercontent.com/jatinkrmalik/vocalinux/main/install.sh) --wait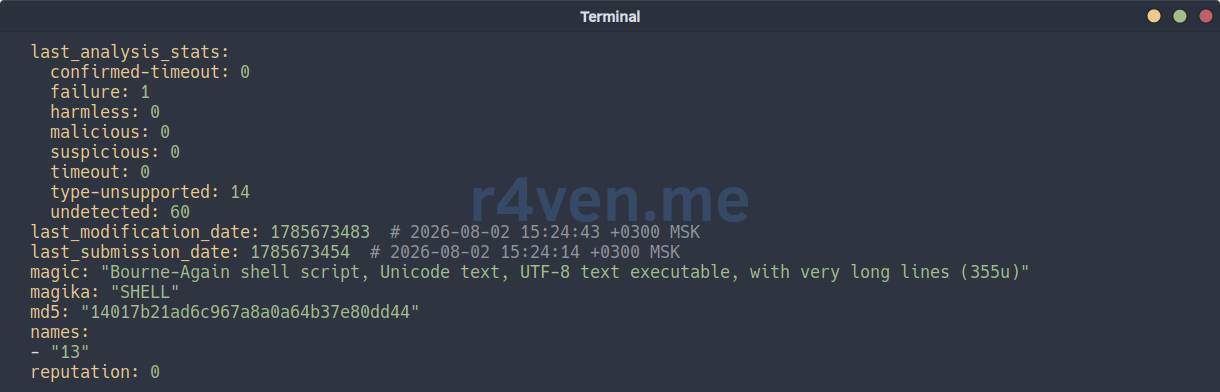
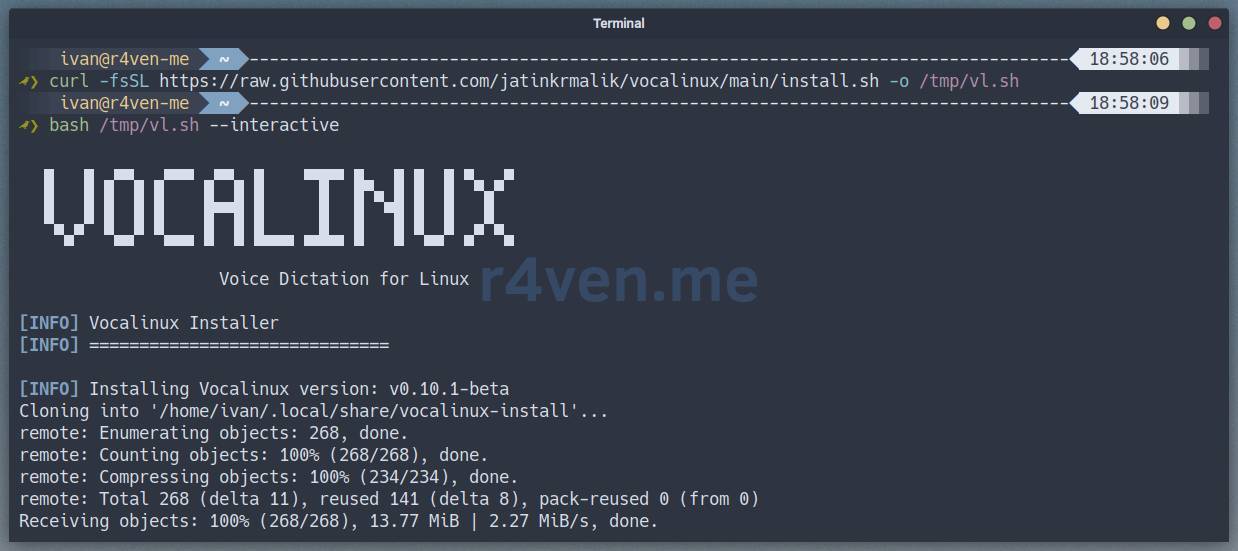
If the scan shows the script is clean, download and run it in interactive mode:
curl -fsSL https://raw.githubusercontent.com/jatinkrmalik/vocalinux/main/install.sh -o /tmp/vl.sh

bash /tmp/vl.sh --interactiveThe installer does the following (description from official site):
- installs system dependencies from standard repositories;
- creates an isolated Python virtual environment (
venv); - downloads recognition models of your choice;
- configures desktop integration and
PATHvariables; - creates a Desktop file (like an application shortcut).
The launch will start with selecting the speech engine. If everything is normal, you’ll see approximately this screen:
Choosing a recognition engine
By default, whisper.cpp is offered, which is a good choice for most cases. But it makes sense to also try the original Whisper from OpenAI - it’s usually more accurate (but heavier):
💡 If you’ve already installed Whisper.cpp and then decided to try OpenAI Whisper, just run the interactive installer again:
bash /tmp/vl.sh --interactiveGPU acceleration
The next important choice is whether to use GPU for acceleration. If you have a graphics card with Vulkan support (most modern AMD and NVIDIA cards), then definitely enable it:
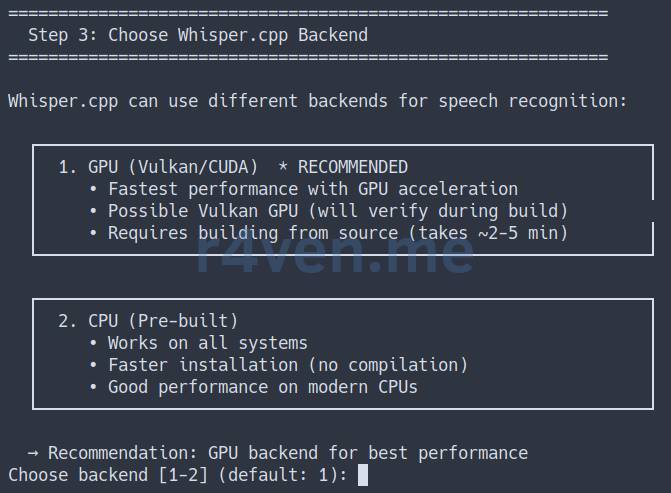
With GPU, recognition works much faster.
Model download
At this stage, the installer will begin downloading the selected recognition model. The process may take some time depending on model choice and internet speed:
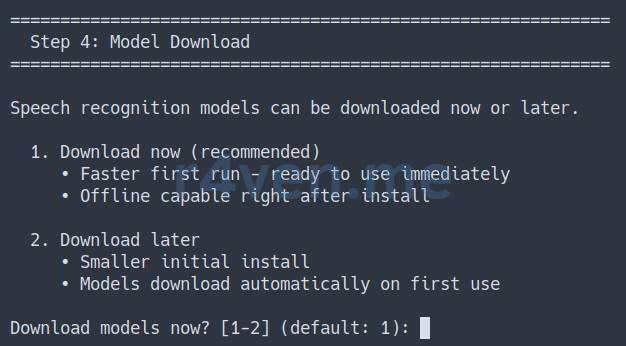
After the model is downloaded, confirm the installation by pressing Enter:
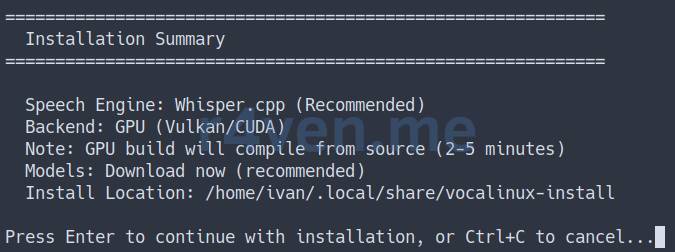
Next, the installer will install the remaining dependencies from the repositories and a few packages via pip:
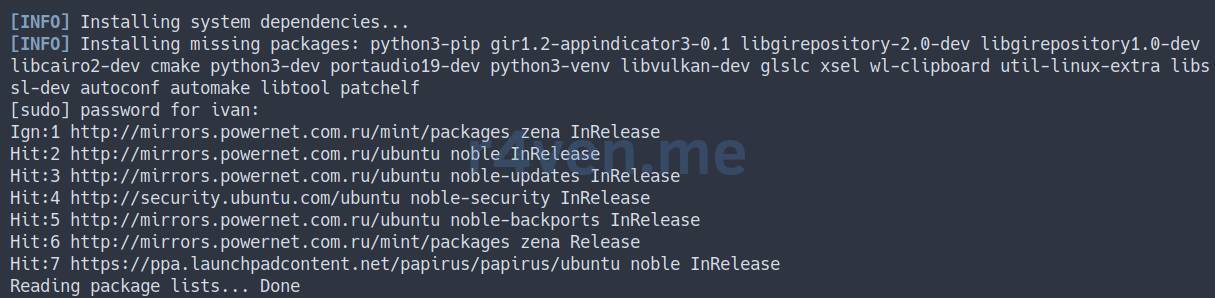
Done, installation is complete. VocaLinux is ready to use.
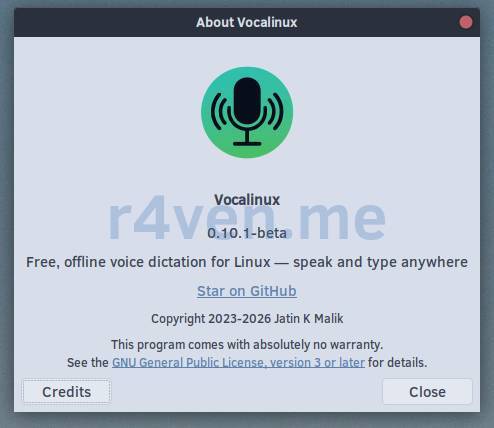
First Launch and Configuration

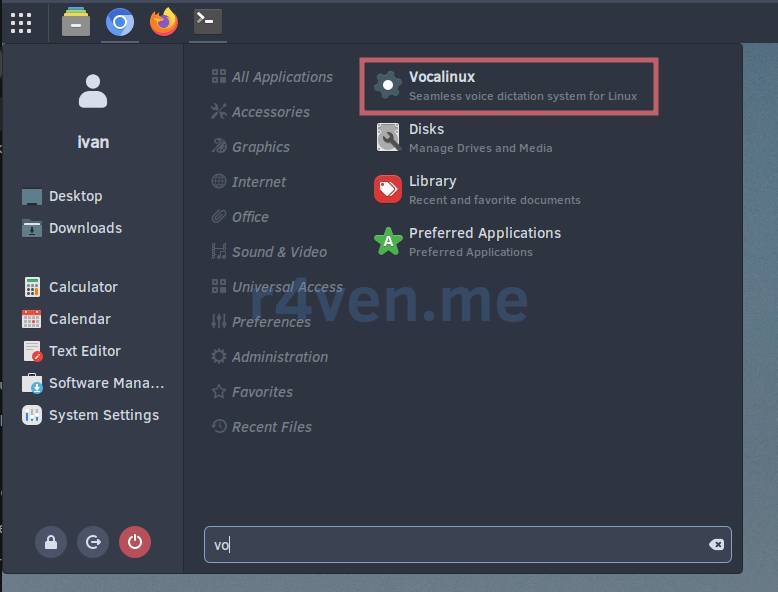
After installation, launch the application from the main menu:
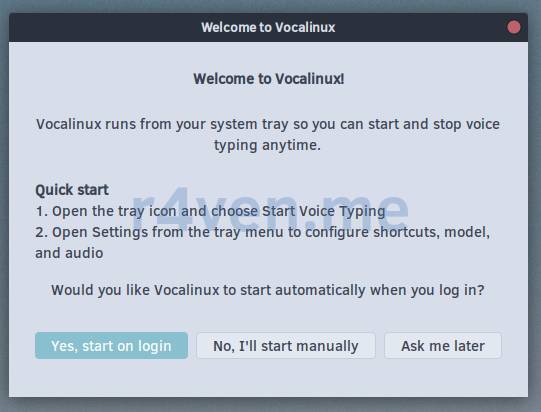
You’ll immediately be offered to configure autostart on login:
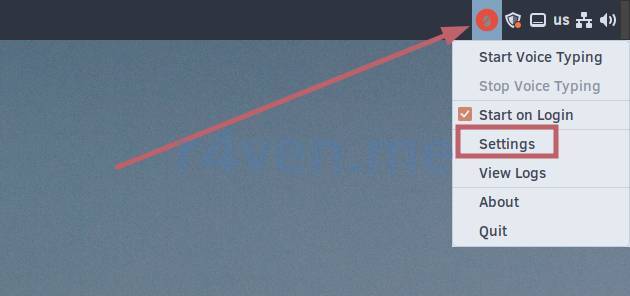
To access the program settings, find the icon in the system tray, click on it and select “Settings”:
“Speech Engine” tab
Here you can select the engine, language and model weights: “tiny”, “base”, “small”, “medium”, “large”:
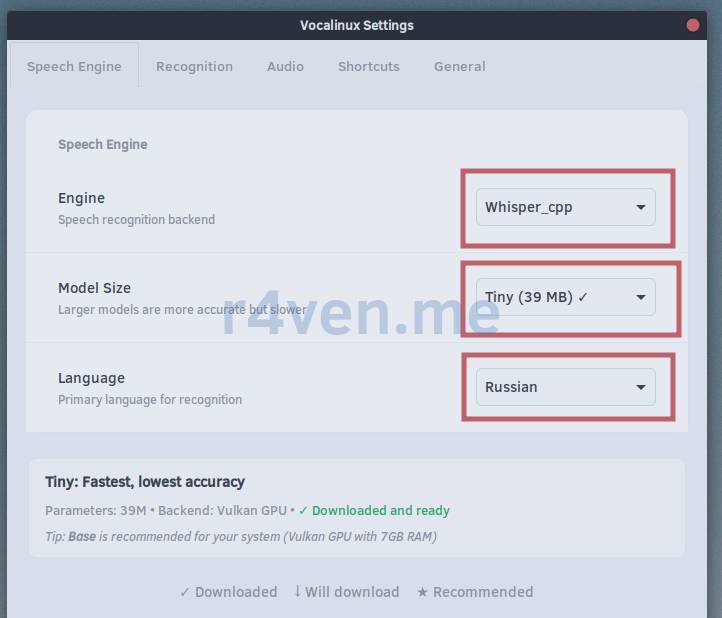
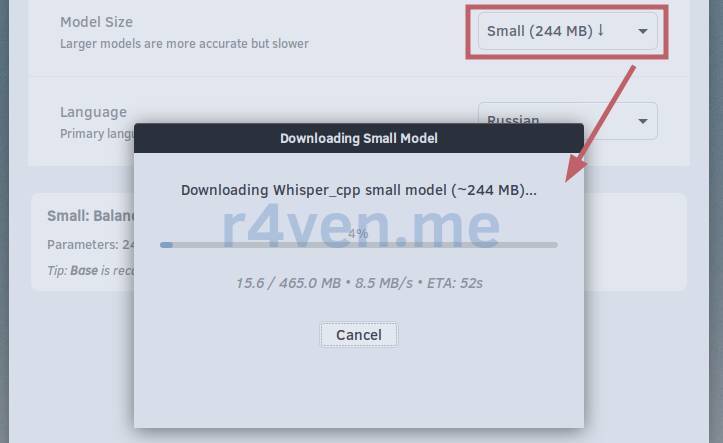
Select “Small”. After selection, automatic downloading will begin:
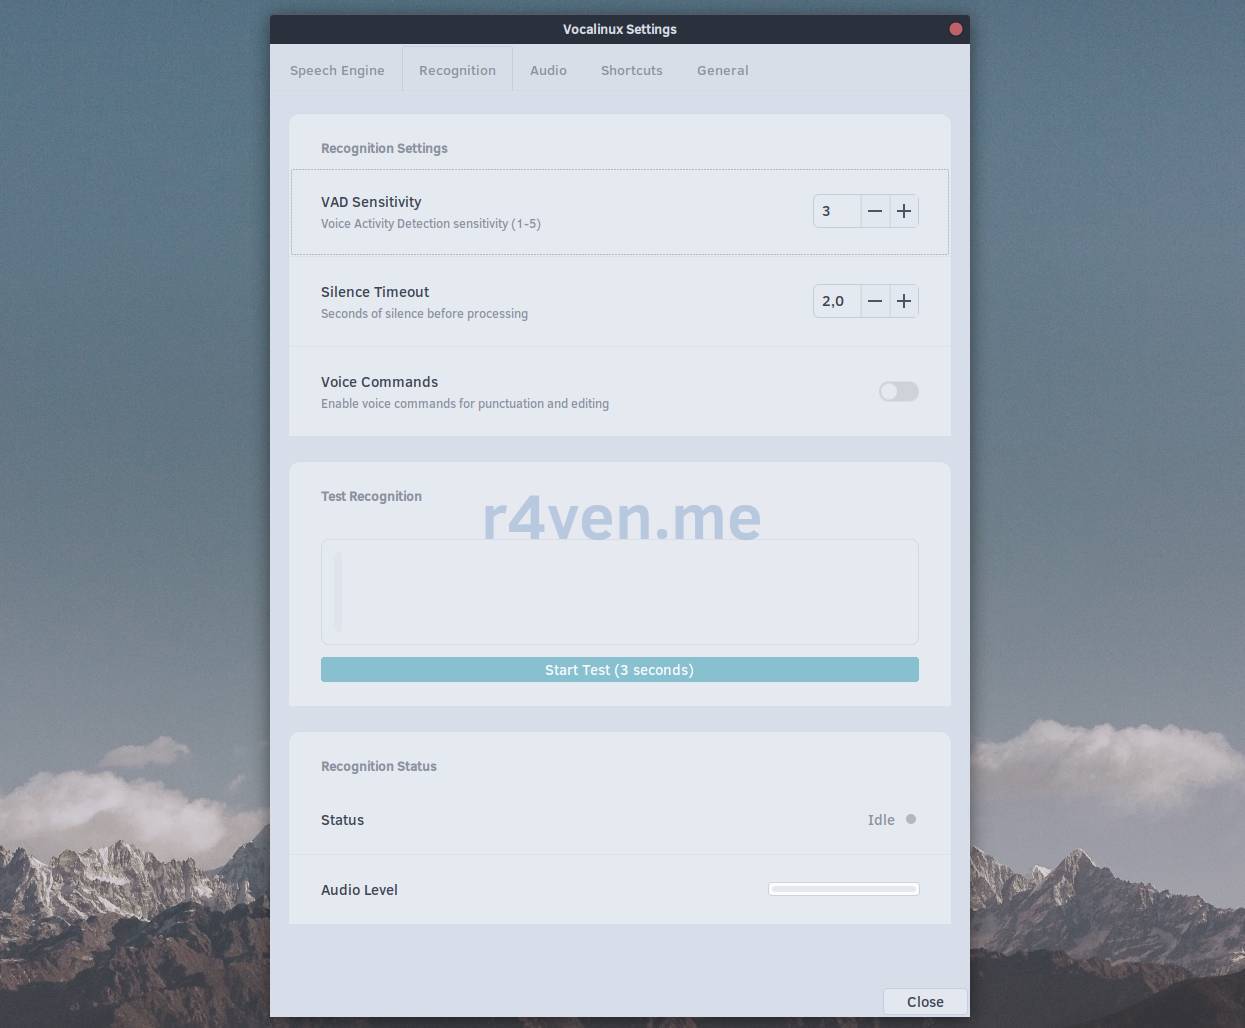
“Recognition” tab
On this tab you can set several fine-tuning options and run a recognition test:
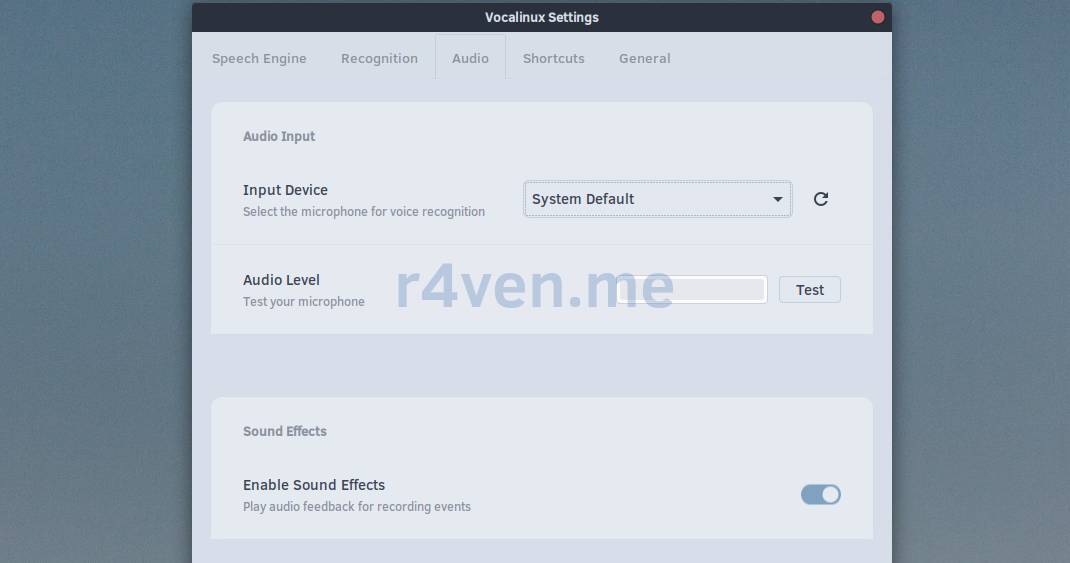
“Audio” tab
Here you can explicitly specify which audio device to use for voice recording:
“Hotkeys” tab
On this tab we define how recognition will be activated:
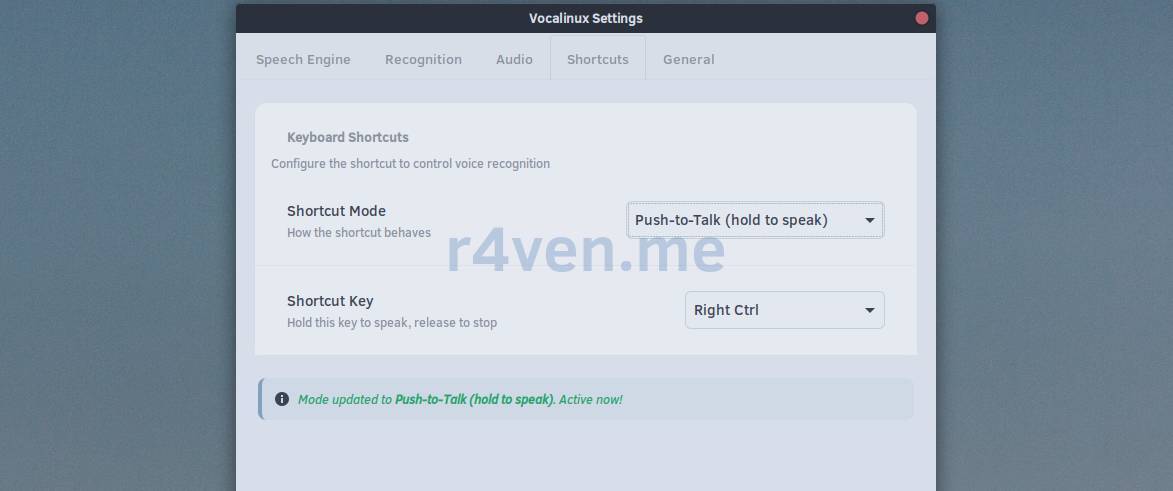
By default, “toggle” mode is enabled (turn on-off with one key) but I prefer the second option: activation by pressing, for example, the right Control (push-to-talk mode). For me this is justified because I almost never use this key.
“General” tab
On the last tab you can re-configure autostart and enable automatic copying of recognized text to the clipboard:
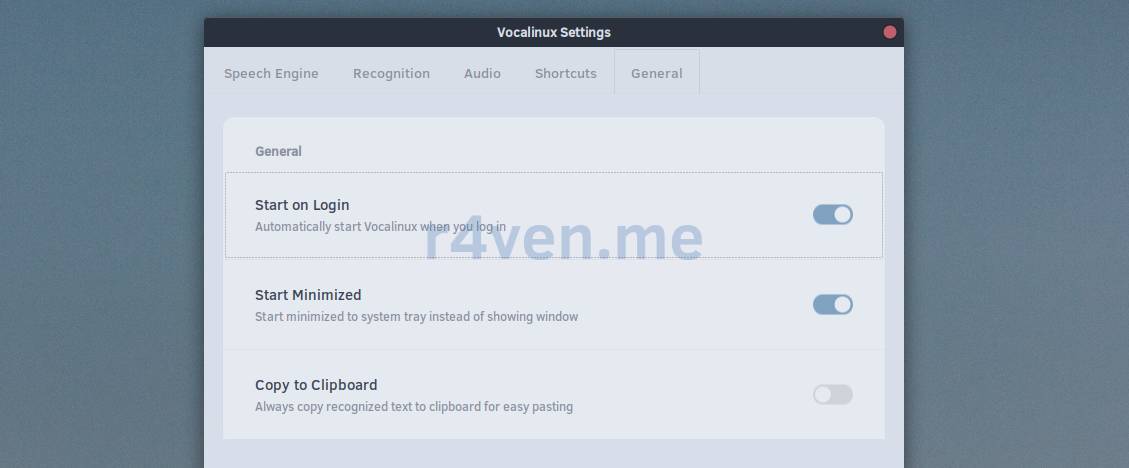
I’m sure the last option will be especially convenient for someone 😉.
Testing
Go to any application with a text field and test recognition. Press the hotkey and start speaking:
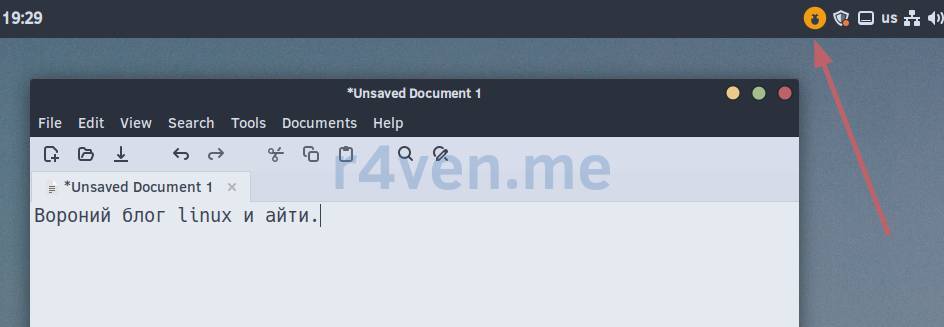
📝 If you’re a misanthrope like me, it will feel awkward at first, but you’ll get used to it 😅.
After you finish speaking or release the key, VocaLinux will automatically insert the recognized text into the active window. Processing happens locally on your machine, no data is sent anywhere over the network 😌.
Status indicator
Pay attention to the color of the tray icon - it’s a visual status indicator:
- Red - application is disabled;
- Green - voice recording is in progress;
- Yellow - text processing and recognition is in progress.
Afterword
Voice recognition has its advantages. If you, like me, regularly communicate by typing text, then voice input will make your brain work a bit differently: you’ll need to develop the skill of forming logically connected text on the fly 🙄. And VocaLinux will help you with that.
By the way, the project is actively being developed - the author regularly fixes bugs and adds features. If you like it - give it a star on GitHub.
Thank you for reading. Good luck exploring open-source tools! 🐧
Useful materials
- https://vocalinux.com/
- https://github.com/jatinkrmalik/vocalinux
- https://vocamac.com/
- https://vocawin.com/
- https://github.com/ggml-org/whisper.cpp
- https://github.com/openai/whisper
- https://github.com/alphacep/vosk-api
👨💻And…
Don’t forget about our Telegram channel 📱 and chat
Or maybe you want to become a co-author? Then click here🔗
💬 All the best ✌️
That should be it. If not, check the logs 🙂

Comments