
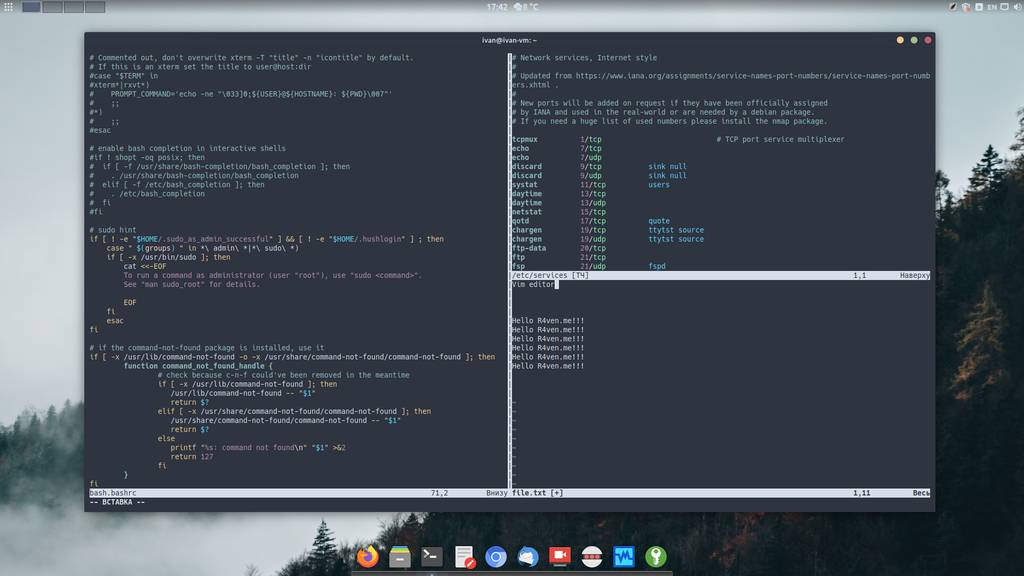
This is the first post in a series about the console editor Vim. Sooner or later this had to happen) after all, Vim is an incredibly popular editor that often comes “out of the box” in most Linux distributions.
🖐️Hey!
Subscribe to our Telegram channel @r4ven_me📱, so you don’t miss new posts on the website 😉. If you have questions or just want to chat about the topic, feel free to join the Raven chat at @r4ven_me_chat🧐.
Preface
Vim (formerly Vi) is a powerful command-line text editor that provides extensive capabilities for editing text files. In this article we’ll get a bit familiar with the basics of using it.
Personally, I ignored this editor for a long time, because I thought it was made for reptilians/hardcore IT people, until I became a reptilian myself I got to know it better. In the end, getting acquainted turned into detailed study. Especially when I realized that Vim and its derivatives such as Neovim are a brilliantly thought-out tool for an IT specialist who often works with the Linux command line, and not only Linux.
Vi/Vim commands and features have existed for more than fifty years, starting with the QED editor created in 1966. Over this time, the editor has absorbed the best practices of working with text and acquired everything necessary for convenient keyboard-based work. If you’re interested, I recommend reading part of the article on Habr about the history of this editor: The History of Vim and a Guide to Using It Effectively.
Excerpt from William Shotts’s book ‘The Linux Command Line’ about the Vi editor
Why, in a modern world of editors with graphical interfaces and easy-to-use text-interface editors like nano, should one learn vi? There are three good reasons: vi is always at hand. It can come to the rescue on systems that lack a graphical interface, for example on a remote server or on a local system with a broken X configuration. The nano editor, although extremely popular, is still not versatile enough. POSIX, the Unix system compatibility standard, requires vi to be present on them. vi is lightweight and fast. For many tasks it’s much easier to launch vi than to find a graphical editor in a menu and wait for several megabytes to load into memory. Besides, vi was specifically designed for fast keyboard input. As will be shown below, an experienced vi user never takes their hands off the keyboard while editing. We don’t want other Linux and Unix users to think we’re softies. Fine, let it be two good reasons.
In the process of studying it, I “realized” how flexible this tool is. To understand the whole point: for configuring the Vim editor, the developers created their own scripting language — vimscript. And if you pay attention to more modern forks of Vim, for example Neovim, there the editor can be configured using the Lua programming language through an API mechanism. I think it goes without saying that with such an approach, the possibilities for extending the editor’s functionality go through the roof)
This editor can also be incredibly beautiful; for example, it can be configured like this:
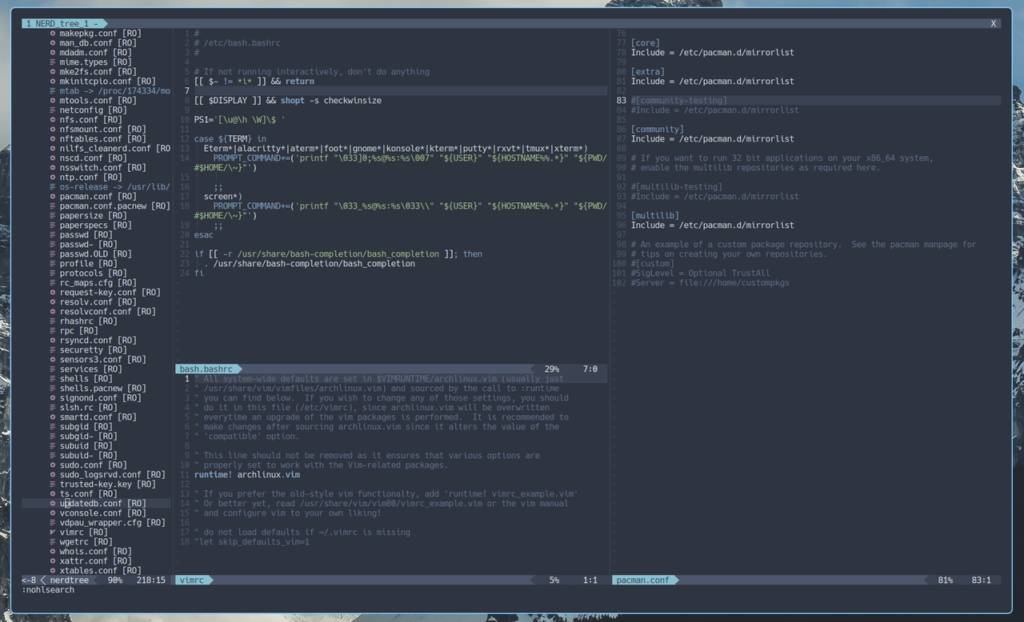
But more on that in other articles) For now, let’s start getting acquainted.
The actions described below were carried out in the Linux Mint 21 distribution environment. Here are a few of my past materials on this distribution:
- Article on installing Linux Mint alongside Windows
- Article on the initial setup of Linux Mint
- Article about customizing Linux Mint + Nord theme
Installing Vim on Linux Mint
Out of the box, Linux Mint already has Vim installed, but only its lightweight version, vim.tiny.
vim.tiny is a stripped-down (or minimal) version of the Vim editor, intended for systems with limited resources, such as embedded systems or small Linux distributions. It provides the core functionality of Vim, but may not include some of the advanced features and plugins available in the full version of Vim.
Below you can see that vim.tiny on Linux Mint hides behind the vi symlink.
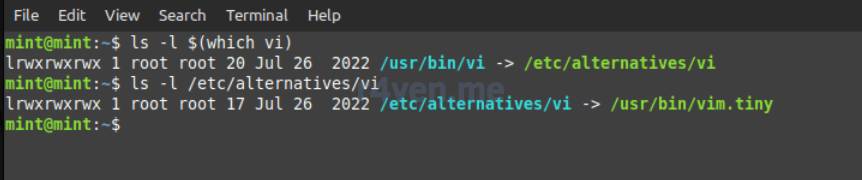
Let’s install the full version of Vim on our system:
sudo apt update && sudo apt install -y vim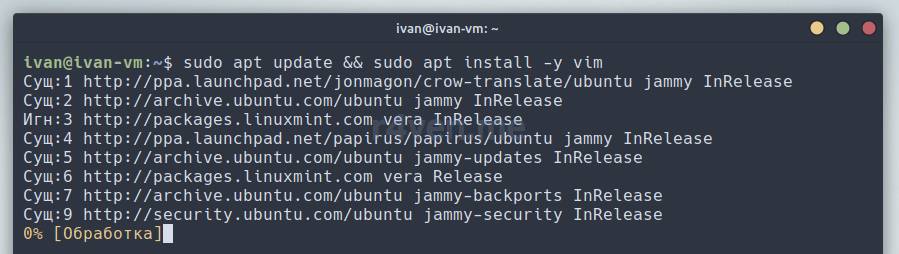
After installation, the Vim editor can be launched both from the console and from the Linux Mint main menu. During Vim’s installation, a .desktop file is created to launch the editor in a separate terminal window, as a standalone application.
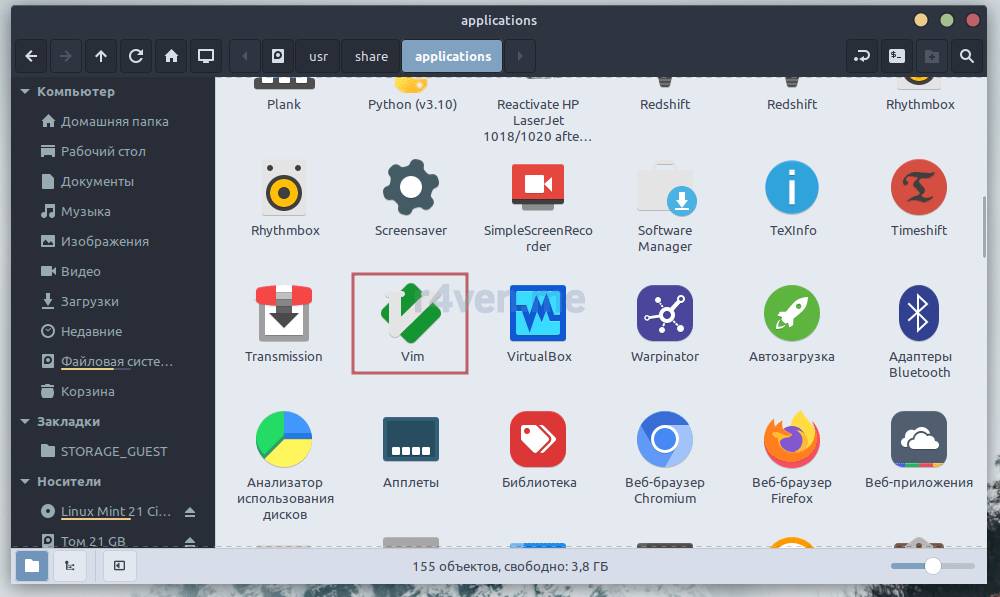
To launch the editor, run the command of the same name in the terminal:
vimYou’ll see a window like this:
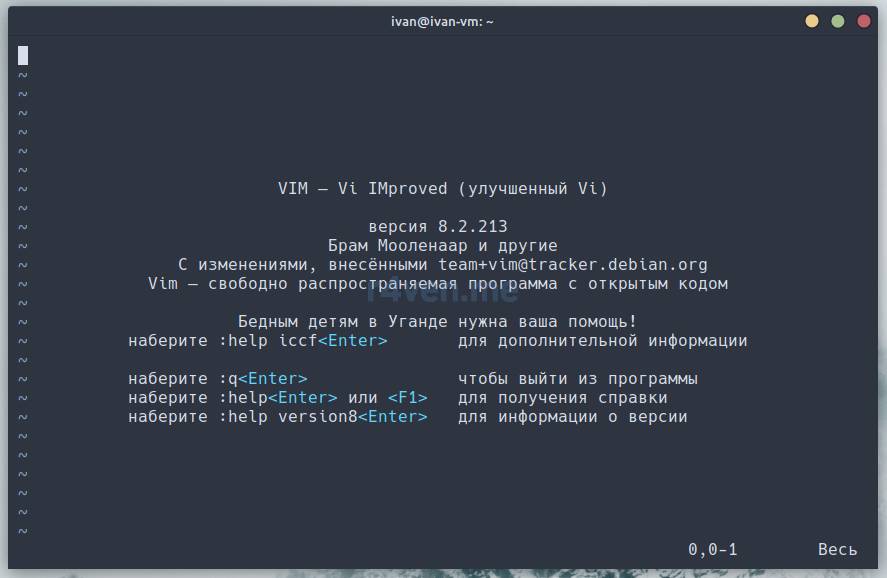
Here the developers thoughtfully tell us how to exit Vim) — type (in an English layout) :q in sequence
Let’s check
:qThe colon : here activates the editor’s command line, and q (quit) is the command that means exit the editor.
You can also exit Vim by pressing
ZQ, i.e., while holdingShift, press the keyszandqin sequence — this exits the editor without saving the file. To exit with saving, pressZZin the same way.
To open an existing file for editing, simply pass the vim command an argument with the name of the file and, if necessary, the path to it.
If you pass the name of a non-existent file, after saving it inside the editor, such a file will appear on disk.
For example, let’s open the file file.txt for editing in the Документы (Documents) directory of our home (~) folder:
vim ~/Документы/file.txtAt the bottom of the window we’ll see the name of the document being edited:

The first thing beginners run into is the question of how to start editing the document. Of course, it’s not that simple) Here we need to talk about the modes of operation in Vim.
To call up help, press
F1or press the keys:helpEnterin sequence
Vim modes of operation
When Vim is opened, the default mode is command mode.
Command mode (normal mode)
In this mode, pressing keys or their combinations is interpreted by the editor as commands.
For example, the : character is a command that calls up the editor’s console.
Below I’ll give the command-mode key commands I use most often.
An uppercase letter implies pressing it together with the
Shiftkey, for exampleO=Shift + o.
The cursor is the blinking white block character that marks the current position in the file’s structure.
The clipboard in Vim is called a register. It’s a separate, flexible mechanism.
List of popular command mode keys:
Esc— the magic key that cancels the current action and returns you to command mode;j— move the cursor down, also works like pressing the down arrow key;k— move the cursor up, also works like pressing the up arrow key;h— move the cursor left, also works like pressing the left arrow key;l— move the cursor right, also works like pressing the right arrow key;u(undo) — undo the last action, analogous to the well-knownCtrl + zin GUI programs;Ctrl + r(redo) — undo the undo) analogous toCtrl + y;i(insert) — switch to insert mode before the character where the cursor is (more on this mode below);s— switch to insert mode, deleting the character before the cursor;a— switch to insert mode after the character where the cursor is;A— switch to insert mode, moving the cursor after the last character in the line;o— switch to insert mode, creating a new empty line below the line with the cursor;O— switch to insert mode, creating a new empty line above the line with the cursor;y(yank) — copy command, analogous toCtrl + c;yy— copy the entire line where the cursor is placed into the clipboard (register);p(paste) — paste the contents of the register into the space after the cursor;P— paste the contents of the register into the space before the cursor;g(go) — move the cursor, works in combination with direction pointers;gg— move the cursor to the beginning of the file;G— move the cursor to the end of the file;<1-9>G— go to the specified line;w(word) — move the cursor to the first character of the next word;e(end) — move the cursor to the last character of the current word;b— move the cursor before the first character of the current word;$(like regexp) — move the cursor to the last printable character in the line;^(like regexp) — move the cursor to the first printable character in the line;0— move the cursor to the beginning of the line;v— switch to selection mode;V— select the entire current line;d— cut, analogous toCtrl + x, works in combination with direction pointers;dd— cut the line where the cursor is located;x— delete the character before the cursor, the Del key does the same thing;ZZ— exit the editor, saving changes;ZQ— exit without saving changes;:— call up the editor’s command line;:w— write the changes made to the file, i.e. save, analogous toCtrl + s;:wq— exit the editor, saving changes;:q— simply exit the editor;:q!— exit the editor ignoring warnings.
Try practicing this.
I want to separately note the mechanism where you can specify how many times to repeat a command before the command itself. For example, if you type the number 15 and then press the V key — you’ll select 15 lines following the cursor:
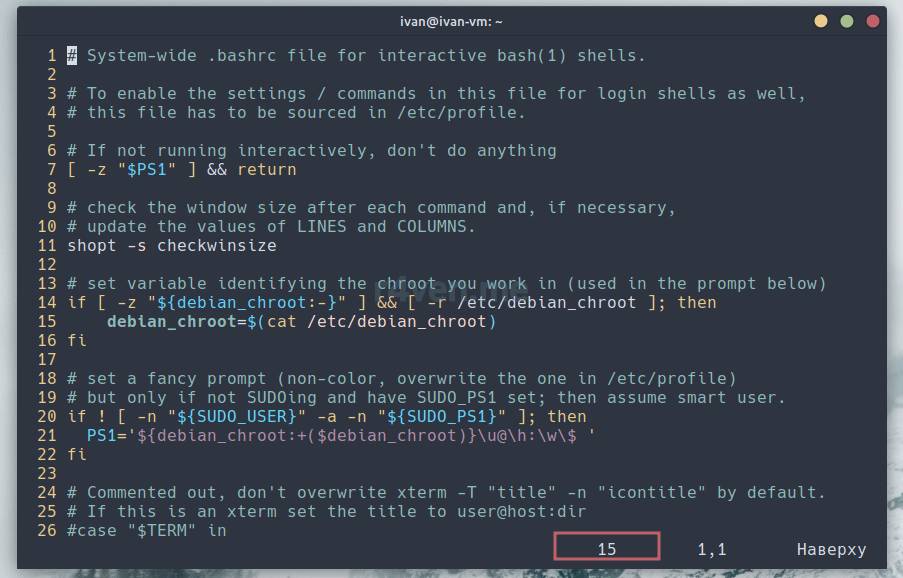
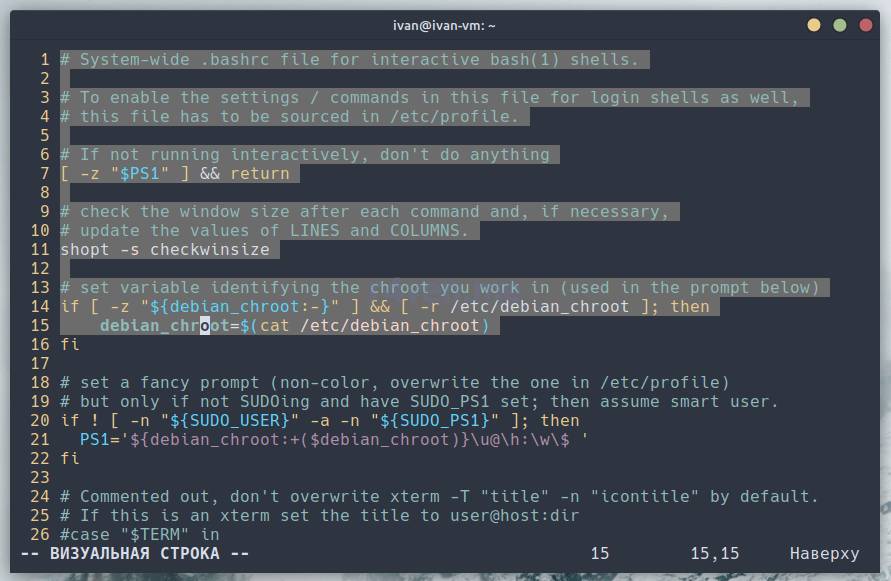
Other commands work similarly, for example movement with the w, b keys, or deletion with d, x, etc.
Insert mode
The popular ways to switch to insert mode are listed above. Most often it’s the i key. Switching to insert mode is indicated by the message “ВСТАВКА” or “INSERT” at the bottom of the editor:
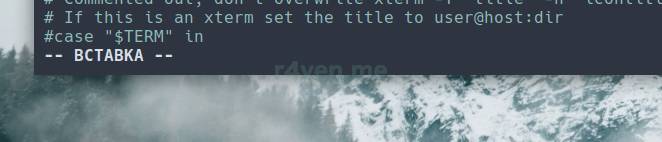
This is the classic text editing mode, where cursor movement with the arrow keys is supported, as well as some key combinations.
List of popular insert mode keys:
Ctrl + w— delete the word before the cursor;Ctrl + u— delete the line content up to the cursor;Ctrl + h— delete the character before the cursor (the same as pressing Backspace);Ctrl + j— go to a new line (the same as pressing Enter);Ctrl + t— add an indent (tab) before the current line;Ctrl + d— remove one indent from the current line.
Selection mode (visual mode)
It’s precisely because of the appearance, long ago, of the visual mode (visual) in the editor that it got its name — vi/vim.
Visual mode is text selection mode. You switch to this mode with the v key. After pressing it, you can select text:
- using the arrow keys on the keyboard for character-by-character and line-by-line selection;
- using command movement keys (w, e, b, $, G, etc.);
After selecting, the text can, for example, be copied by pressing y, deleted by pressing d, Del, x, etc. Then, for example, pasted with the p or P keys.
Pressing the v key again, or pressing Esc, exits this mode.
💡 Tip
Please note that during regular copying of text, the text is copied to the internal clipboard (register), not the system one. This buffer is only available inside the editor. Interacting with the system clipboard requires additional configuration. To work with the system clipboard, you can always use terminal selection via Shift.
List of popular visual mode keys and combinations:
v— enter selection mode;Shift + v— select the entire current line;v$— select from the current character to the end of the line;vG— select from the current cursor position to the end of the file;ggthenSifht + vGthend— select and cut the contents of the whole file;- etc.
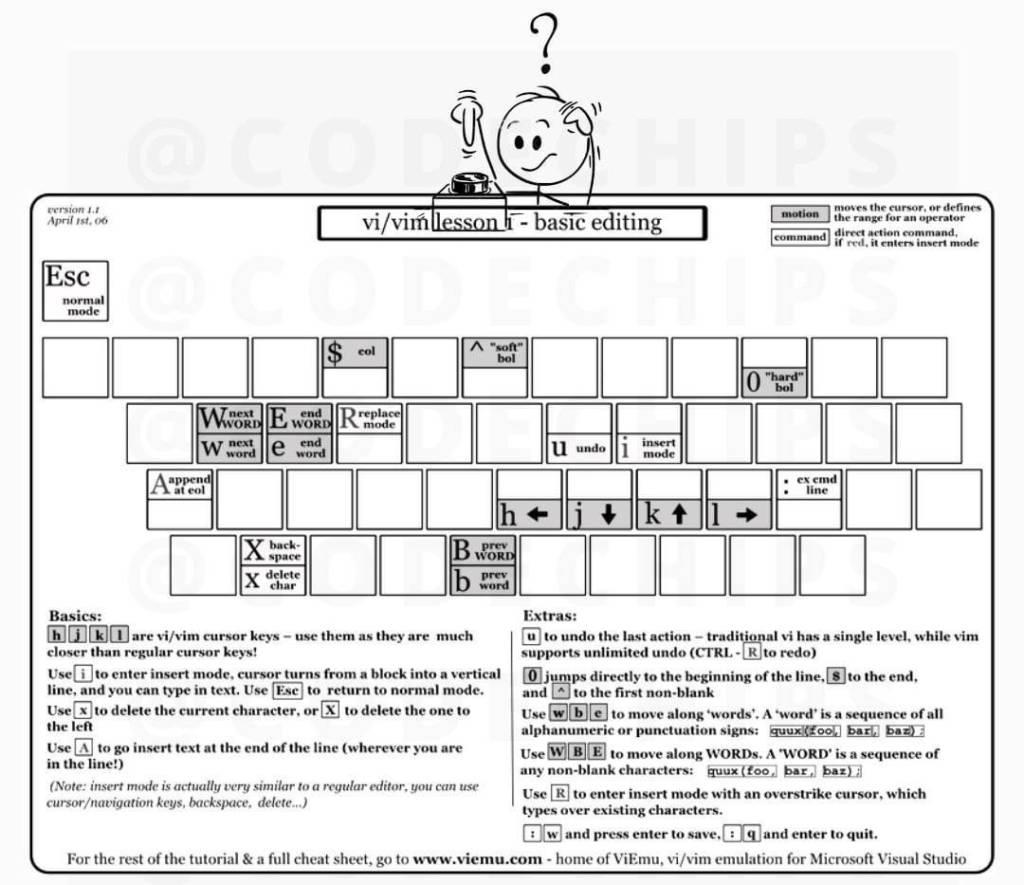
A rather comprehensive and useful image about navigation in Vim:
Other basic things
I’ll briefly talk about several frequently used procedures when working with the editor.
Open a new file in the current window
To open a new file in the current window, run the console command:
:open <имя_файла>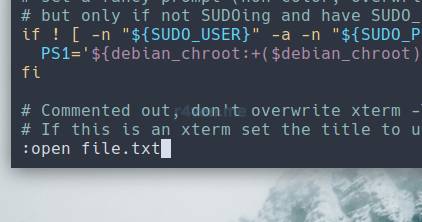
💡 Tip
A nuance! In Neovim, the :open command doesn’t exist. Instead, you can use the :edit command, which is available in both editors.
Note that after running the :open/:edit commands, your previous file isn’t closed — it’s in the session buffer. To view the list of sessions in the buffer, run the console command:
:buffers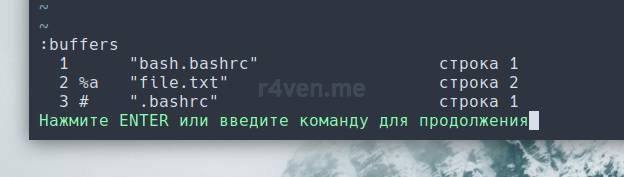
To switch to the desired session, run:
:buffer <номер_сессии>or
:buffer <имя_файла>Don’t forget that the Vim console supports interactive completion, invoked with the Tab key:
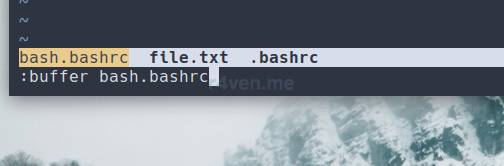
Honestly, I only learned about the session buffer mechanism and switching between them not that long ago)) Before that, I would just close the editor and reopen the needed file again) well, as they say — live and learn Vim)
Open a file in a new tab
To open a file in a new tab, run:
:tabnew <имя_файла>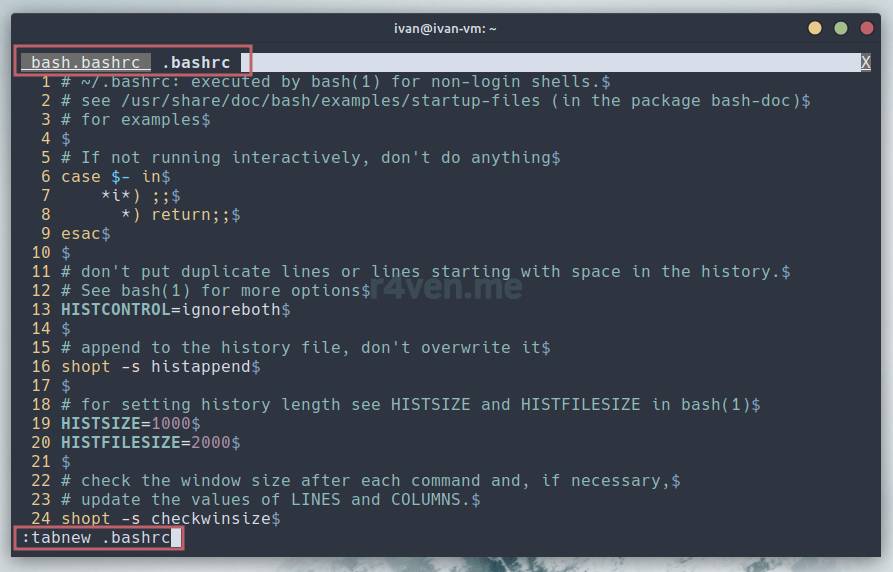
To move between tabs, use movement commands such as gt (go tab). For example, to move to tab #1 in command mode, type: 1gt, where 1 is the tab number.
Split the window
Call up the editor’s command line : and enter split or split <имя_файла> for a horizontal window split, and vsplit or vsplit <имя_файла> for a vertical one. You can specify an existing file as the file name, otherwise Vim will open an empty window for a new file.
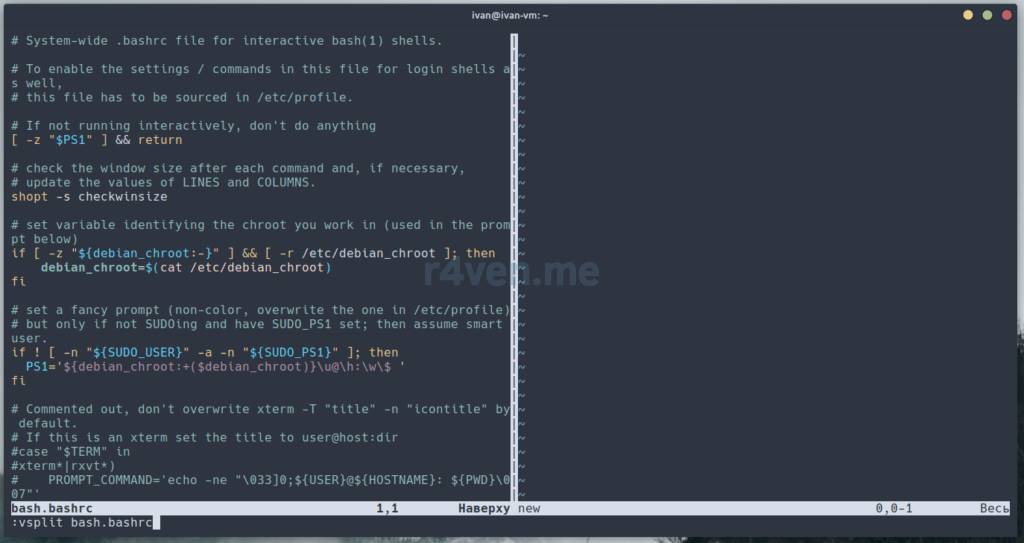
To move the cursor between windows, press Ctrl + w and then the desired direction with the arrow keys.
Searching content
To enter search mode, from command mode press the / key and then type the key you’re looking for. The found value will be highlighted. To move the cursor to the next occurrence, press the n key; to search backward, press N (Shift + n).
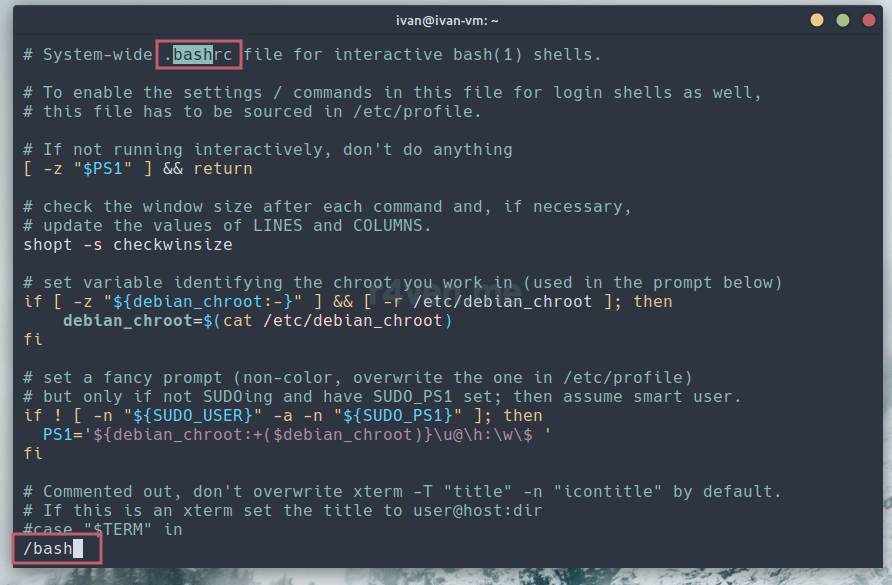
Note that by default, search is case-sensitive. To temporarily disable case sensitivity, type:
:set ignorecase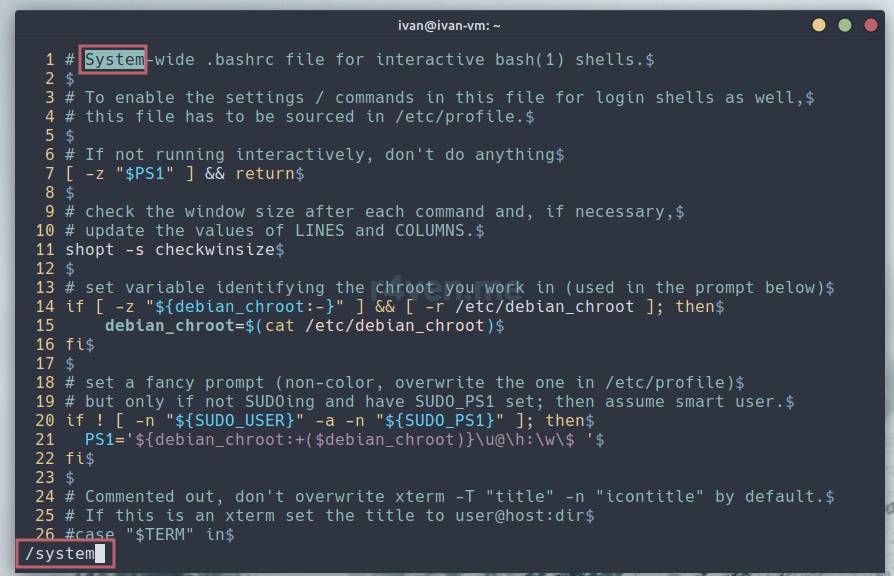
Search and replace
This procedure in Vim is quite flexible. You can process specific occurrences in a line, a block, or across the whole file.
Let’s look only at the case of a global replace across the whole file for a given key. To do this you need to:
- switch to command mode by pressing
: - type the string
%s/foo/bar/g - press
Enter

Where:
%s— a construct for processing found occurrences;foo— the key we’re looking for;bar— the new value;g— apply the changes to all occurrences in the file.
Enable line numbering
To enable the display of line numbers, type from the keyboard:
:set number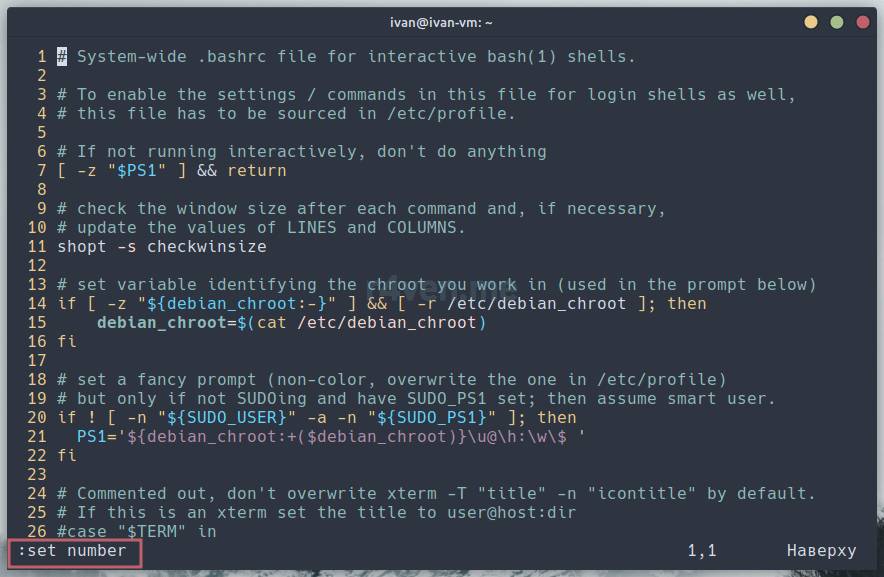
Note that line numbering will be displayed until you exit Vim. For it to persist, you need to set this option in the configuration file. But config files are beyond the scope of this article. There will be separate instructions on this topic.
Insert content from another file
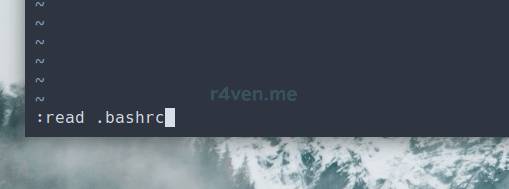
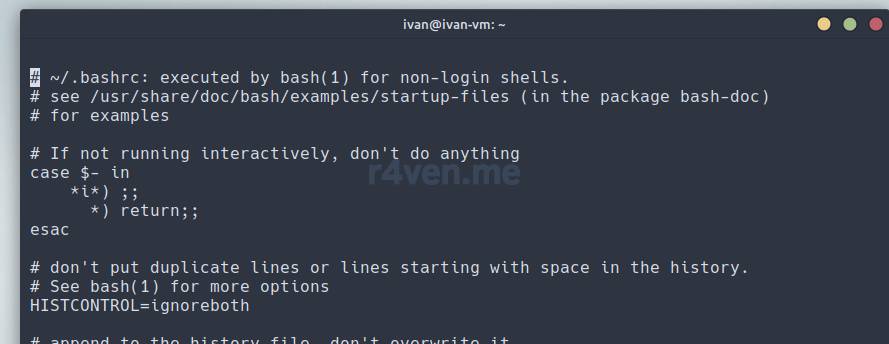
To insert into the current window the contents of another file, call up the editor’s console :, then type read <имя_файла>. If you specify a file name without a path, it implies using a file from the current directory. Also note that file names can be tab-completed for substitution. By the way, instead of read you can just use the character r.
Running external shell commands
You can run external commands of our shell from the editor’s console. To do this, in the editor’s console, specify the ! character as the first character and then type the command. For example, !ls -l:
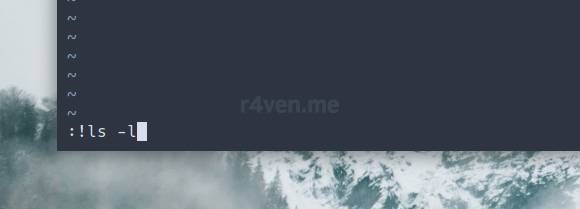
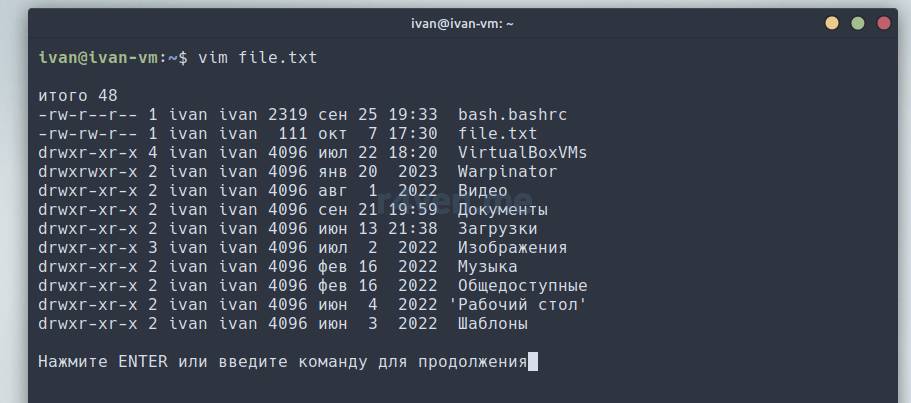
The output of the command will be displayed in a separate window. To return to the editor, press Enter.
And so, the list of the editor’s features and tricks could go on forever) so there will be more than one post about configuring Vim/Neovim)
Configuration files
Vim, like a lot of software on Linux and similar OSes, has configuration files, which are a separate, extensive topic) As mentioned at the beginning, the developers created a separate scripting language for configuring the editor)
Standard config file paths:
- for Vim:
~/.vimrc - for Neovim:
~/.config/nvim/init.vim
About Neovim
Why do I mention Neovim alongside Vim? The thing is, Vim has been developed for quite a long time, and because of its large codebase and lots of legacy code, it’s becoming increasingly difficult to extend its functionality. As a result, the Neovim project emerged, aiming to:
- get rid of the shortcomings described above;
- provide a more simplified way of creating plugins and extensions;
- bring more modern and quality innovations to the editor, such as asynchronous processing, support for new languages and platforms, and the ability to extend the editor’s functionality using the Lua language, thanks to the built-in API.
That’s why my future materials will most often be about Neovim.
What Vim/Neovim can look like
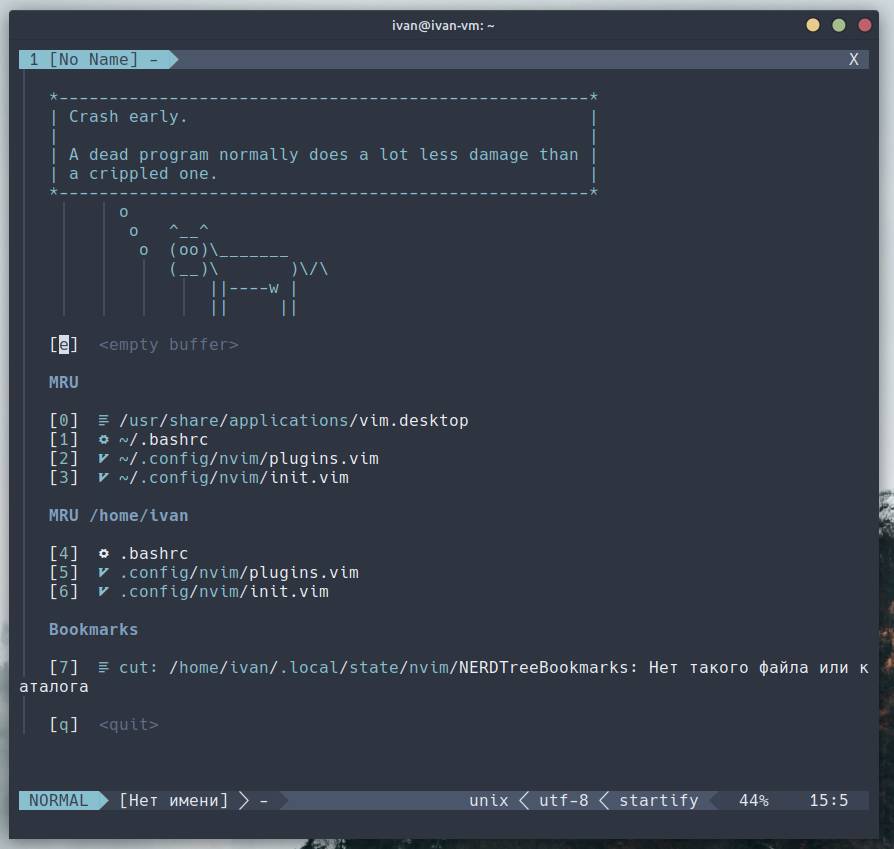
Well, here are a few screenshots of my current Neovim config and a few taken from the internet.
Mine:
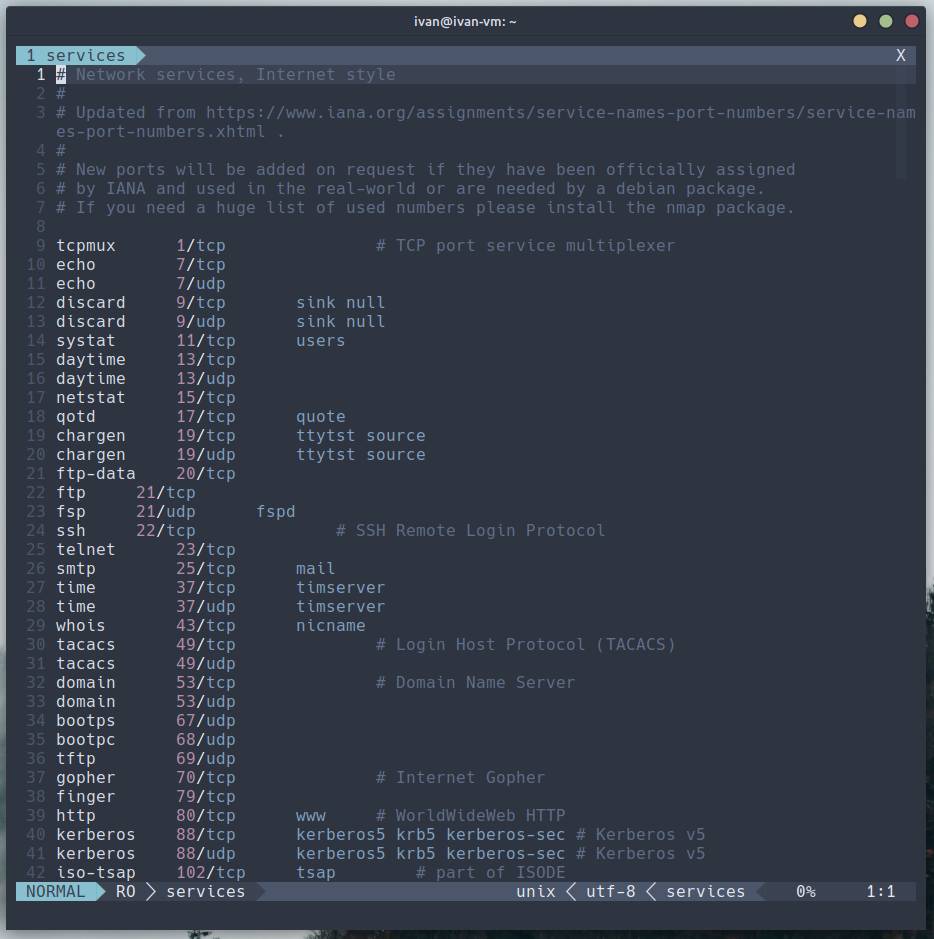
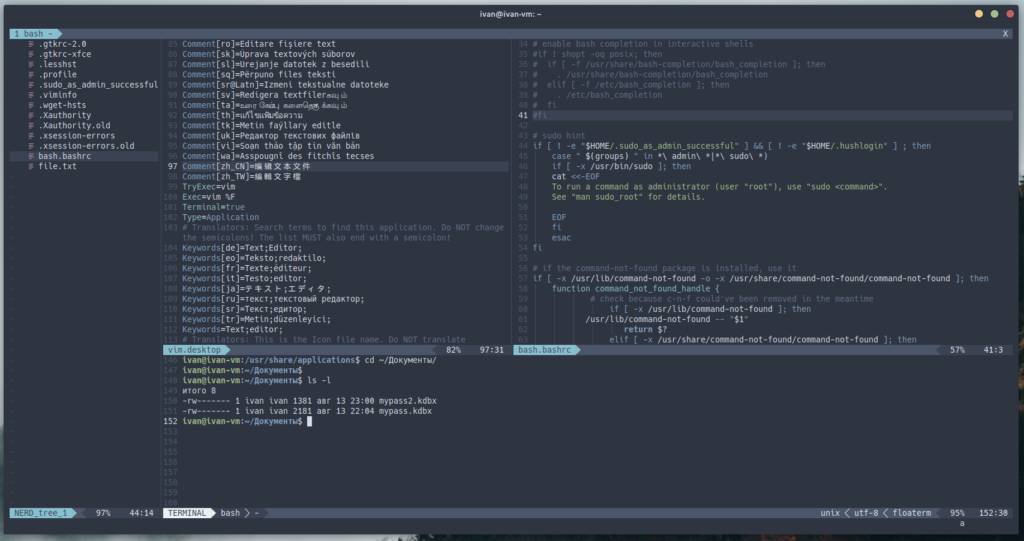
VSCode-style)
Reddit users:
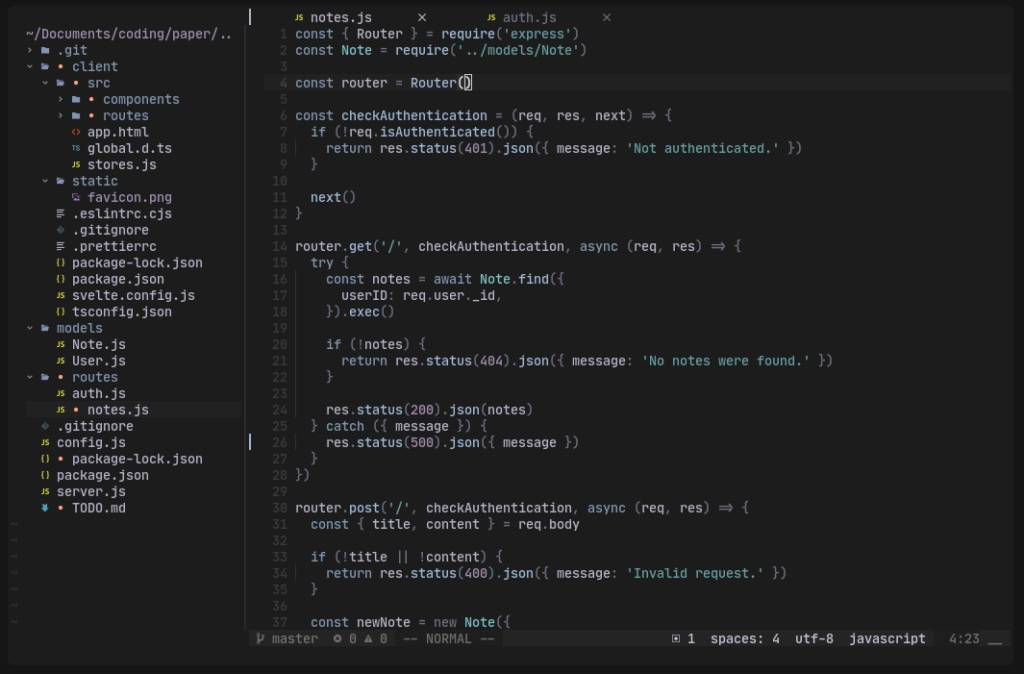
Author: Oreki-H
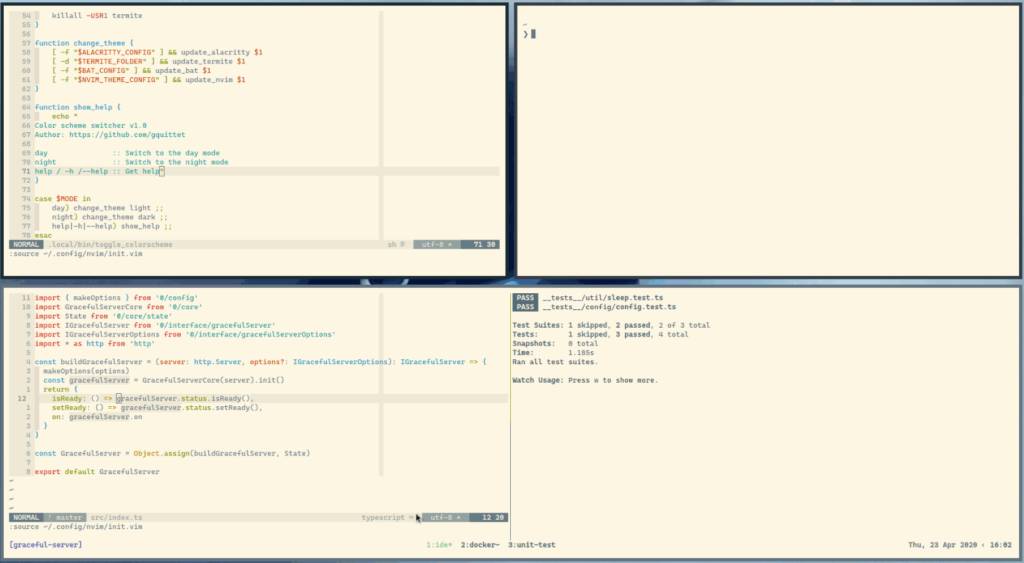
Author: gquittet
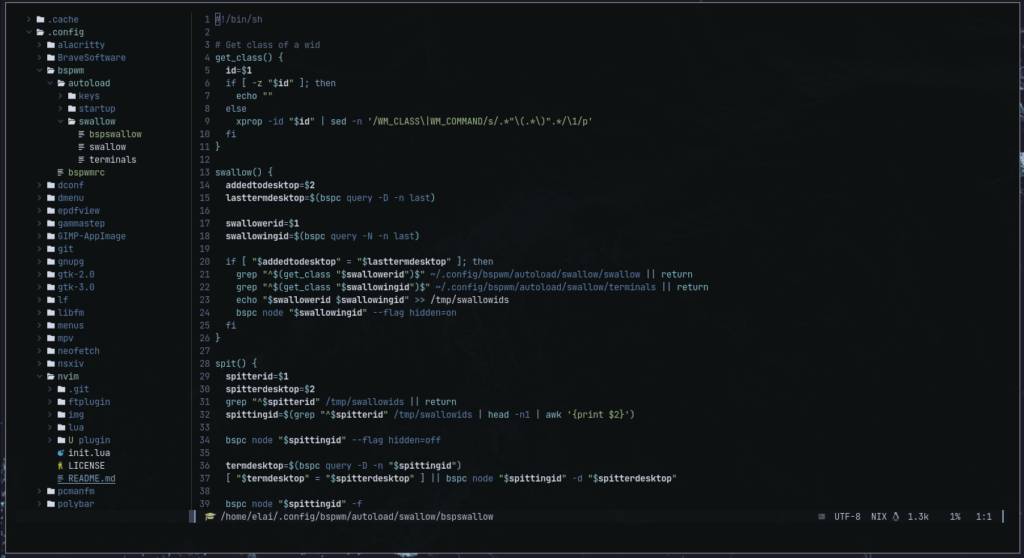
Author: micro-aries
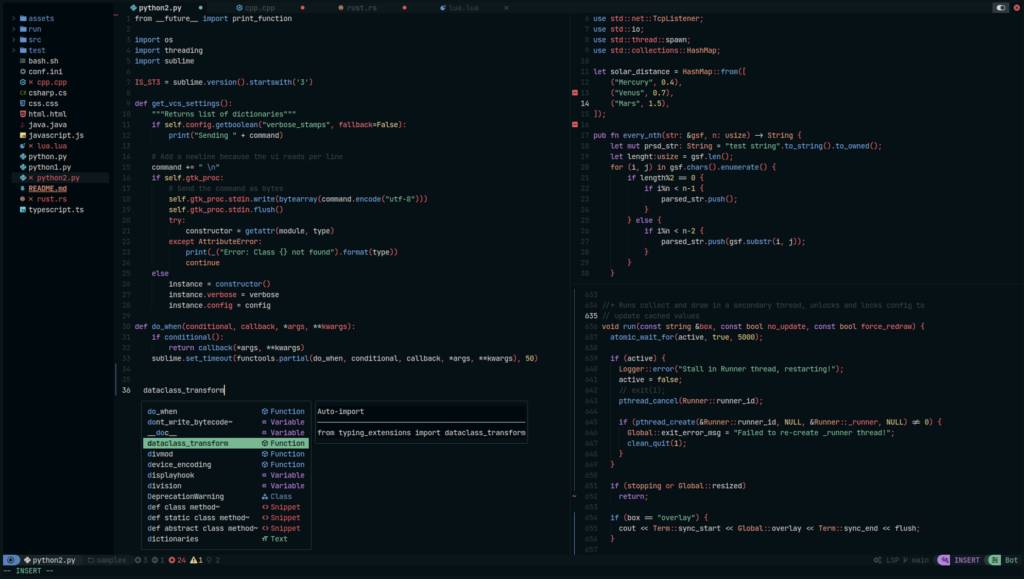
Author: unknown
Thanks for reading! Good luck conquering the Vim universe)
Useful sources
- The History of Vim and a Guide to Using It Effectively — Habr
- Vim — Wikipedia
- Vim — a good cheat sheet
My other articles on these topics:
👨💻And…
Don’t forget about our Telegram channel 📱 and chat
Or maybe you want to become a co-author? Then click here🔗
💬 All the best ✌️
That should be it. If not, check the logs 🙂

Comments