
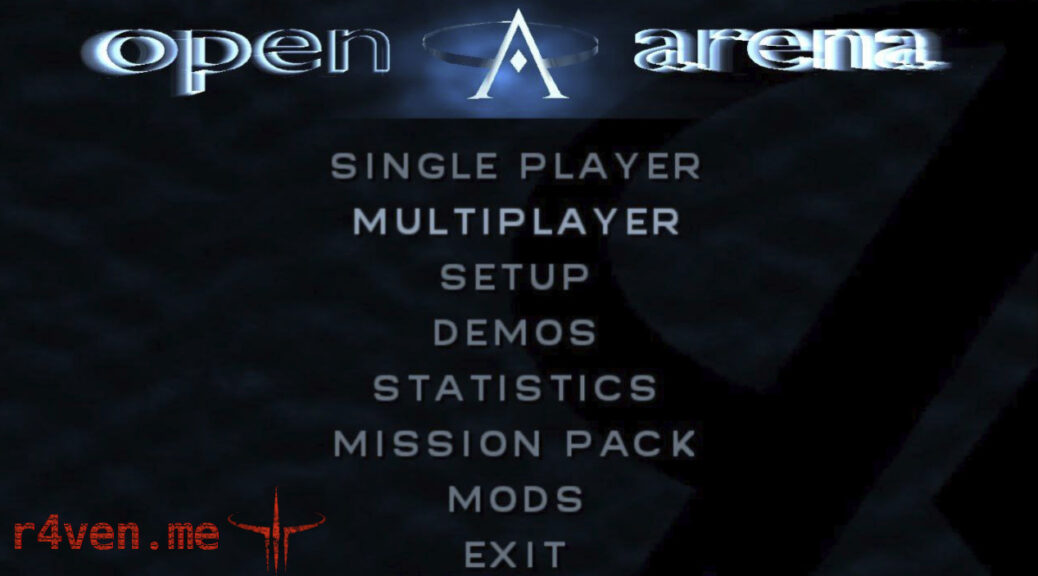
I’ll tell you how to install and launch the Open Arena 🎮 client (a fork of Quake 3 Arena) on Linux and Windows, and also show how to connect to a private server 🖥️.
🖐️Hey!
Subscribe to our Telegram channel @r4ven_me📱, so you don’t miss new posts on the website 😉. If you have questions or just want to chat about the topic, feel free to join the Raven chat at @r4ven_me_chat🧐.
Preface
OpenArena is an open source first-person shooter based on the id Tech 3 engine (used in Quake III Arena). It was created as an open alternative to Quake III Arena after the engine’s source code was opened in 2005. The project was developed by a community of enthusiasts, offering new maps, models, and game modes, while preserving the spirit of the classic arena shooter 🔥.
I recently ran a poll in my telegram channel, asking subscribers whether they’d want periodic evening OpenArena games if I set up a private server. And since, in my opinion, a sufficient number of people voted positively, I’m making this guide on installing the OpenArena client on Linux and Windows. If you’d also like to play together with like-minded people — be sure to subscribe ✍️.
The latest version of OpenArena at the time of writing this article: 0.8.8.
Installing OpenArena on Linux: Debian / Ubuntu / Linux Mint
In most popular Linux distributions the client is already in the standard repositories. So it’s enough to install it via the package manager. Example for Linux Mint 🍃:
sudo apt update && sudo apt install -y openarena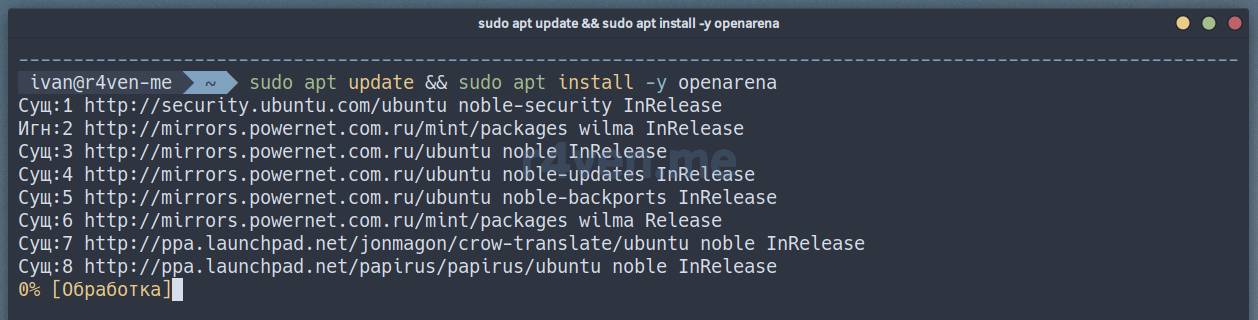
That’s it, the client is installed. Let’s launch it through the application menu:
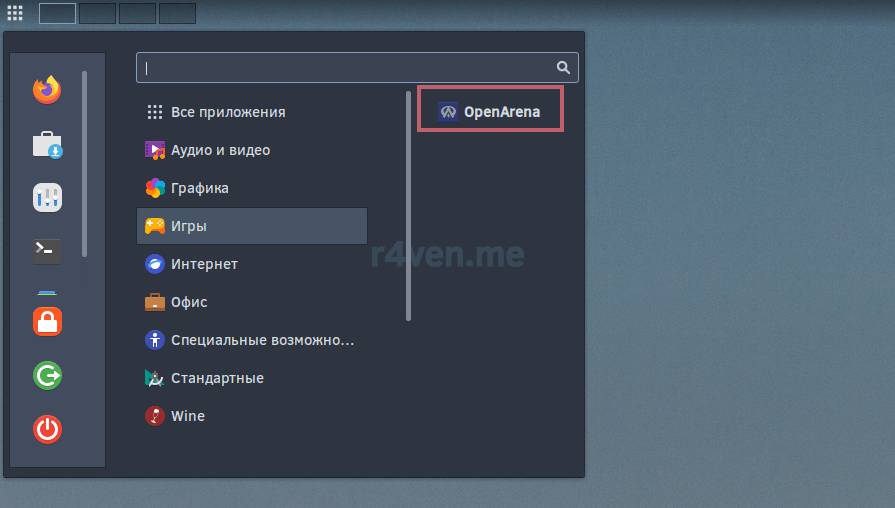
There’s an alternative option to run OpenArena from an archive, but it requires installing a number of dependencies. See more on the Manual/Install page of the project’s fandom. You can also find installation instructions for MacOS 🍏 there.
After installation, move on to configuring the screen resolution below 👇.
Installing OpenArena on Windows
For Windows you need to download an archive with the game files. You can do this on the downloads page:
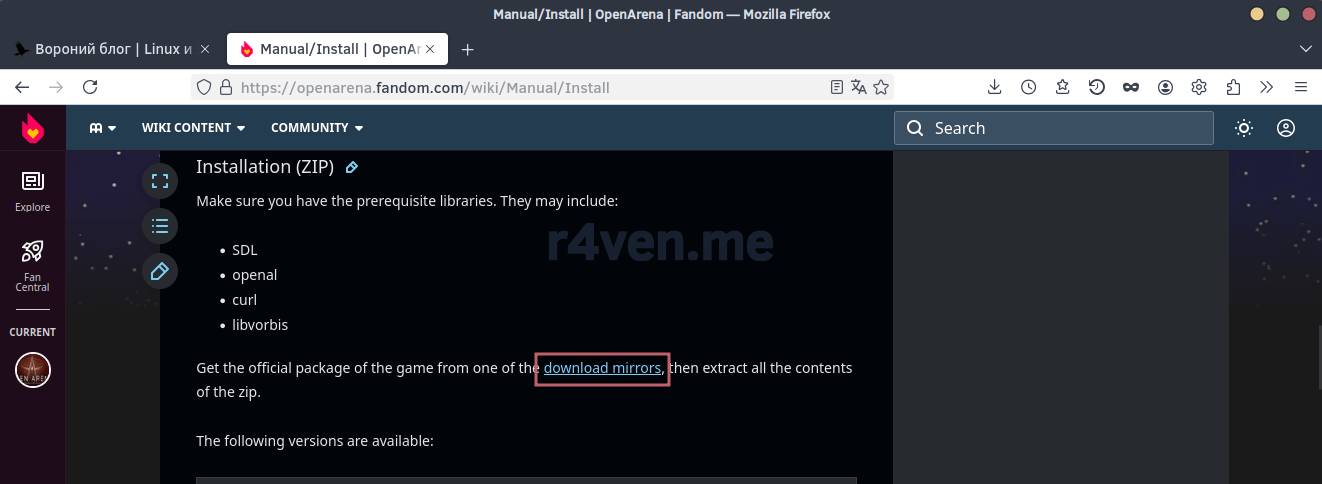
Or via direct links: Web archive and Google drive.
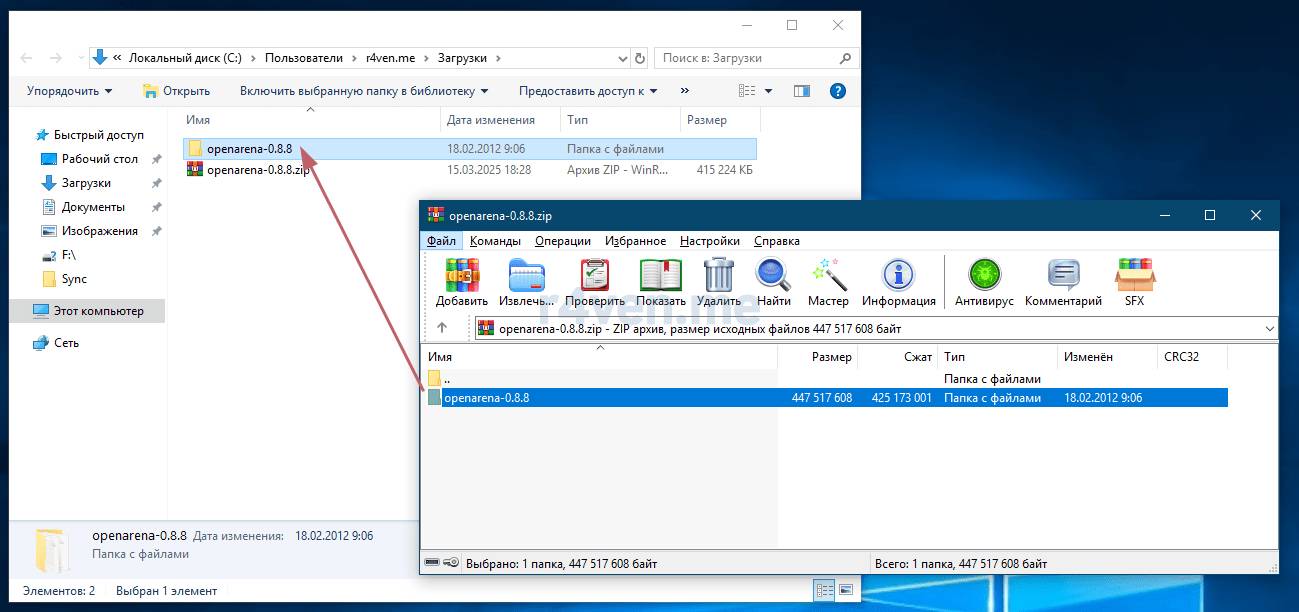
After downloading, we unpack the archive with any archiver, 7z/Winrar:
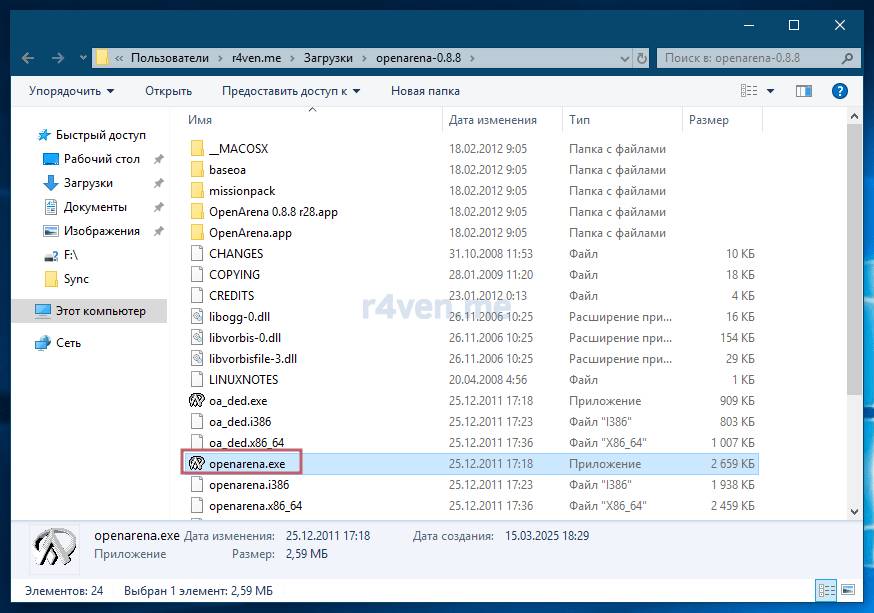
Then run the executable file openarena.exe:
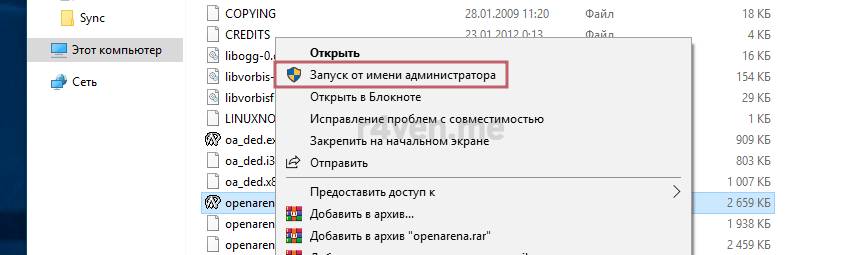
If it doesn’t launch or launches incorrectly, try running it as administrator:
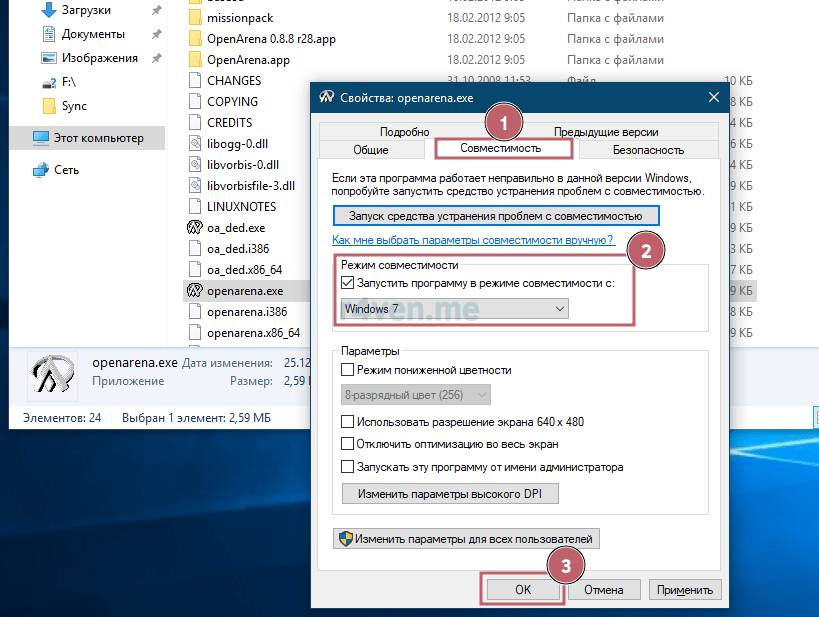
Setting a compatibility parameter via the launch file’s properties may also help:
If the game starts successfully, you’ll most likely need to change the screen resolution.
Changing screen rotation and resolution
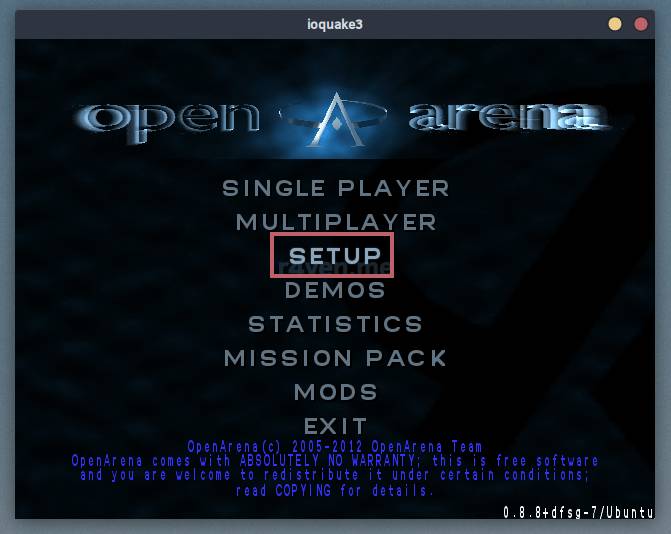
Go to SETUP:
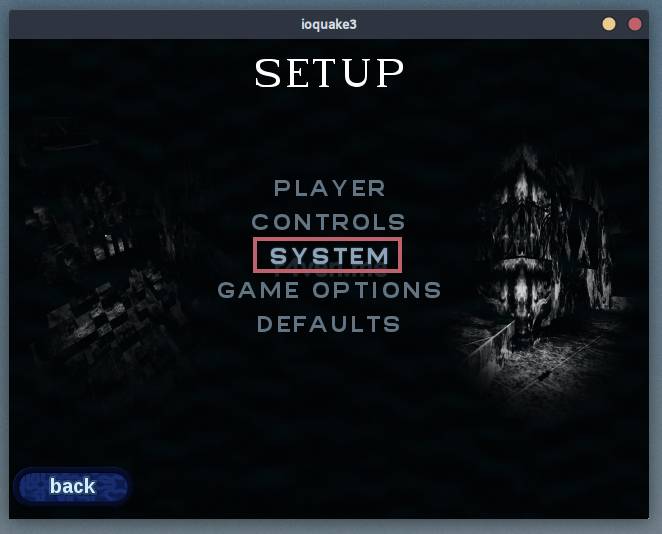
Then SYSTEM:
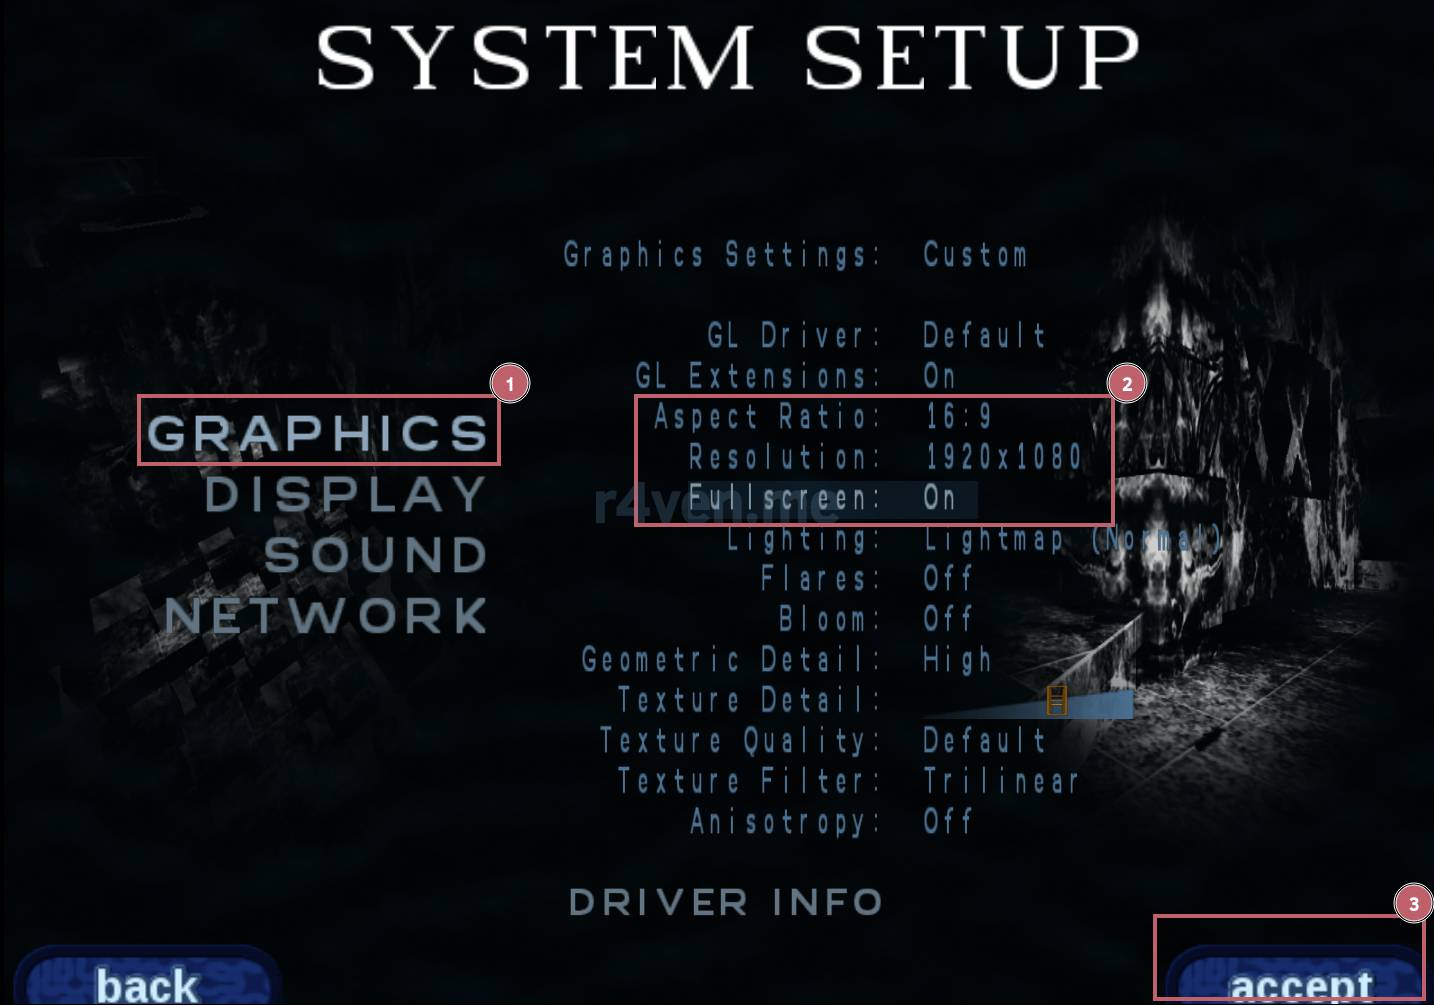
In the GRAPHICS section set the needed parameters for Aspect Ratio, Resolution, and Fullscreen (if needed). Then apply the changes with the accept button in the bottom right corner:
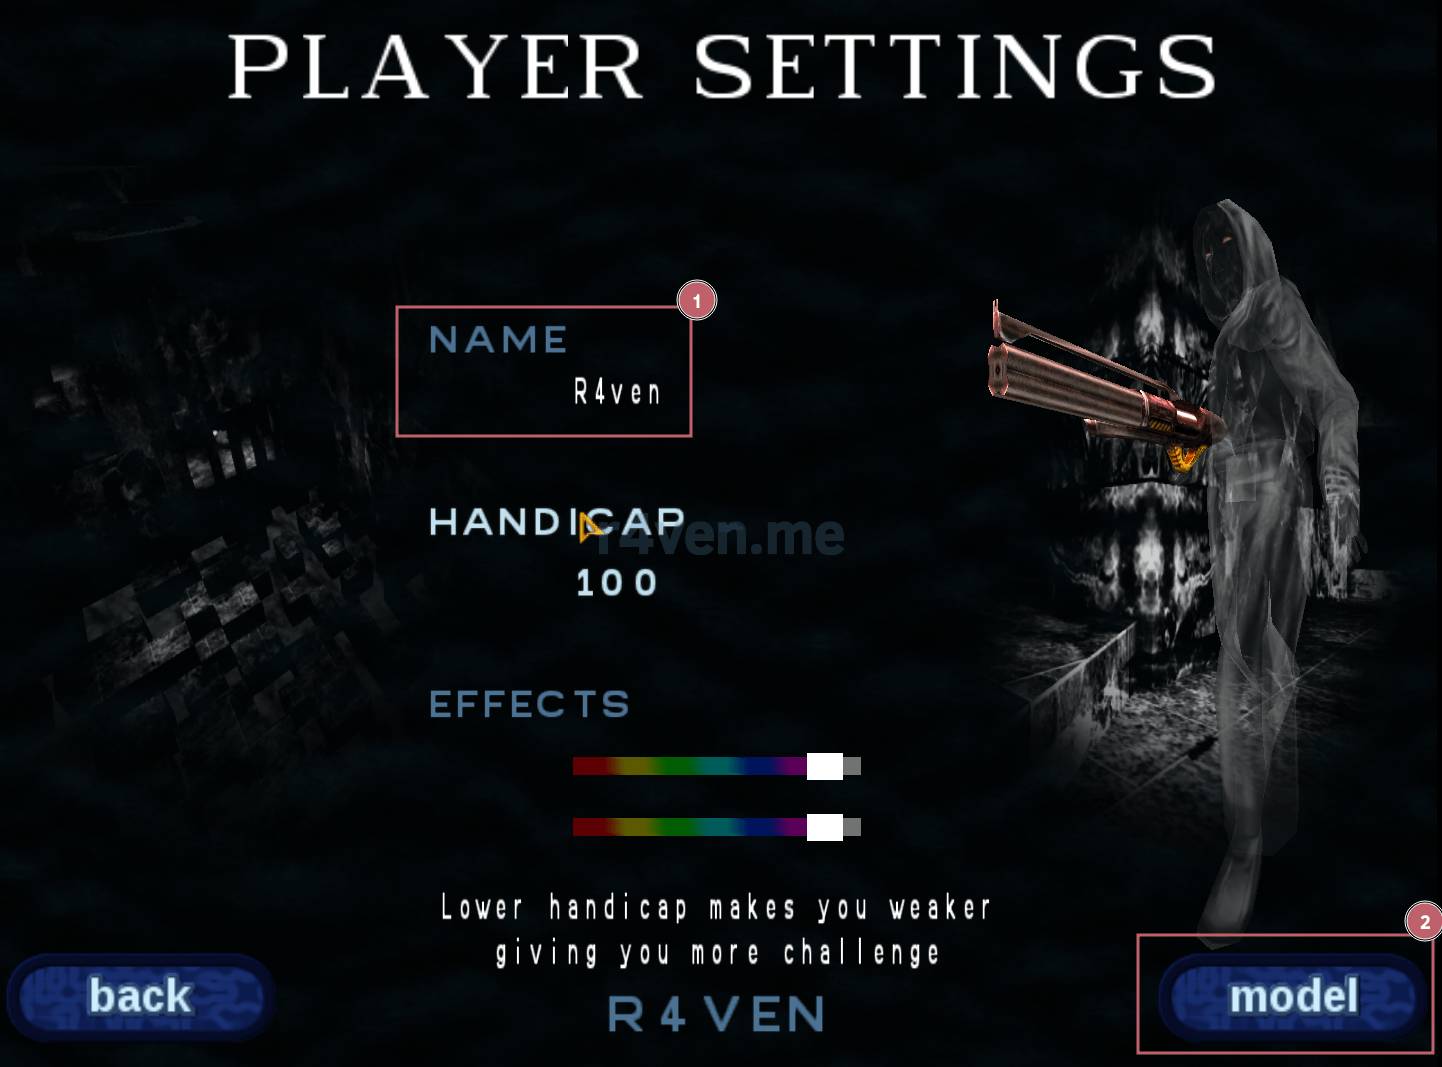
You can set a nickname and character model in the SETUP —> PLAYER —> NAME | model menu:
Done, you can start playing:
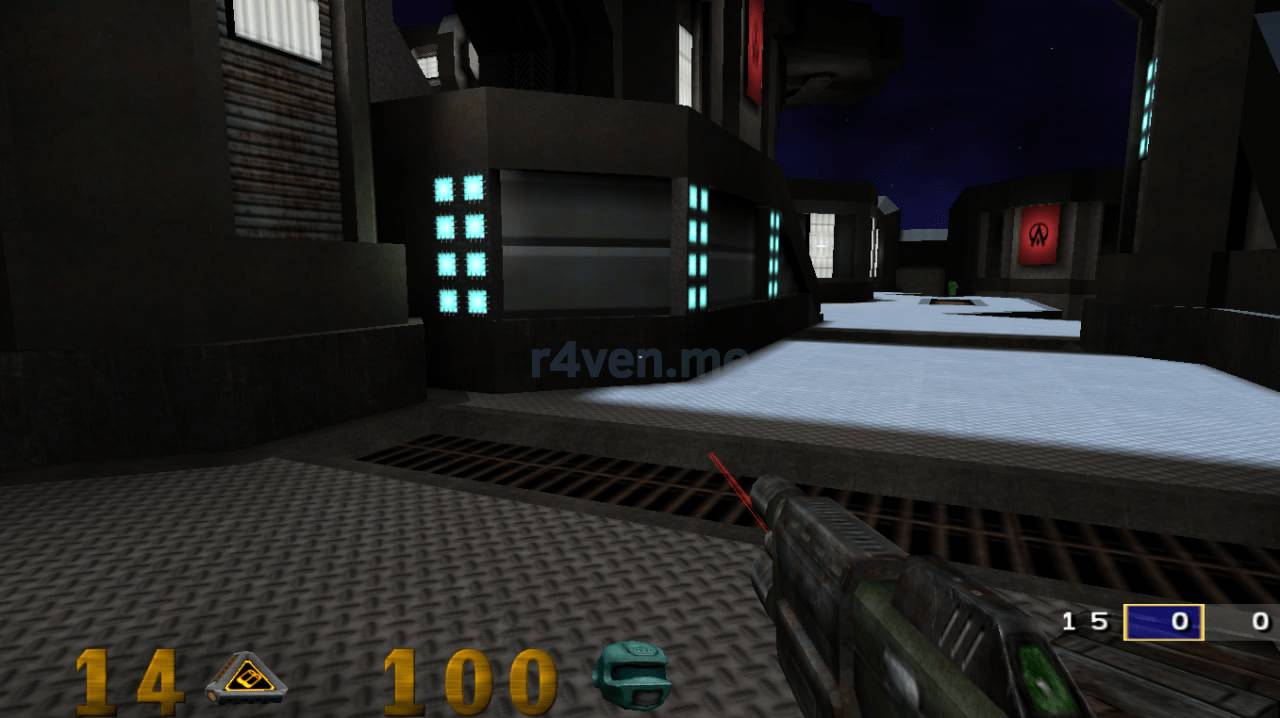
I recommend exploring the settings menu for crosshair selection, auto-switching mode for picked up weapons, and so on.
Connecting to a private server
To connect to a private server, bring up the dropdown console with the key:
\`
~
ёAnd enter two commands: the 1st sets the server password, the 2nd connects to the specified address using the given password:
/password r4ven_me
/connect arena.r4ven.me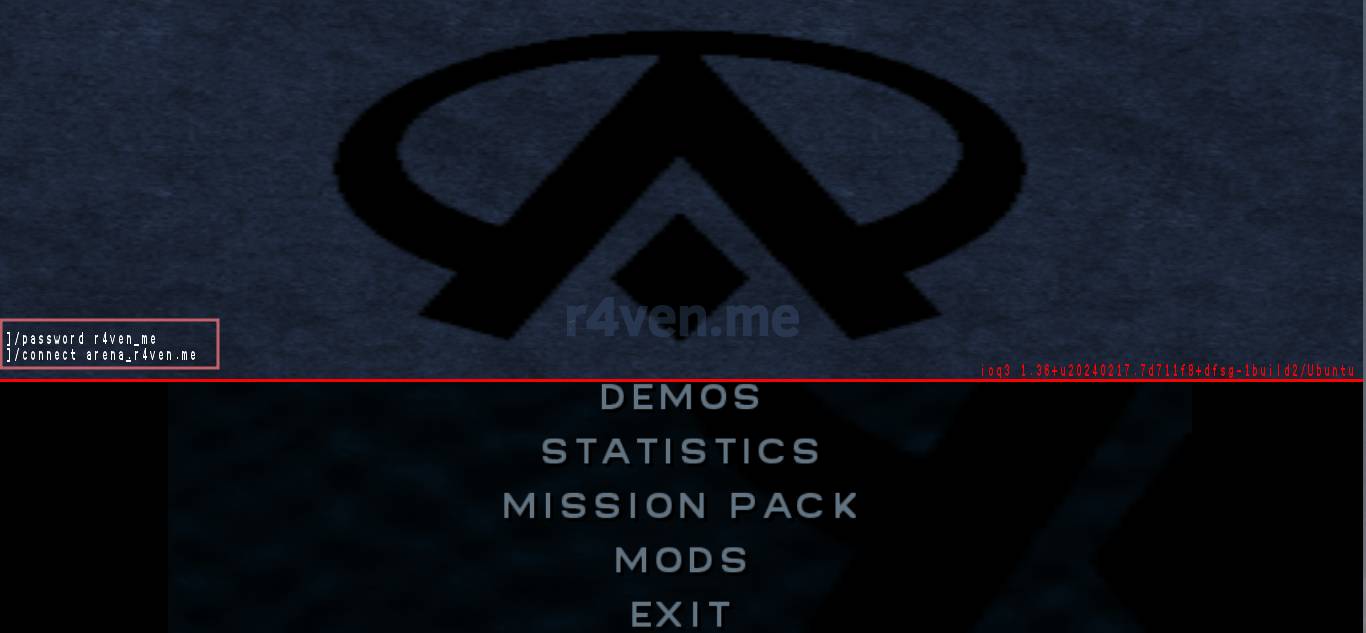
The commands above are given as an example. I’ll announce information about planned games in telegram.
By the way, many Linux users liked the concept of the Quake console, and it was implemented in various terminal emulators. For example Guake, which there’s an article about on the site.
Afterword
In the next article I’ll tell you how to set up your own private OpenArena server with blackjack and penguins using the docker engine. Meanwhile…
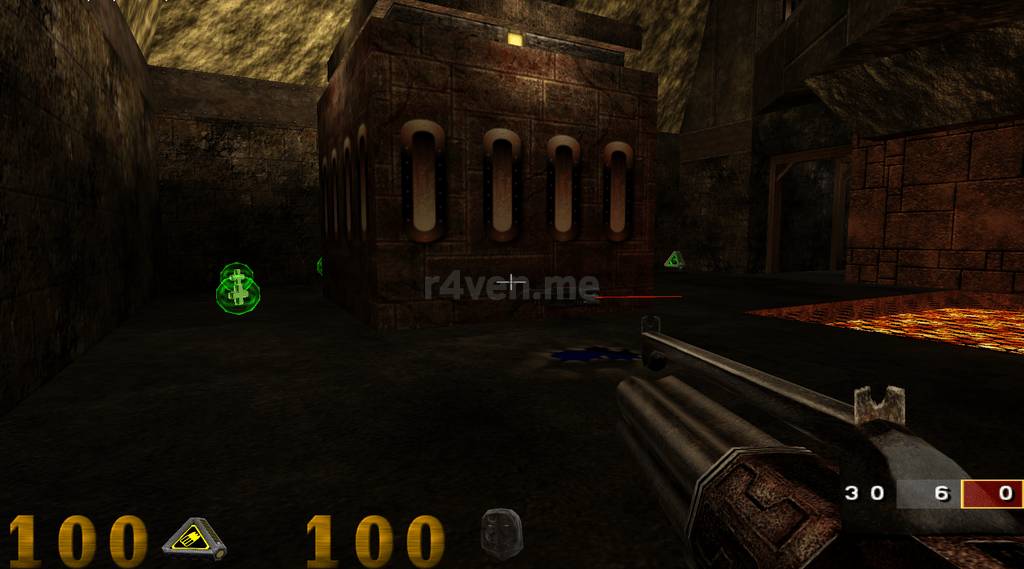
Welcome to the arena!
Useful materials
- Installing OpenArena (EN) | Fandom.com
- Downloads page | Fandom.com
- Direct link to the archive | Web archive
- Direct link to the archive | Google drive
- Official project website | openarena.ws (periodically unavailable)
👨💻And…
Don’t forget about our Telegram channel 📱 and chat
Or maybe you want to become a co-author? Then click here🔗
💬 All the best ✌️
That should be it. If not, check the logs 🙂

Comments