An article about how to easily install and run local Open SourceAI🤖 models using Ollama🦙 on a PC running Linux🐧.
AI has already become part of everyday life for IT specialists, and today I invite you to join this trend 🧑💻, but with a greater emphasis on privacy 🛡️.
🖐️Hey!
Subscribe to our Telegram channel @r4ven_me📱, so you don’t miss new posts on the website 😉. If you have questions or just want to chat about the topic, feel free to join the Raven chat at @r4ven_me_chat🧐.
The actions in the article were tested on Linux Mint 22 (Ubuntu 24) and LMDE6 (Debian 12) distributions on a PC with this configuration.
What are local AI models for?
Among the obvious advantages, we can highlight:
Privacy — all data is processed and stored locally on your computer;
Independence from external services — can work without an internet connection;
Flexibility — you can change models, customize them for yourself;
Cost savings — no need to pay for an API or subscriptions (especially when there isn’t even a way to make a payment 🤷♂️).
Besides the above, my interest in Ollama is related to the ability to use local models as an AI assistant/agent. For example, for integration with ShellGPT or the code editor Neovim with this plugin.
What is an LLM and Ollama
Ollama is an open source tool and platform for locally running and interacting with LLMs (Large Language Models) on your computer 🧑💻. This software makes it easy and convenient to work with models such as LLaMA, DeepSeek, Mistral, Gemma, and others. And all this without a connection to the cloud or even the internet 🌐.
For models to work correctly you’ll need a GPU — a graphics card (the more powerful, the better). You can use a CPU, but in that case performance will be significantly lower 😐.
Installing Ollama on Debian
💡By default, the installation and configuration of ollama on Linux is done via the terminal. If you prefer an exclusively GUI approach, consider the option described in the “Alternative to Ollama and open-webui — LM Studio” section below.
On the official Ollama project website, in the downloads section for Linux systems, it is suggested to install the program using a shell script. The script is downloaded using the curl utility and immediately passed for execution to the command interpreter (sh or bash).
💡 Tip
💡If you don’t have the curl utility installed, run this in the terminal:
BASH
sudo apt update && sudo apt install -y curl
Click to expand and view more
Before running such scripts from the internet, it is recommended to check them for safety.
👇Under the spoiler is an instruction on how to check the script for safety
1) Viewing the script’s content:
BASH
curl -fsSL https://ollama.com/install.sh | less
Click to expand and view more
2) Comparing the hash sum of the script from the link and the script from the official repository using sha256sum:
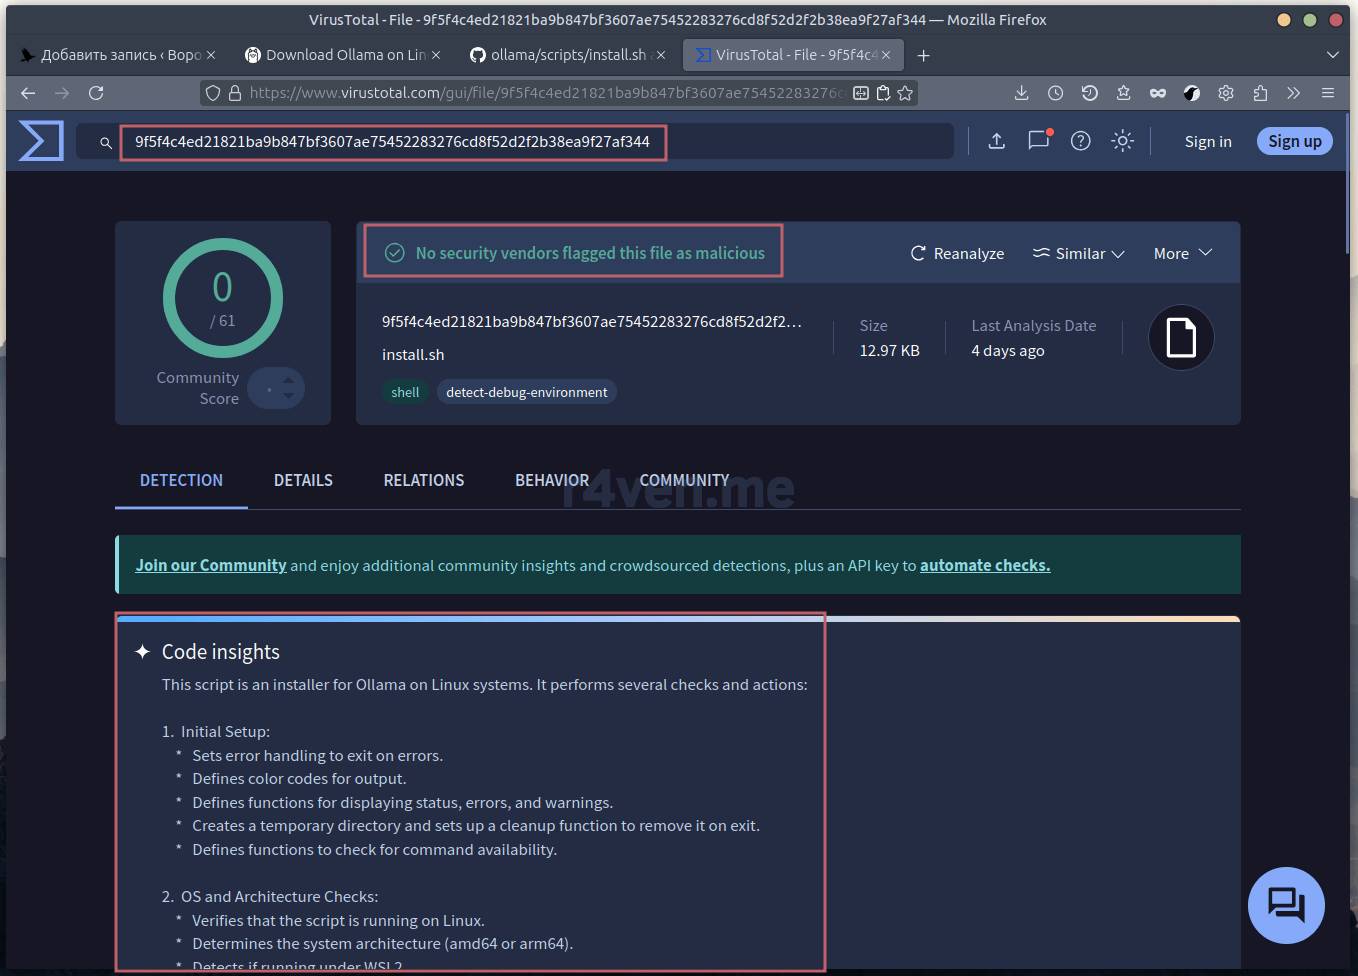
3) Uploading the script to a free online service — VirusTotal, which checks files and links for malicious code, viruses, trojans, worms, spyware, and other threats.
Save the script to a file in the user’s home directory (this action is safe):
After understanding what will happen, open the terminal and run:
BASH
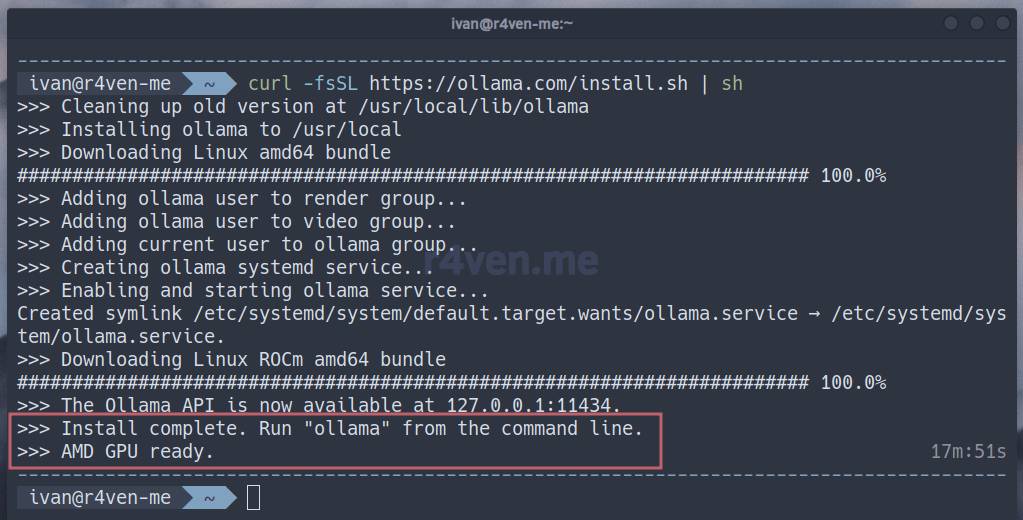
curl -fsSL https://ollama.com/install.sh | sh
Click to expand and view more
Successful Ollama installation on a PC with an AMD GPU
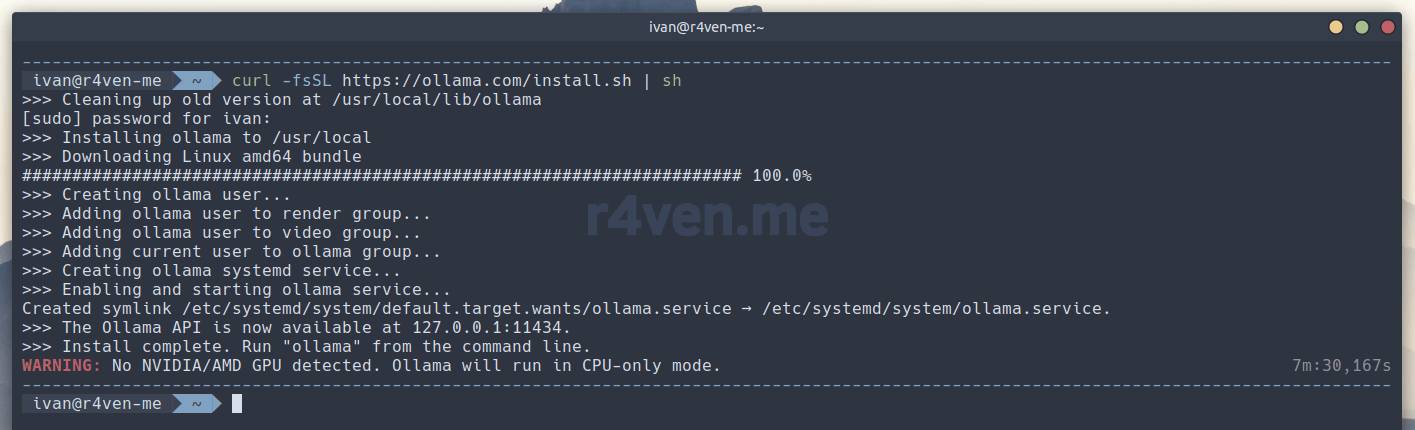
If you don’t have a discrete GPU, you’ll get a notification like this:
In that case ollama will still work, but with lower performance 😥.
Choosing a model and running it in the console
Go to the Models section of the official Ollama project website to search for the model you need. The project provides the ability to download and use a large number of them.
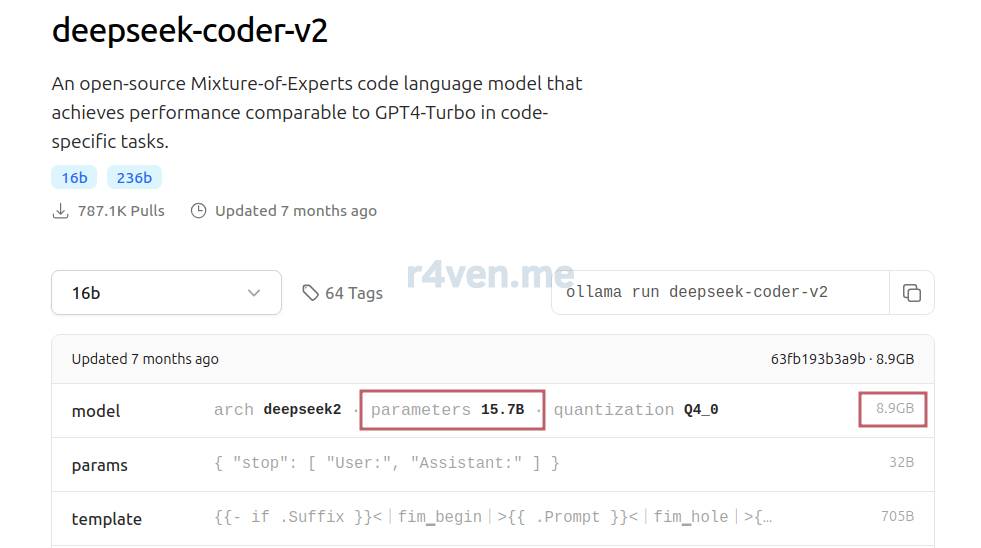
In this article I’ll only cover an example with a model that speaks Russian fairly well and is oriented towards working with various programming languages, including shell languages such as Shell/Bash/Zsh, etc. — deepseek-coder-v2. Yes, one of the variations of that very hyped Chinese open source AI model 👌.
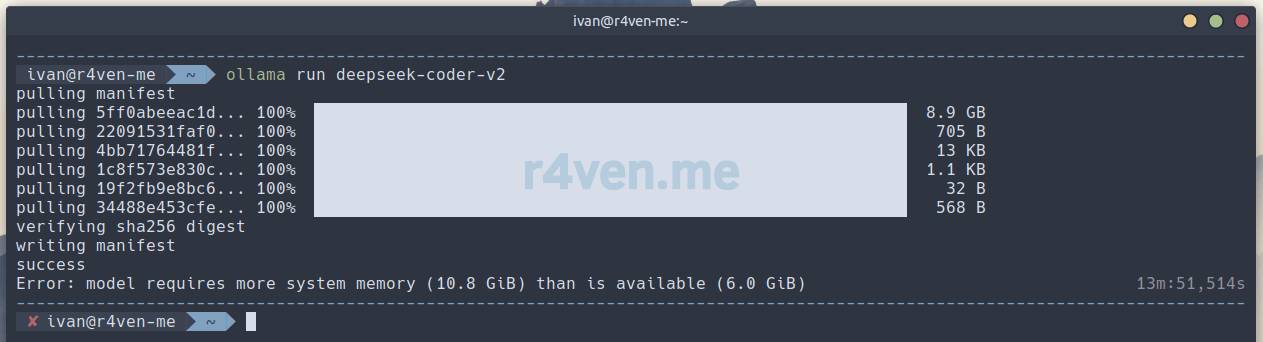
This model has ~16 billion parameters, takes up ~9GB of disk space, and requires ~10GB of RAM while running. So make sure you have enough free resources before installing.
💡Less demanding models are also available on the Ollama website, but they rarely speak Russian 🤷♂️.
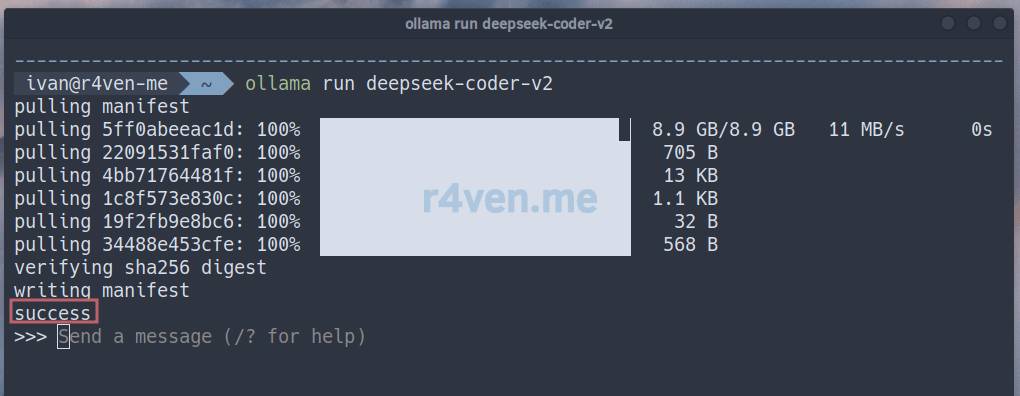
The model’s page shows the command to download/run it:
BASH
ollama run deepseek-coder-v2
Click to expand and view more
⚠️If you don’t have enough RAM, you’ll get this error when launching:
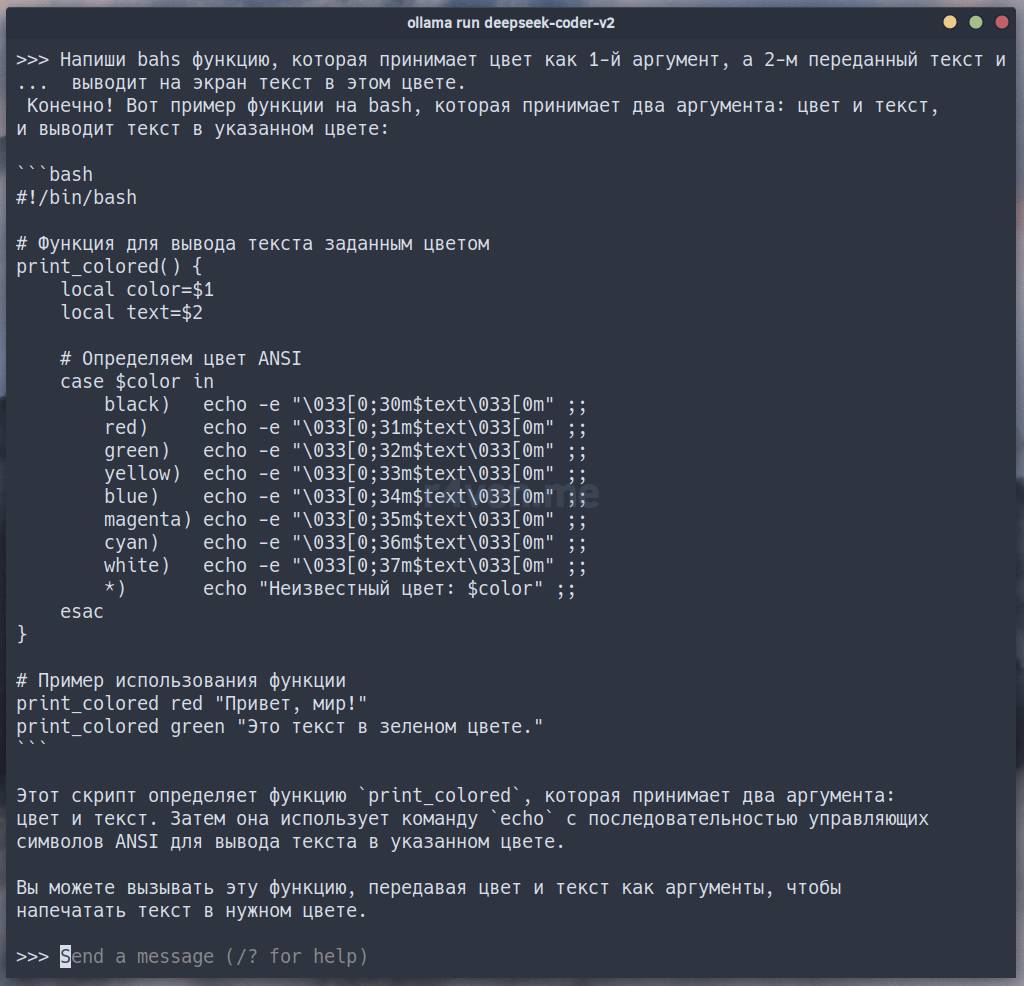
After the parameter files are downloaded, an interactive console mode for interacting with the model will launch. Here you can ask various questions and set tasks. For example:
Write a bash function that takes a color as the 1st argument and text as the 2nd, and prints the text on screen in that color.
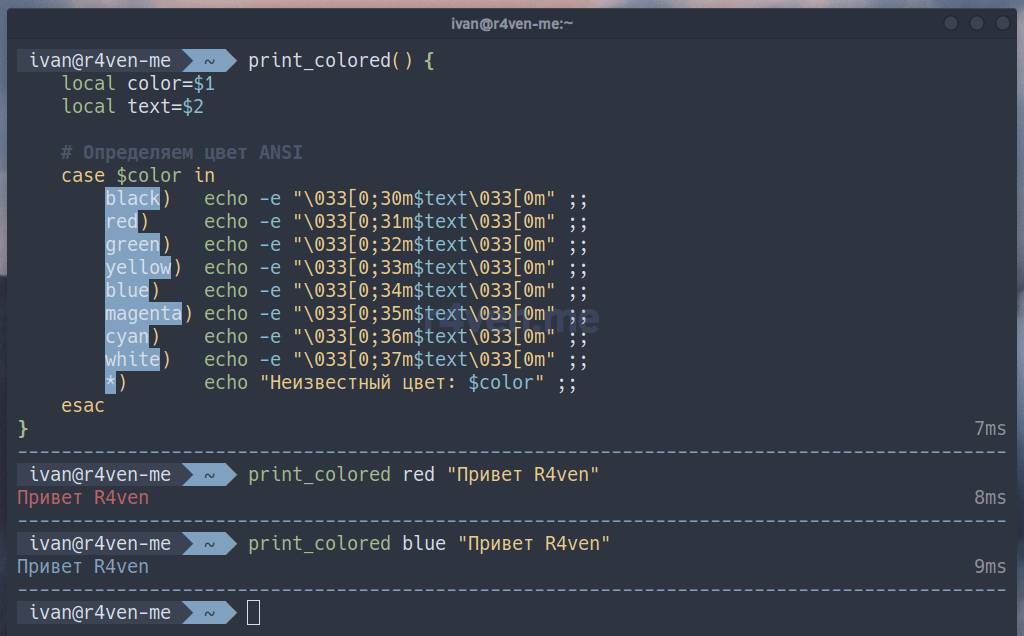
Let’s check the function in a neighboring terminal:
It works, which is already not bad 😉!
You can see the list of models installed on the computer with the command:
BASH
ollama list
Click to expand and view more
You can delete a selected model like this:
BASH
ollama rm deepseek-coder-v2
Click to expand and view more
💡Model files are stored in /usr/share/ollama/.ollama/models.
Download the latest version of a model like this:
BASH
ollama pull deepseek-coder-v2:latest
Click to expand and view more
After starting, the ollama service runs in the background and listens on port 11434 on the local interface:
BASH
ss -tlnp | grep 11434
Click to expand and view more
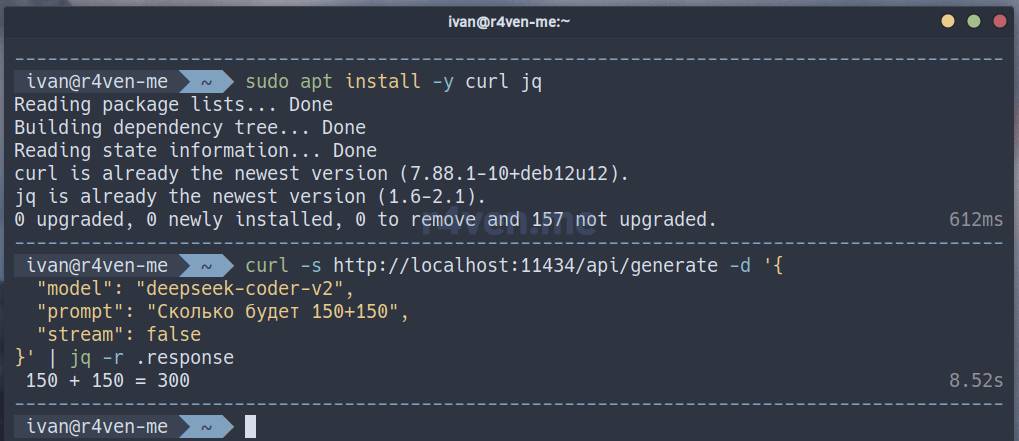
You can send API requests to this address, for example using curl+jq:
BASH
# install jq - a utility for working with jsonsudo apt install -y jq
curl -s http://localhost:11434/api/generate -d '{
"model": "deepseek-coder-v2",
"prompt": "What is 150+150",
"stream": false
}'| jq -r .response
Click to expand and view more
You can make a handy shell function for quick access from the console:
You’ve probably noticed that on the first request to the AI in a session, ollama loads the model’s parameters into RAM. The more of them there are, the longer they take to load, accordingly. If you have enough RAM and video memory, to speed up responses you can configure the model to auto-load into memory when the user’s graphical session starts.
One way to auto-launch applications on login is to create a special .desktop file in the ~/.config/autostart directory:
BASH
cat << EOF > ~/.config/autostart/ollama.desktop
[Desktop Entry]
Type=Application
Name=Ollama
Comment=Launching ollama on system startup
Exec=env OLLAMA_KEEP_ALIVE="-1" bash -c 'ollama run deepseek-coder-v2 ping &> /dev/null'
Terminal=false
X-GNOME-Autostart-enabled=true
X-GNOME-Autostart-Delay=60
EOF
Click to expand and view more
The OLLAMA_KEEP_ALIVE="-1" variable tells ollama not to unload the model’s parameters from memory. Read more about the loading/unloading process in the documentation.
The X-GNOME-Autostart-Delay=60 parameter sets a delay before the command executes.
💡 Tip
💡If you need to unload the model from memory, use the command:
BASH
ollama stop deepseek-coder-v2
Click to expand and view more
To verify that autostart works, you need to log out and back into the desktop.
GUI for working with Ollama
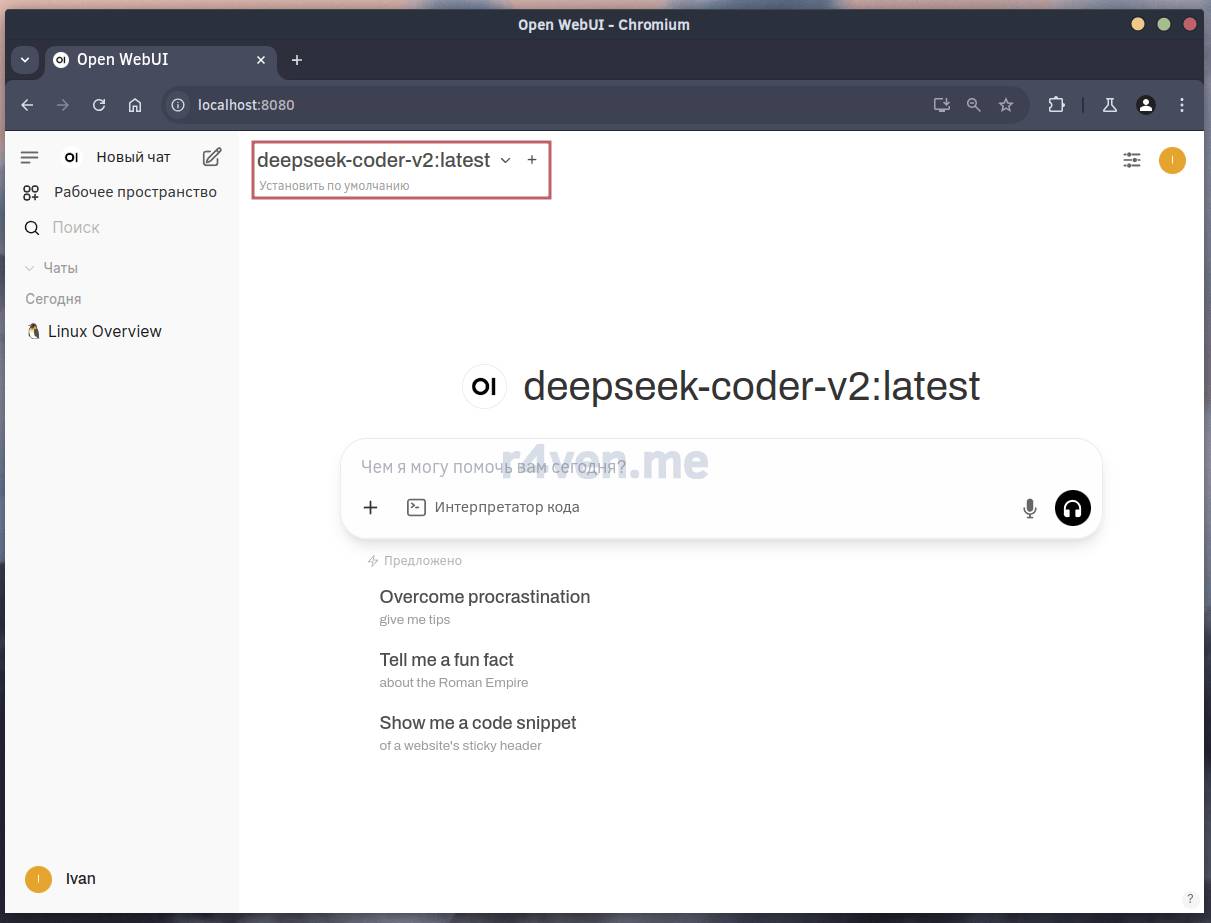
Many different graphical interfaces are available for convenient work with ollama. One of the popular and feature-rich ones is the open-webui project.
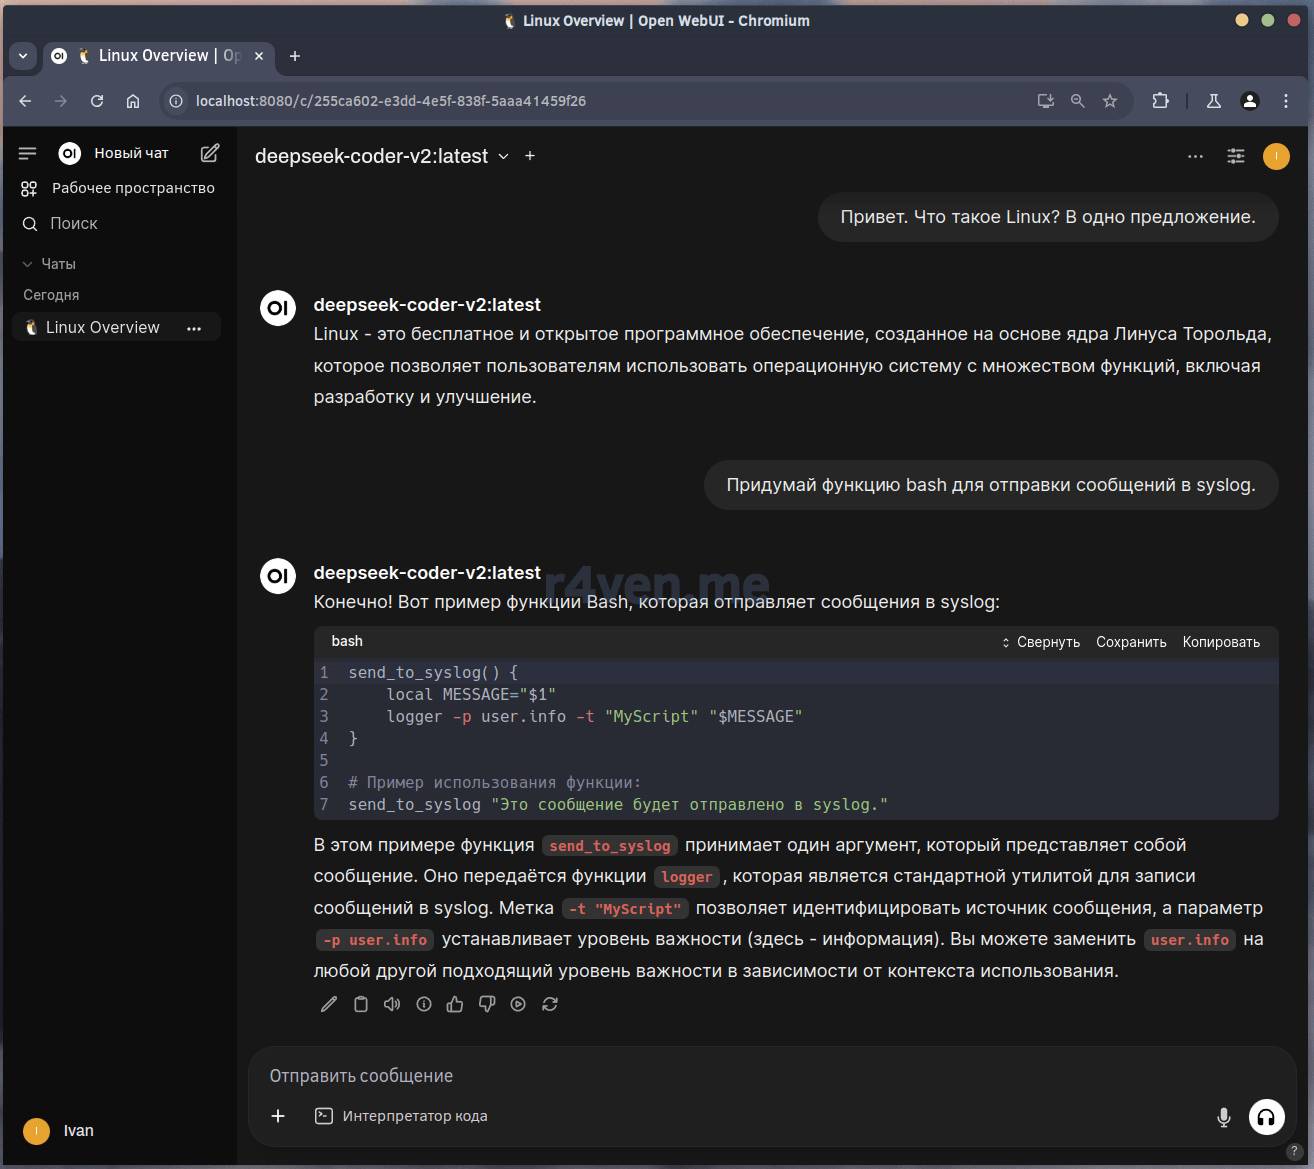
open-webui is a web interface for interacting with local language models (LLMs), such as the ones ollama runs: llama, deepseek, etc. In short, it’s like ChatGPT, but with blackjack and local AI models.
The open-webui backend is written in Python, so it can be installed using pip/pipx. Let’s use the latter.
💡pipx is a tool for installing and running Python applications in an isolated environment (venv), which it automatically creates and configures for each program.
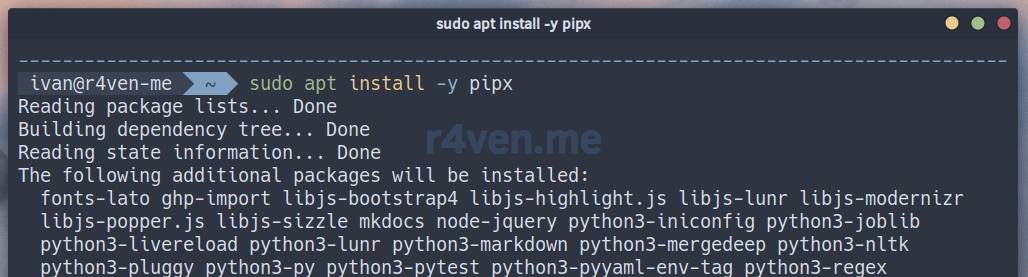
The pipx package is in the standard repositories of Debian 12. Install it the usual way:
BASH
sudo apt install -y pipx
Click to expand and view more
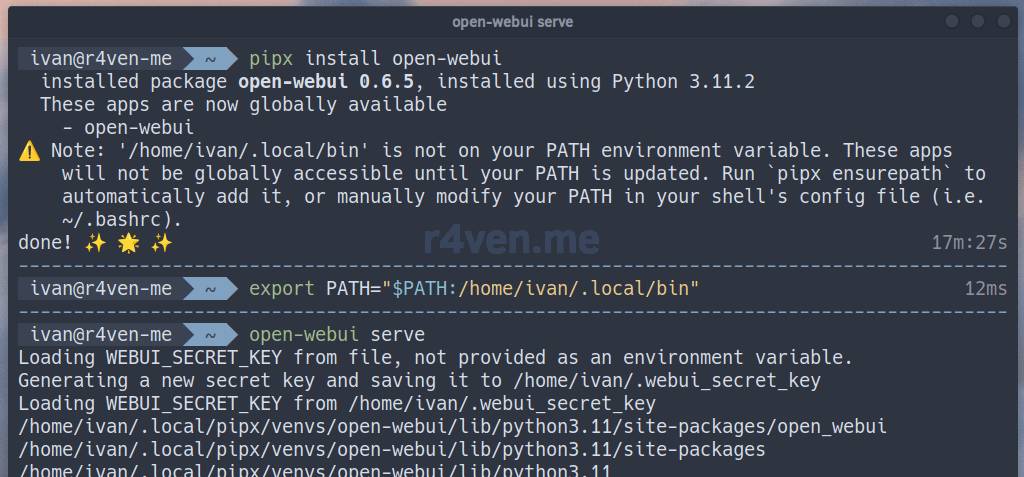
Now let’s use it to install open-webui:
⚠️Keep in mind that open-webui weighs about 8GB. The installation will take some time.
BASH
pipx install open-webui
Click to expand and view more
💡pipx will install open-webui into the user’s local directory ~/.local/pipx/venvs/open-webui and create a symlink in ~/.local/bin/open-webui.
💡See alternative installation methods here. You can remove open-webui with the command: pipx uninstall open-webui.
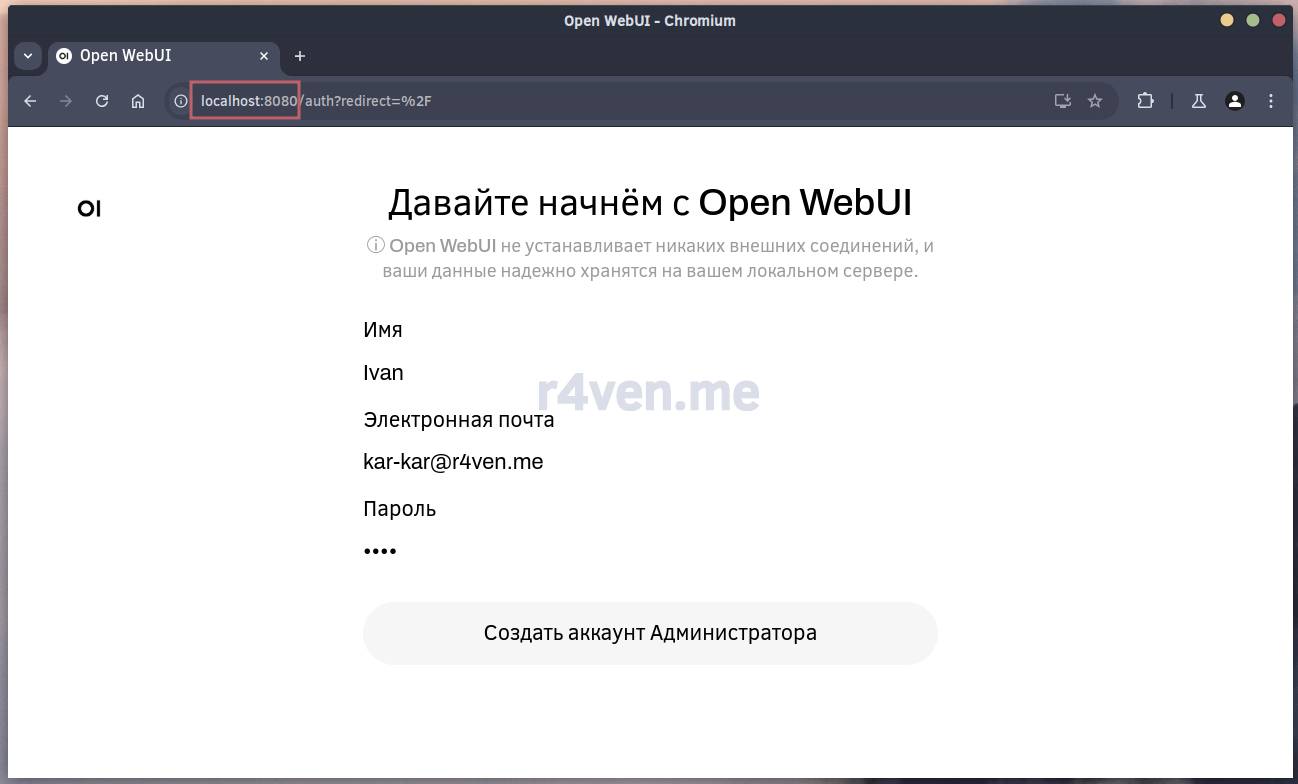
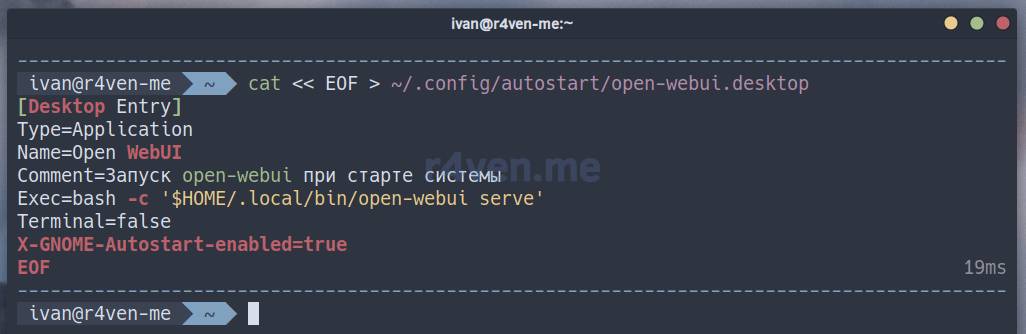
To run open-webui from the console, the ~/.local/bin directory needs to be added to the system $PATH variable. Let’s add it as needed and start the UI:
To verify autostart, you need to log back into the graphical user session.
Alternative to Ollama and open-webui — LM Studio
⚠️Warning!⚠️ Please note that LM Studio is proprietary software. This limits the transparency of data processing.
LM Studio is also a desktop GUI application for locally running and chatting with language models (LLMs). Out of the box it offers both a backend for running AI and an interface for interacting with it.
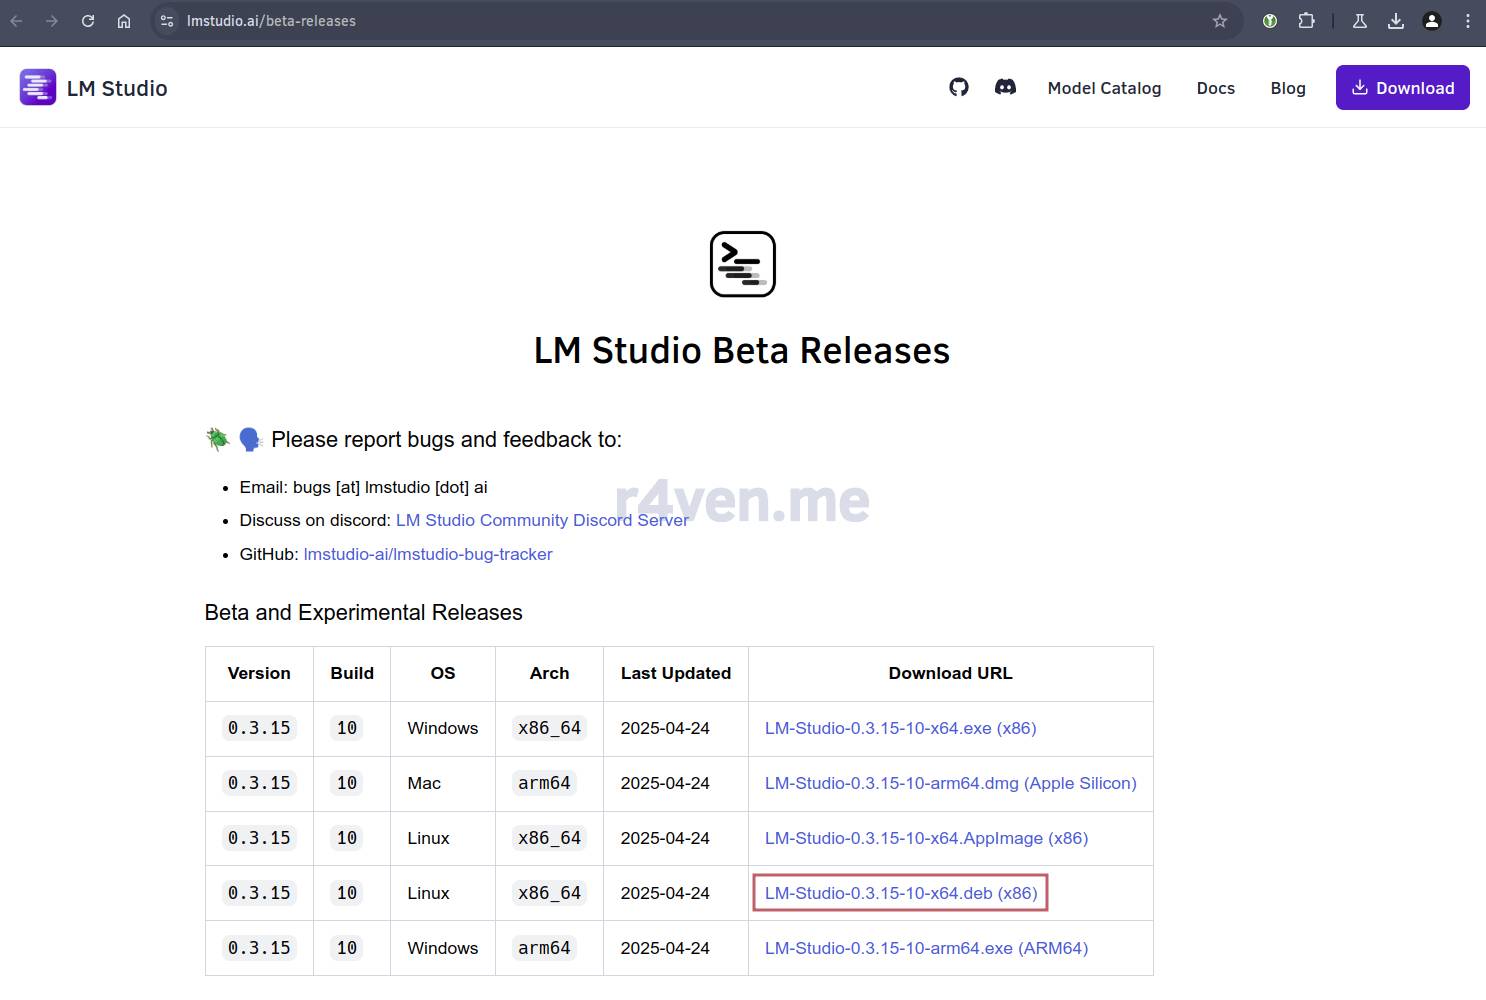
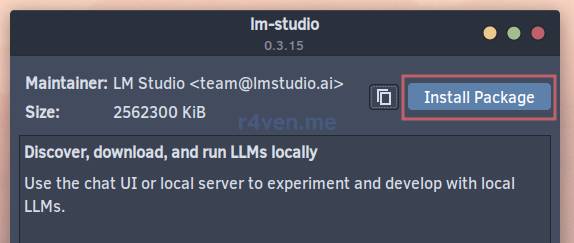
For deb based systems, the LM Studio developers have prepared an installation package. To install the application go to the download page and download it:
Then open it and install it:
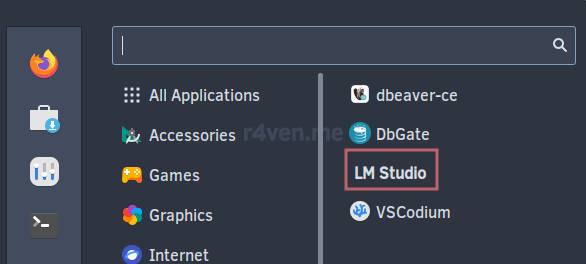
You can launch LM Studio from the main menu:
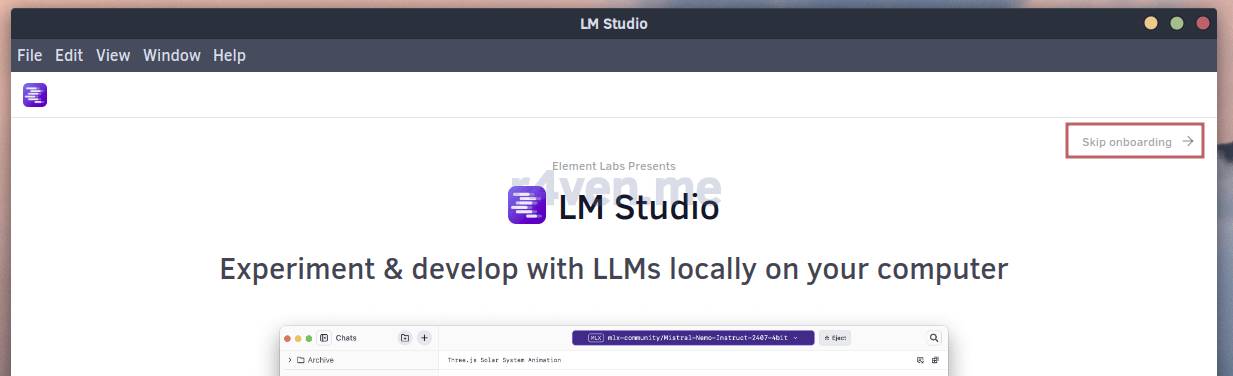
Let’s skip the welcome screen:
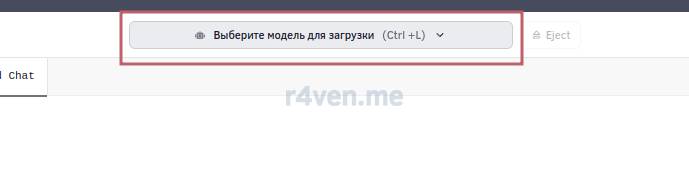
Click the model selection button:
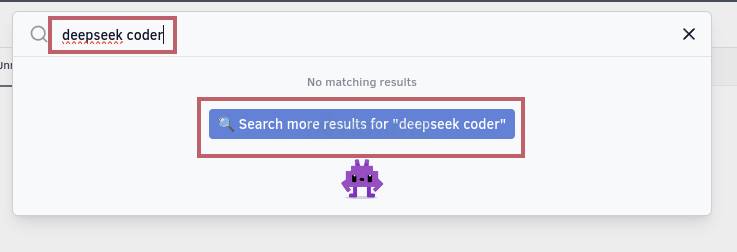
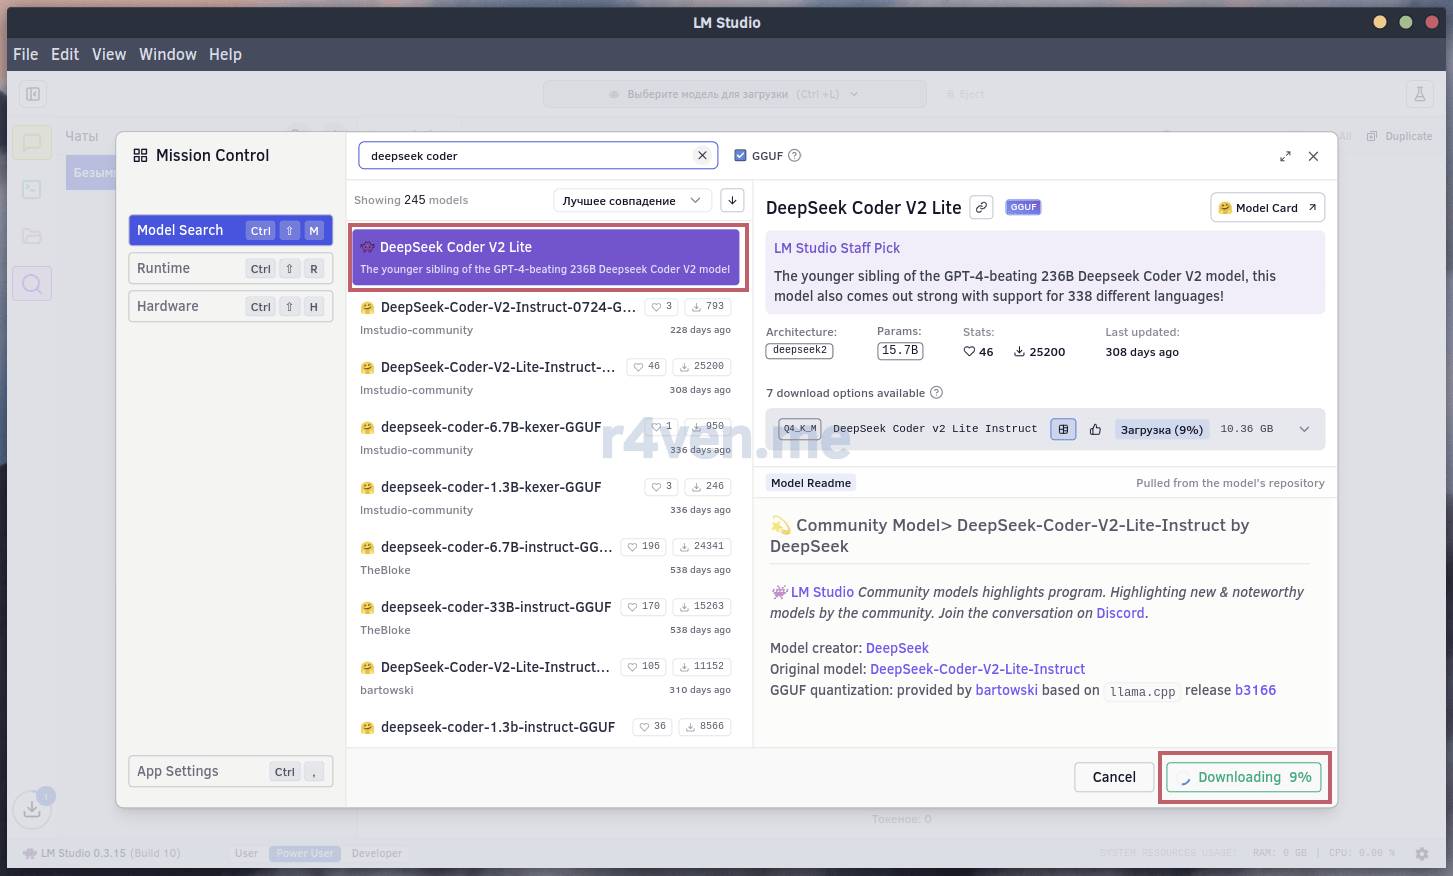
Type the name of the model you need in the search, in my example deepseek coder v2 lite:
And click “Download”:
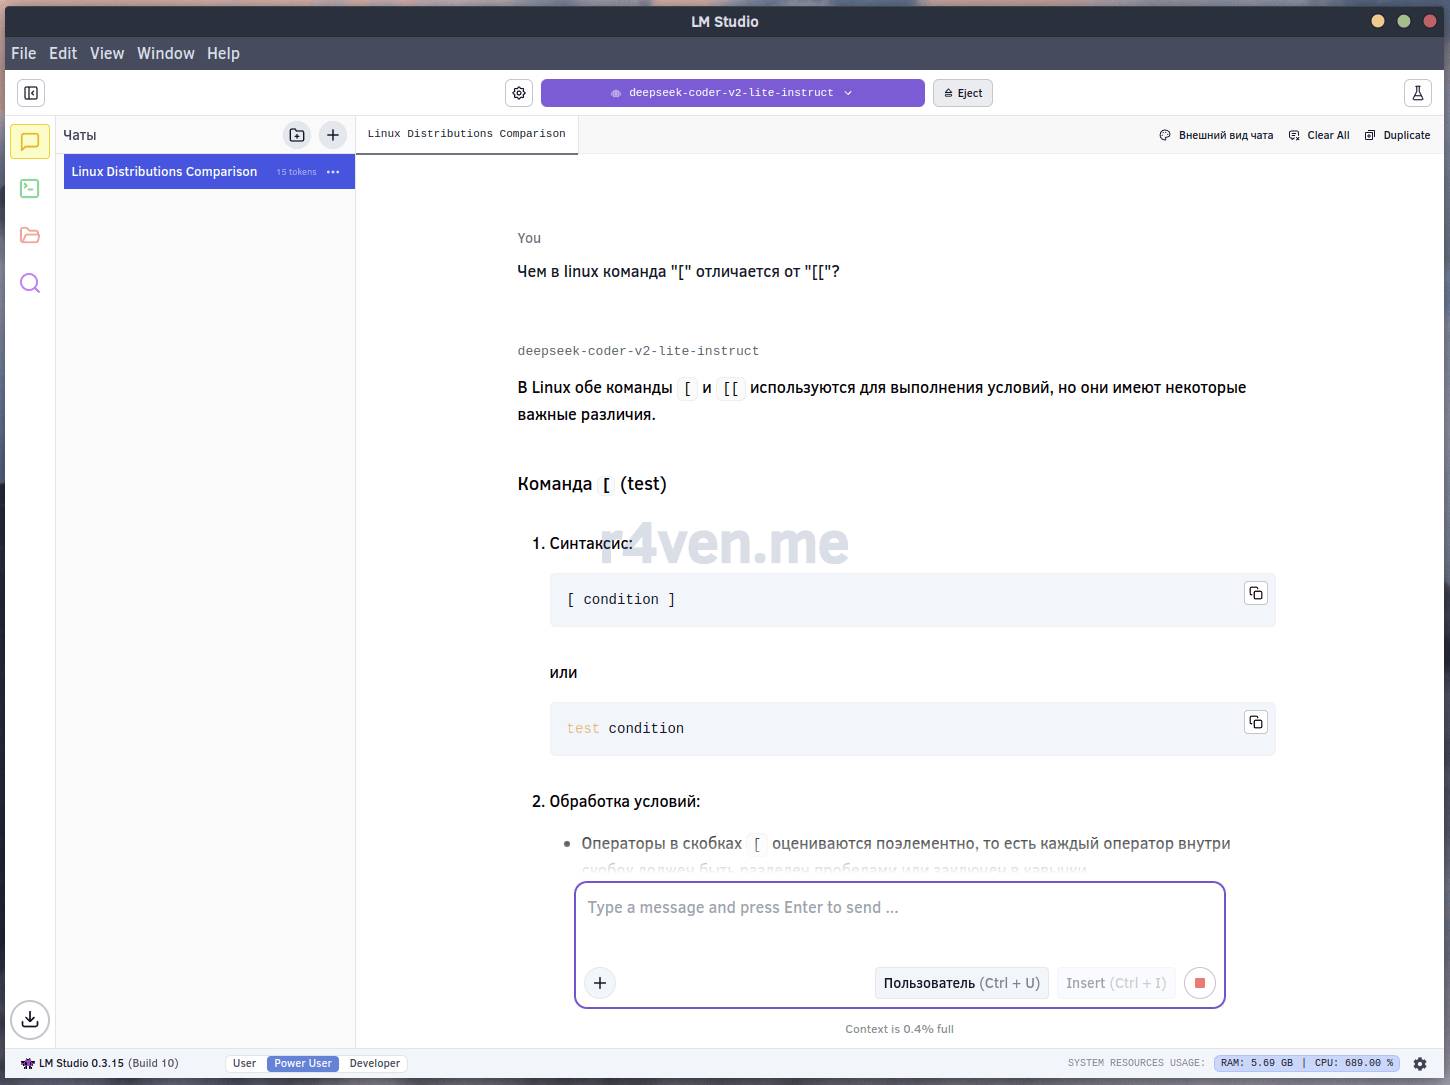
Now the model is available for use:
Everything works 👍.
Conclusion
Don’t forget to thank the AI if it helped you. Who knows, maybe this fact will save your life someday 🙄.











Comments