
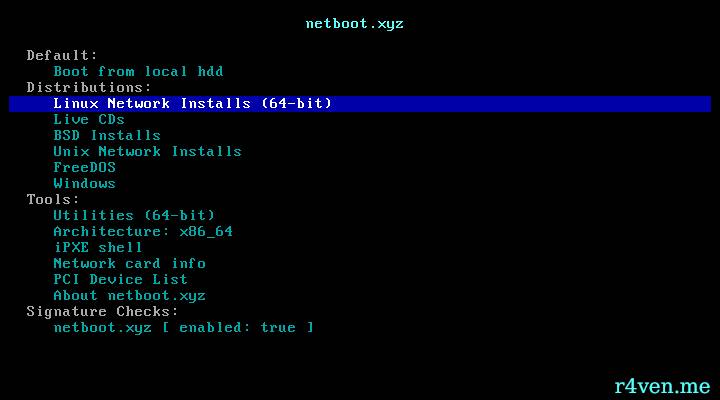
I think many of you have created bootable USB drives. Some of you have even made Linux flash drives! Today I’ll tell you about an open source project: netboot.xyz, which allows you to boot from a USB drive and install any popular Linux distribution online (given internet access). And much more besides)
🖐️Hey!
Subscribe to our Telegram channel @r4ven_me📱, so you don’t miss new posts on the website 😉. If you have questions or just want to chat about the topic, feel free to join the Raven chat at @r4ven_me_chat🧐.
Preface
The other day I visited the library, a special section was scrolling through my news feed and I came across this cool project. It allows you to create a bootable USB drive (for various architectures and boot systems) in under a minute from an image just a few megabytes in size, which can be used to install (+LiveCD) any popular Linux distribution online: be it Linux Mint, Debian, Manjaro, Kali Linux, Arch Linux, Fedora, and others.
One of the main advantages of this installation method is access to always up-to-date versions of Linux distributions. Using this tool also lets you avoid storing various ISO images on disk. The only requirement for use is internet access, preferably with good bandwidth.
The netboot.xyz project supports installing not only Linux distributions, but also Windows (with some caveats), FreeBSD, as well as launching various utilities for hardware recovery and testing. The boot process is carried out via PXE (Preboot Execution Environment) or iPXE (Improved Preboot Execution Environment).
More about the PXE protocol on Wikipedia, more about the iPXE protocol also on Wikipedia.
Creating a Bootable USB Drive with netboot.xyz
I will perform the demonstration in a distribution , but the instructions are extremely simple and universal, so they are also relevant for other Linux distributions.
For this we’ll need a flash drive (one you don’t mind losing). During creation, all data on it will be erased, so make sure to back up any important files if there are any on it. I warned you)
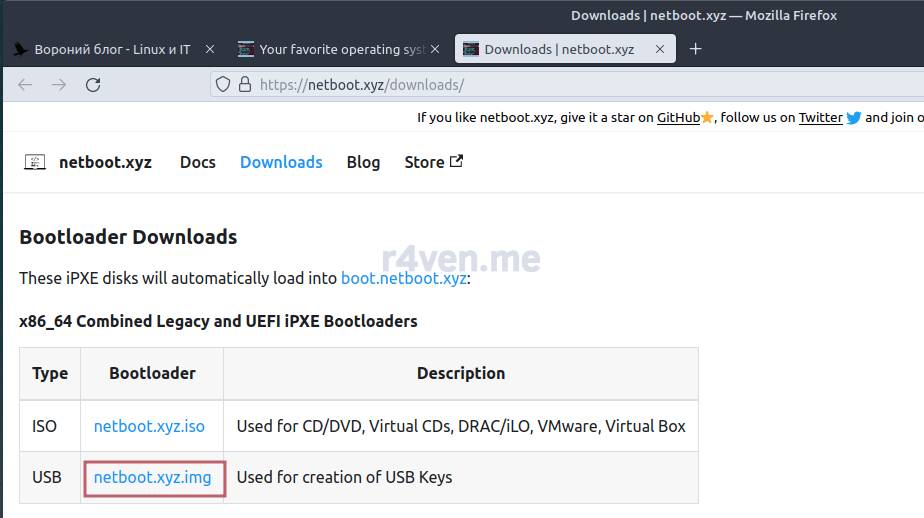
Download the image from the download page on the project’s official website: https://netboot.xyz/downloads/
As an example, let’s take the standard .img image for the x86_64 architecture: netboot.xyz.img:
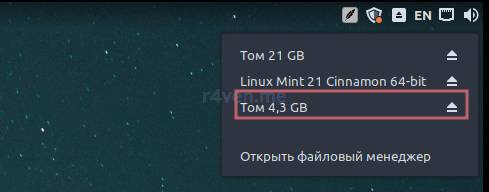
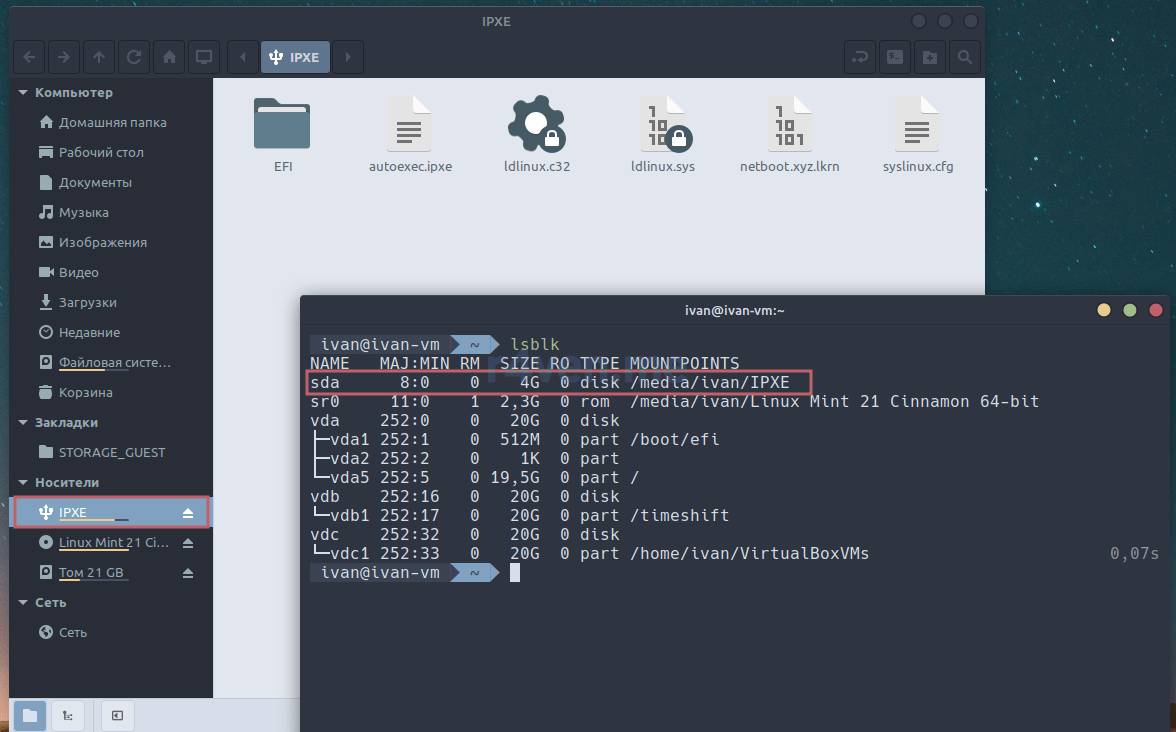
Insert the flash drive into the computer. Now let’s determine its block device name in our Linux system, using the file manager and terminal:
lsblk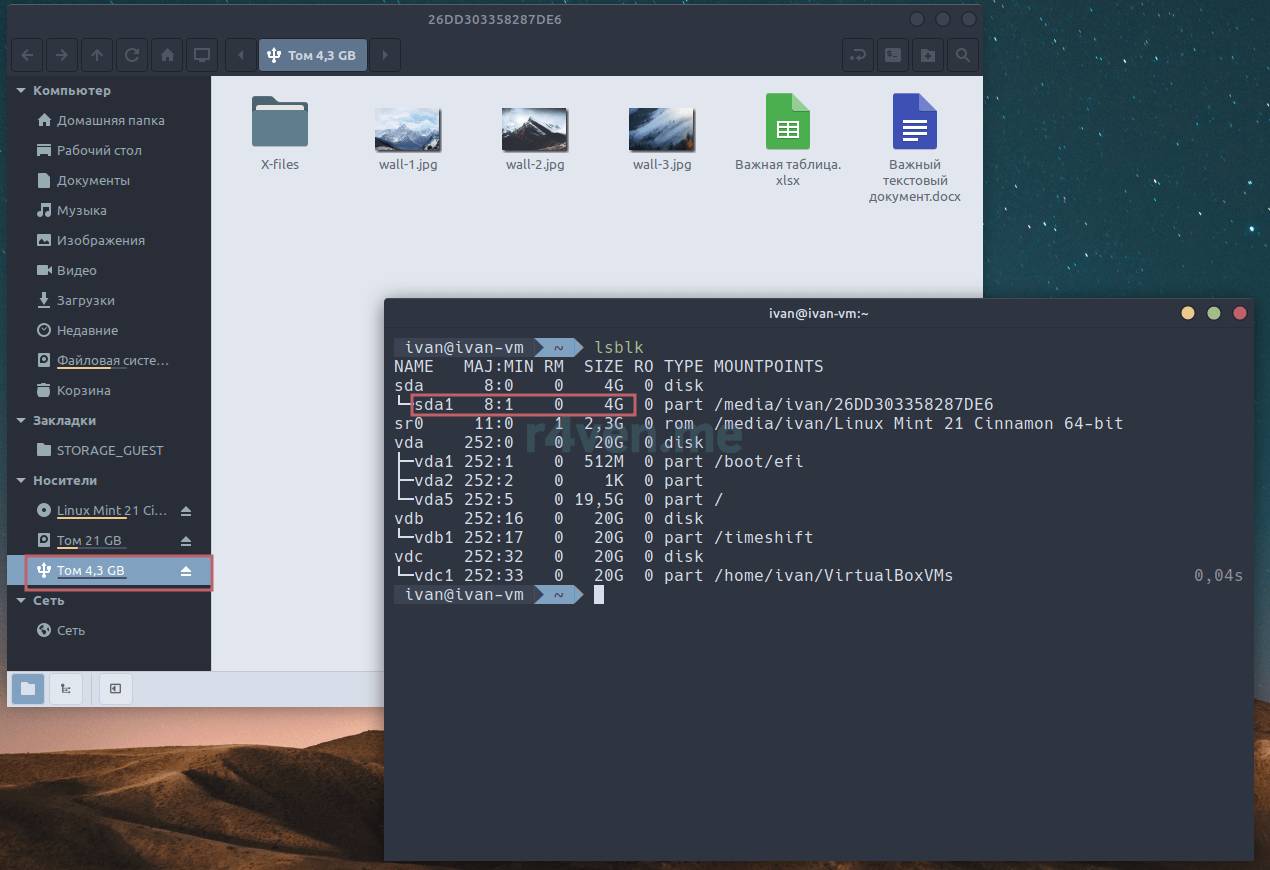
The
lsblkcommand (list block devices) outputs a list of block devices attached to your computer. Seeman lsblkfor details.
It’s important that the flash drive is mounted, otherwise the creation command will not execute.
Open a terminal in the directory where the netboot.xyz.img image was downloaded and run the command as specified on the official website (as superuser):
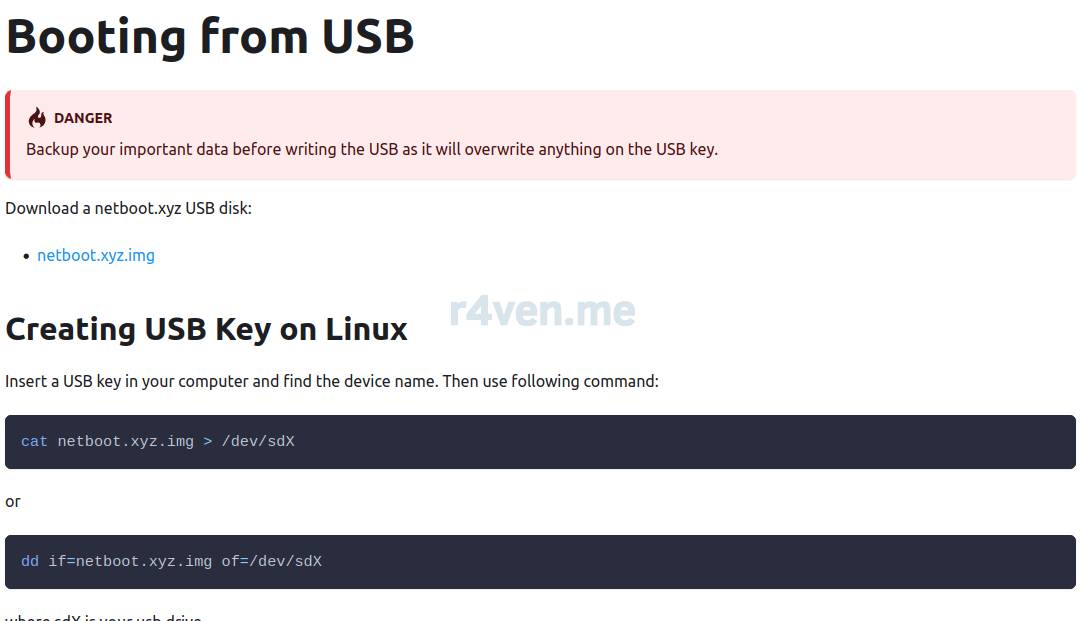
CAUTION! Running this command will delete all data from the flash drive. You perform all actions at your own risk.
cd ~/Загрузки

sudo -s

cat netboot.xyz.img > /dev/sda
/dev/sda is the block name of my flash drive in the system. In your case, the device may have a different name. Don’t accidentally delete something you shouldn’t)
To create such a flash drive in Windows, you can use the rufus program.
After running the command, if everything went without errors, eject the flash drive and insert it into the computer again:
As you can see, its name and contents have changed.
Now reboot the computer and boot from our configured flash drive.
I discussed the process of booting from a USB drive in more detail in the article: Installing Linux Alongside Windows: Step 4. Booting the System from the Installation Media.
When your machine connects to the network via DHCP, network parameters are obtained automatically. If you use a static configuration, it can be set up by pressing m during the initial boot of netboot.xyz:
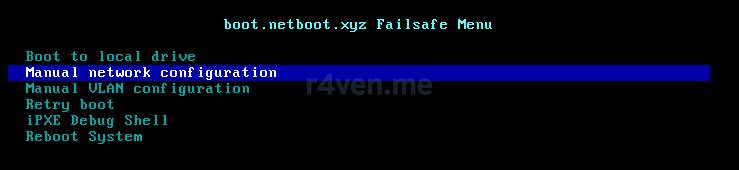
You will need to manually specify the network interface, IP, and other parameters.
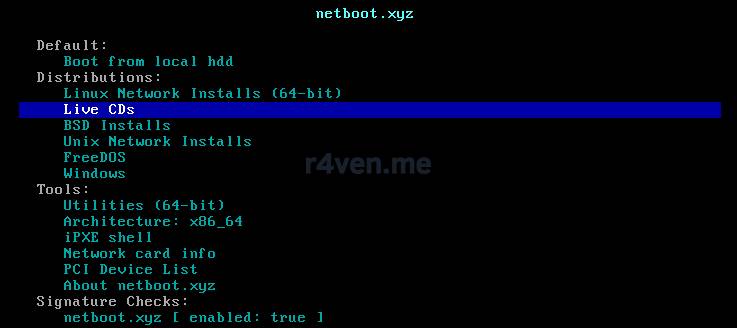
After configuring the network, the main menu of the netboot program will appear:
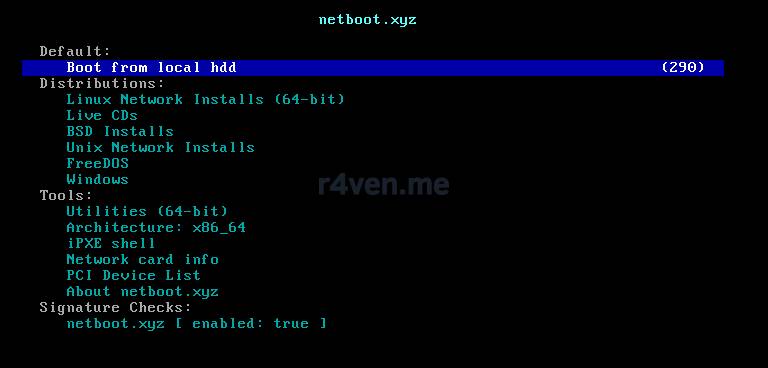
For demonstration purposes, let’s test launching a LiveCD session.
Example of Launching a LiveCD Session
Let’s imagine we’re super hackers and try to launch a Kali Linux LiveCD session. Select the corresponding item:
And the desired distribution:
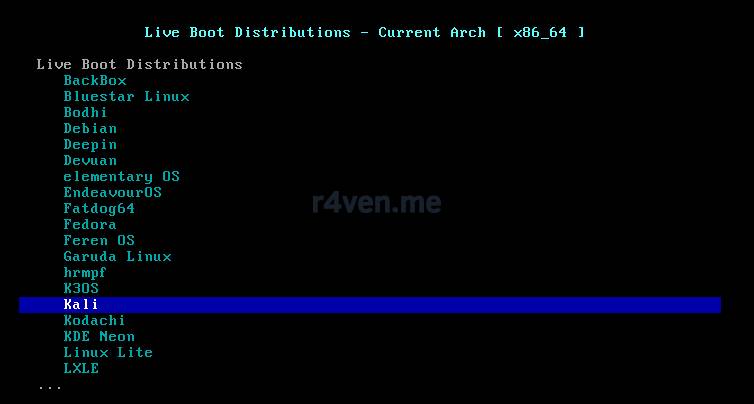
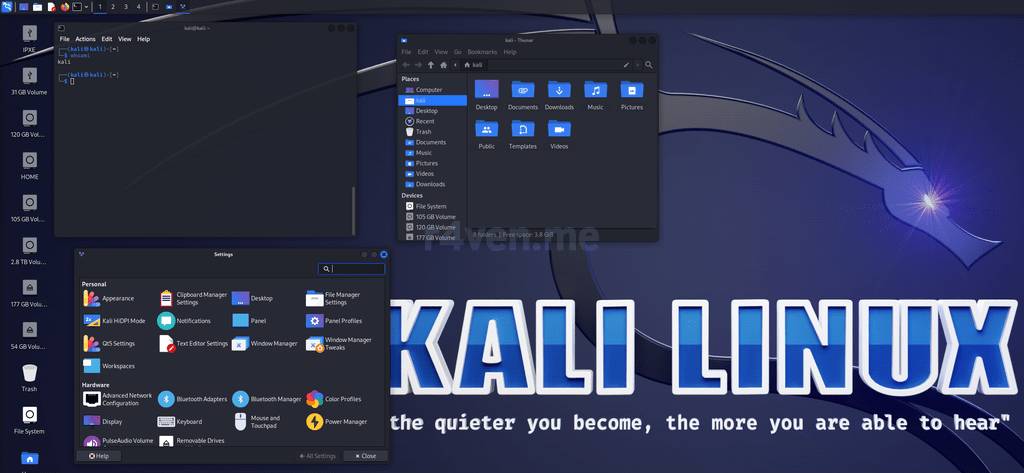
Press Enter twice and wait for the Kali Linux distribution and the LiveCD session itself to load.
This may take some time, depending on your internet speed and hardware performance.
And now we’re basically Mr. Robot, using Kali:
Example of Launching a Linux Distribution Installation
We can also try launching the installer of some other distribution, for example Arch Linux. In the main menu, select Linux Network Installs, then the desired distribution:
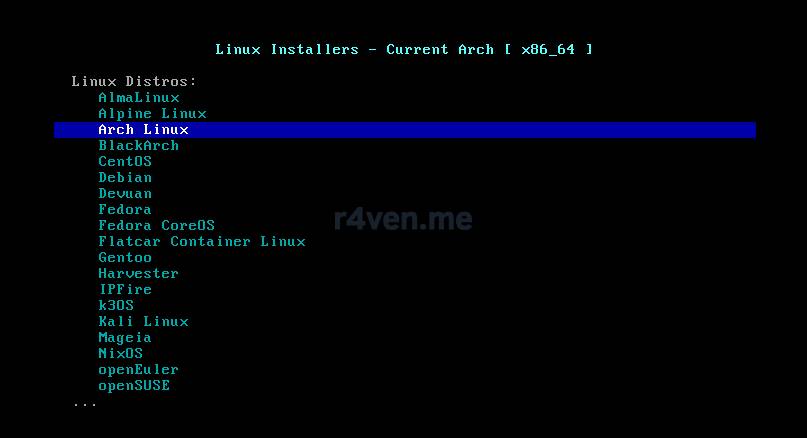

The image download will begin..
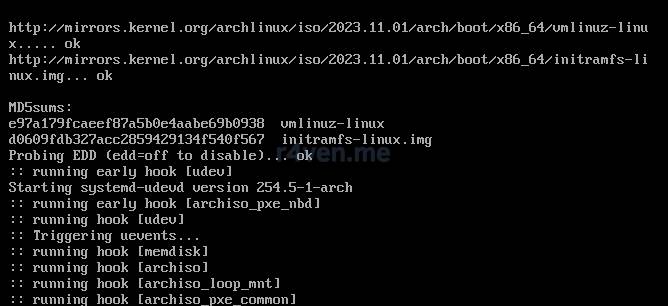
As a result, the installer will launch, in this case Archiso. Great, we’re in Arch Linux, now let’s start the installation. Just kidding) since that’s a whole separate topic.
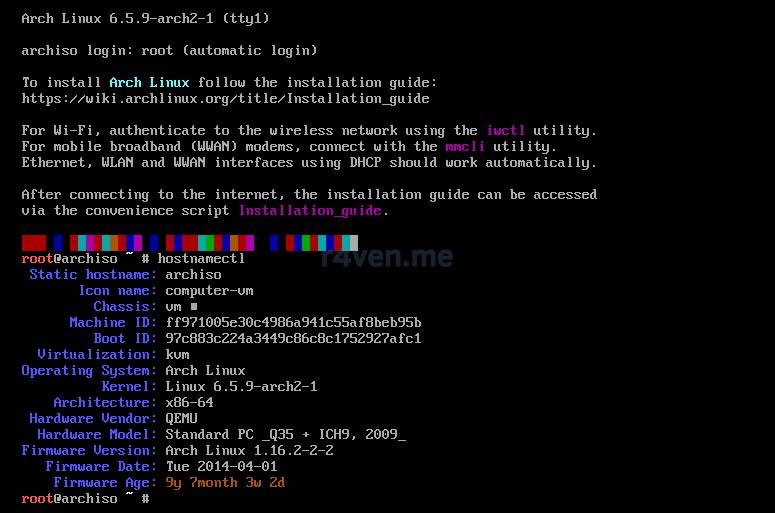
In the future, I’ll definitely write a guide on installing Arch, and maybe by then I’ll have finished an Ansible playbook for its automatic installation and configuration from scratch with encryption) but that’s all dreams plans.
Afterword
We’ve gotten acquainted with an interesting open source tool that lets you install Linux online, and creating a bootable flash drive takes mere seconds.
Honestly, this project was a discovery for me. Strange that I had heard of it before. netboot.xyz is a rather useful and modern tool. Of course, only given internet access and a network connection with good bandwidth. But today that’s not a problem)
I wanted to note one more thing: when creating the flash drive using the method described above, I wasn’t able to repartition my flash drive so that it remained bootable while also using the remaining space on it. As, for example, is implemented in the Ventoy program. If you know the correct way to do this, please let me know in our Telegram chat)
Useful Resources
👨💻And…
Don’t forget about our Telegram channel 📱 and chat
Or maybe you want to become a co-author? Then click here🔗
💬 All the best ✌️
That should be it. If not, check the logs 🙂

Comments