In the last article about the Docker lab I showed how to easily create a local CA (certificate authority) and generate self-signed certificates 🖨.
🖐️Hey!
Subscribe to our Telegram channel @r4ven_me📱, so you don’t miss new posts on the website 😉. If you have questions or just want to chat about the topic, feel free to join the Raven chat at @r4ven_me_chat🧐.
For this, I used one curious utility from the standard repos - mkcert 🤔.
As is fashionable these days, it is a single Go binary and is quite easy to use 👨💻.
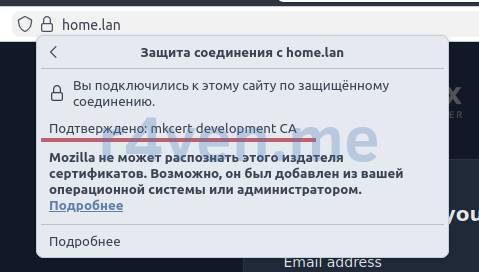
Its trick is that when creating a CA, it automatically adds the root certificate to the trusted store on your Linux system, and also, if it is run on a desktop machine, adds this certificate to the stores of your web browsers, such as Firefox and Chrome/Chromium 🌐.
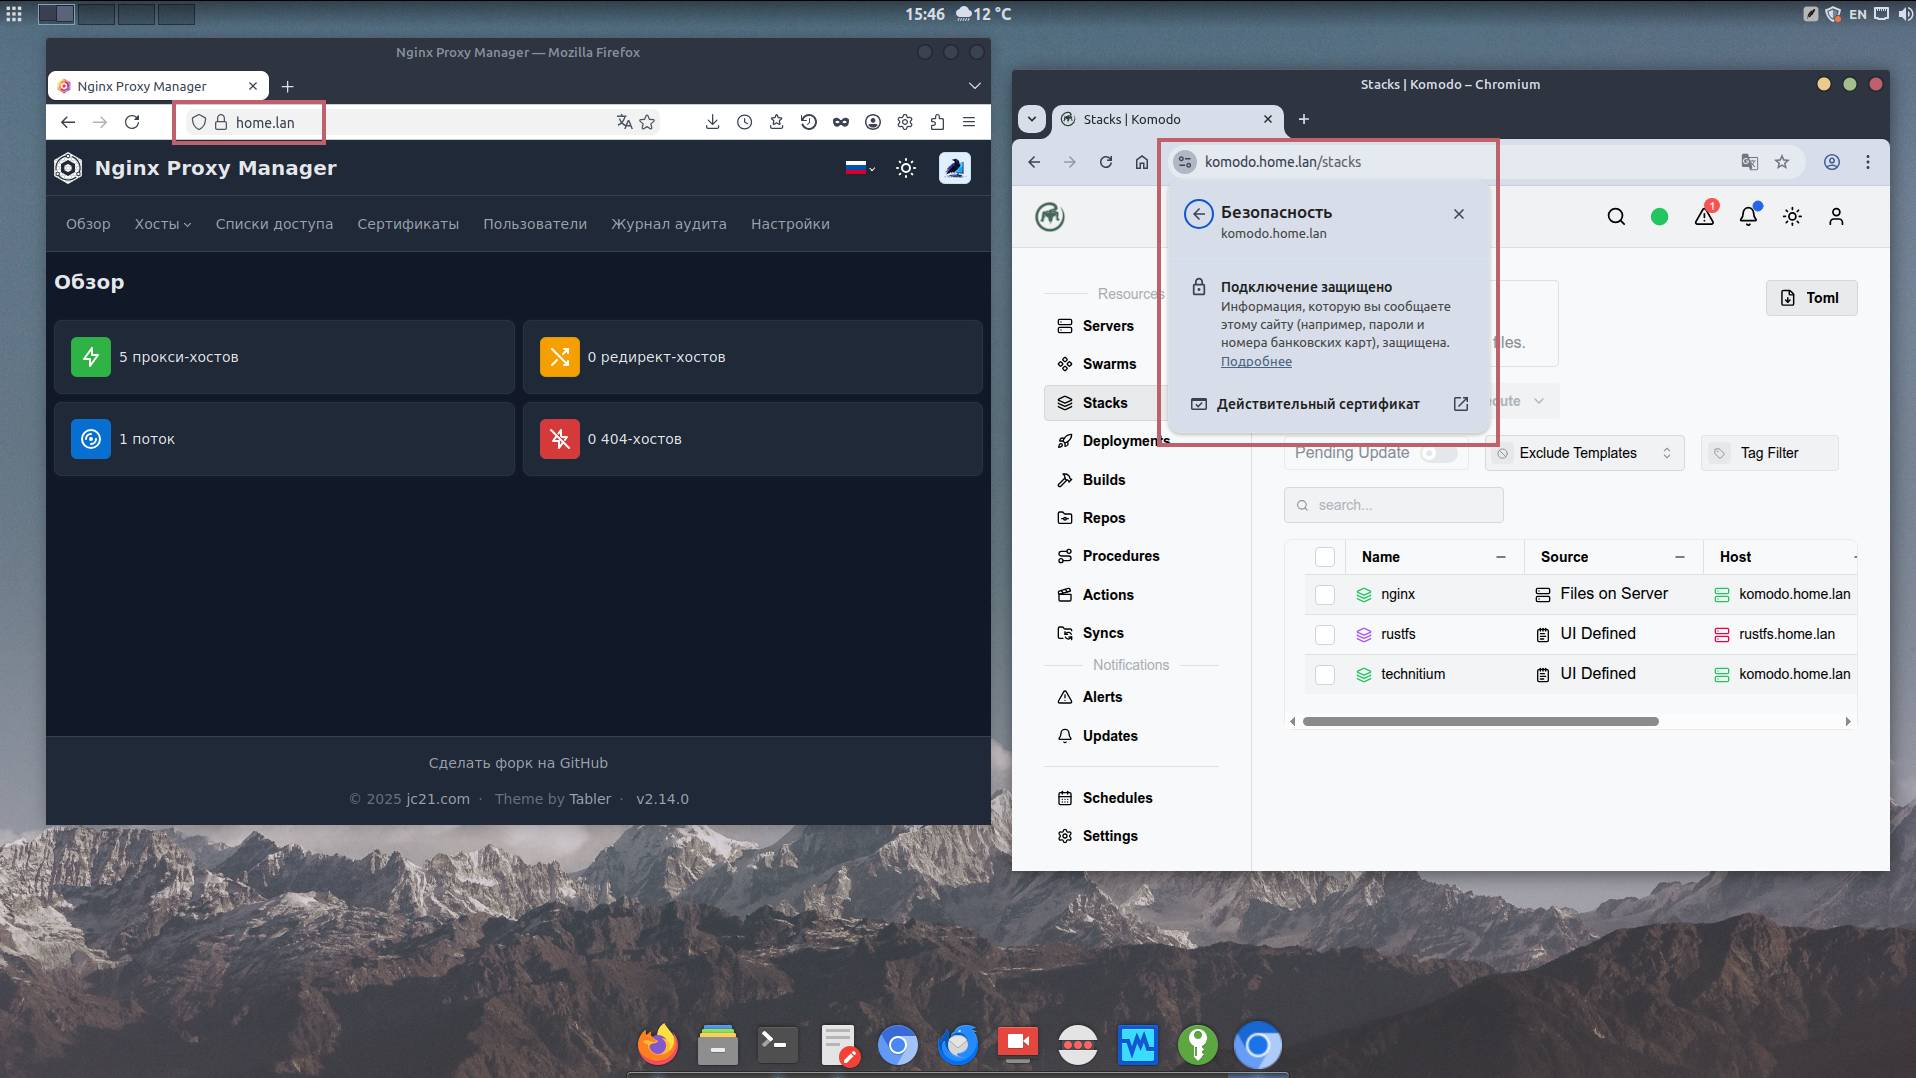
After that, all domains that use certificates issued with mkcert do not trigger authenticity errors, neither in the console nor in browsers (see the screenshot below).
In general, I decided to record an example of using it here 👨💻😎.
Example for Deb based systems.
1️⃣ Installing mkcert
sudo apt update && sudo apt install -y mkcert2️⃣ Creating a CA
mkcert -install📝 During installation of the root certificate into the trusted store, the utility will ask you to enter the sudo password.
Checking the location of the root certificate:
mkcert -CAROOTThe output will contain the path to the directory:
/home/ivan/.local/share/mkcert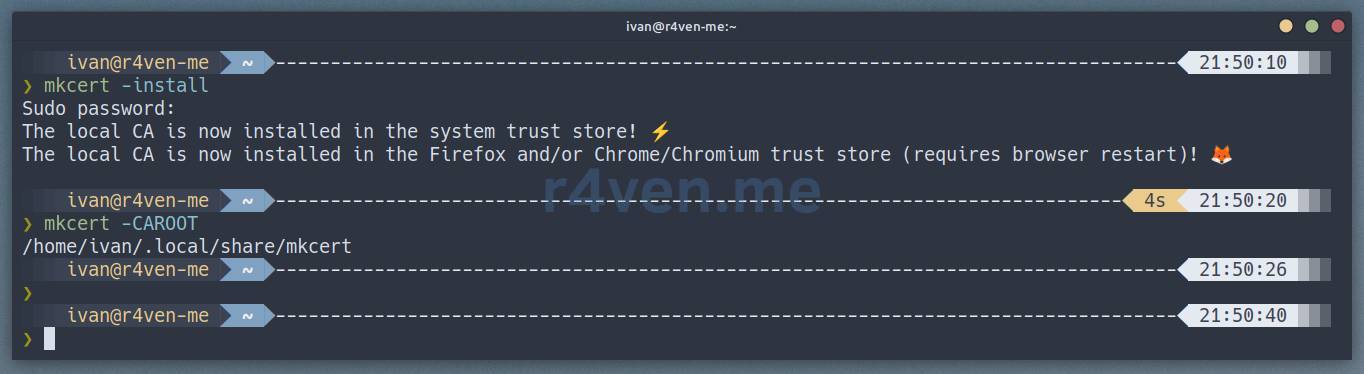
View the contents:
ls -l ~/.local/share/mkcertIt should contain two files:
rootCA-key.pem- private keyrootCA.pem- certificate
Checking for the CA certificate in the system:
trust list | grep -C3 mkcertExample output:
pkcs11:id=%24%B9%B4%1F%90%8D%DF%21%1B%7B%26%C8%09%43%29%51%61%F4%72%C9;type=cert
    type: certificate
    label: mkcert ivan@r4ven-me
    trust: anchor
category: authorityThis completes all CA operations. All that remains is…
3️⃣ Generate certificates for the domains you need and use them
For example, let’s create a certificate for the home.lan domain and a wildcard for it:
mkcert -cert-file ./home.lan.crt -key-file ./home.lan.key "home.lan" "localhost" "127.0.0.1"

mkcert -cert-file ./_wildcard.home.lan.crt -key-file ./_wildcard.home.lan.key "*.home.lan"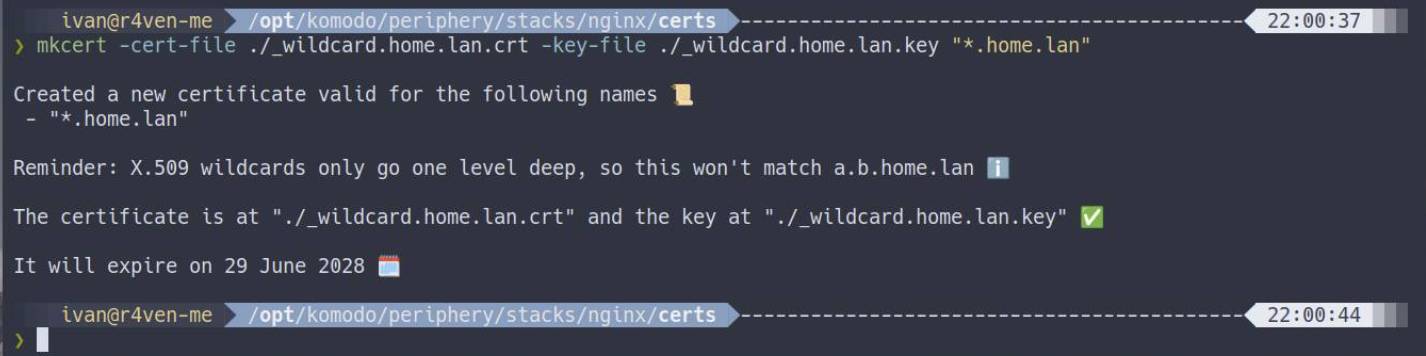
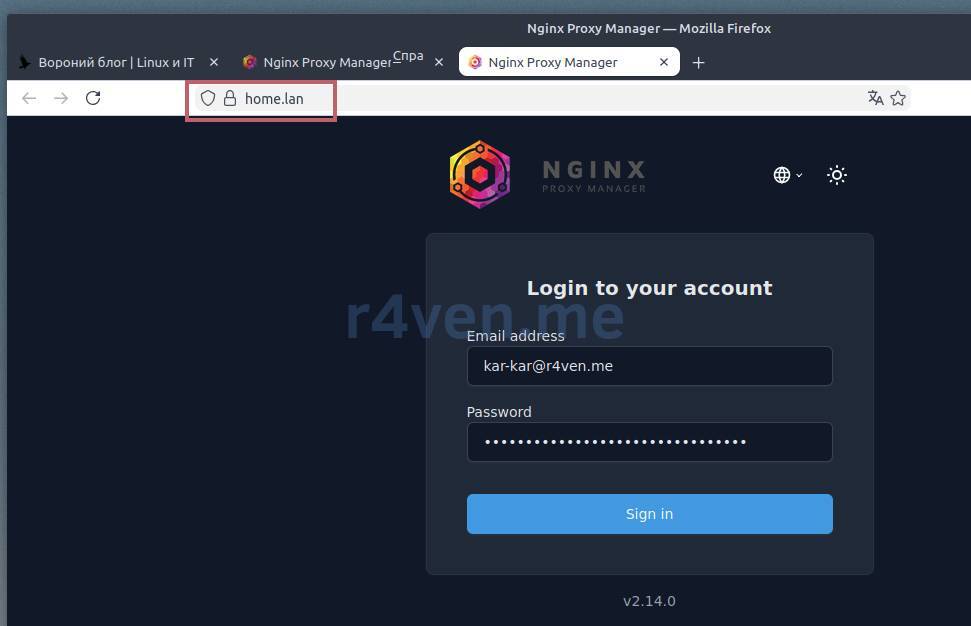
Add the certificates to your reverse proxy, for example Nginx Proxy Manager, as was shown in the article and restart the browser:
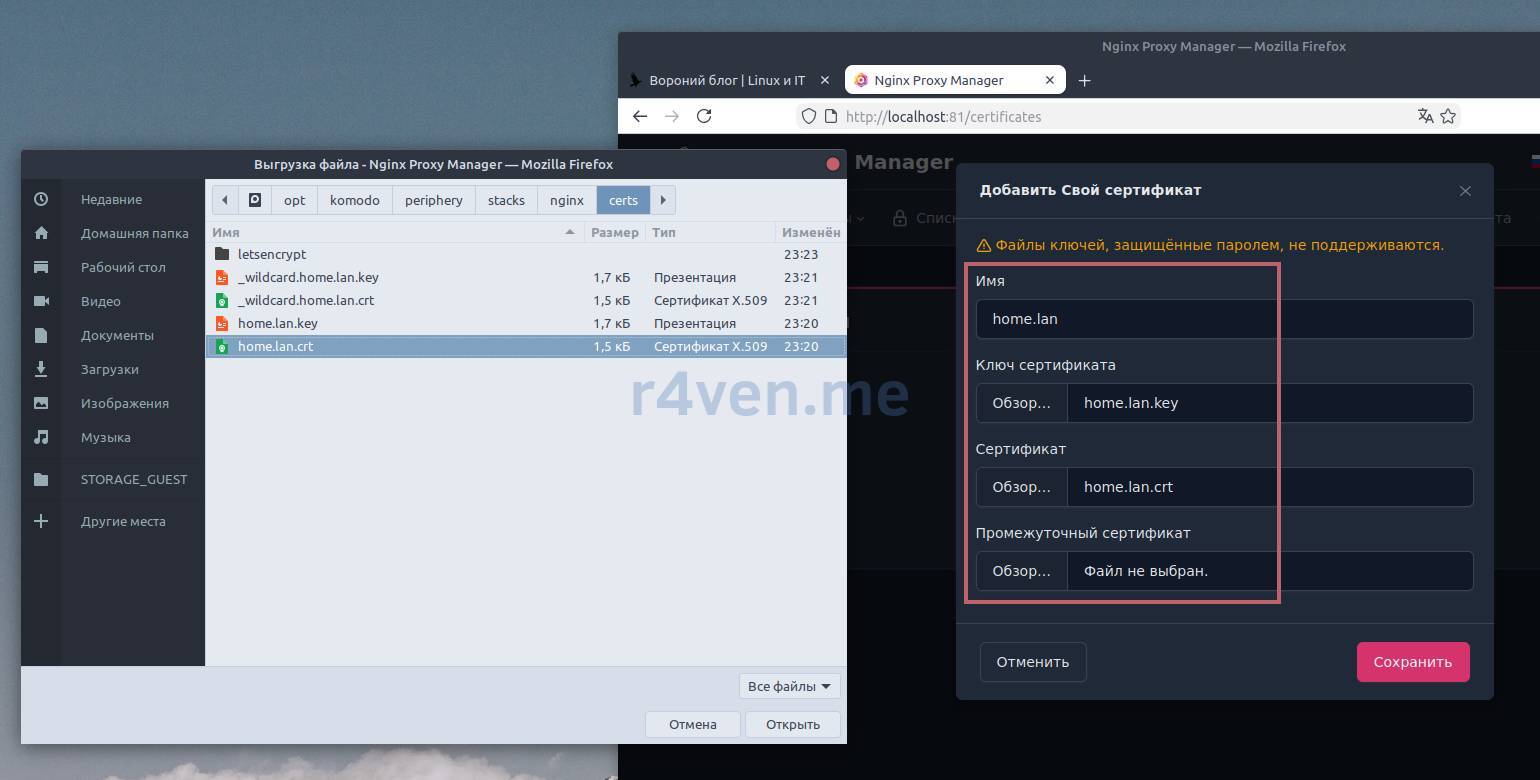
Now all HTTPS connections will be valid 🌐.
4️⃣ (Optional) Adding the mkcert rootCA to trusted certificates on another host
If you plan to access your local host over HTTPS from other hosts, for example over a protected private network, then simply copy the root certificate (not the key!) created by mkcert to the trusted store on another host (for example via SSH (https://r4ven.me/en/networking/ssh-bezopasnoe-podklyuchenie-k-udalyonnym-hostam-vvedenie/)) and update the list.
Example for Debian:
scp ~/.local/share/mkcert/rootCA.pem user@remote-host:/tmp/

ssh -t user@remote-host sudo cp /tmp/rootCA.pem /usr/local/share/ca-certificates/mkcert-rootCA.crt

ssh -t user@remote-host sudo update-ca-certificates

ssh user@remote-host trust list | grep -C3 mkcertHave a good day, penguins🐧
👨💻Ну и…
Don’t forget about our Telegram channel 📱 and chat 💬 All the best ✌️
That should be it. If not, check the logs 🙂