
Today we’ll be installing Linux alongside Windows as a second operating system.
⚠️ Warning
Right away, I want to point out that everything described in this guide, you do at your own risk. If you have experience reinstalling or restoring Windows systems, then you have nothing to worry about. But just in case, before you start, back up your important files to another partition, or better yet, to a removable drive.
Well, now that precautions have been taken, we can begin.
The method described in this guide is one of the most common and easy ones. So you shouldn’t run into any difficulties if you follow this guide carefully.
As the Linux distribution we’ll be installing alongside Windows, we’ll take Linux Mint.
🖐️Hey!
Subscribe to our Telegram channel @r4ven_me📱, so you don’t miss new posts on the website 😉. If you have questions or just want to chat about the topic, feel free to join the Raven chat at @r4ven_me_chat🧐.
Recently I wrote a note on how to Try Linux right inside Windows, and there we also used this same distribution, as the most suitable choice for a first introduction to the family of GNU/Linux-based operating systems.
To install the new OS, we’ll need an empty USB flash drive of at least 4 gigabytes.
Downloading the Linux Mint installer file (distribution)
First, we need to download the Linux Mint installation disc image.
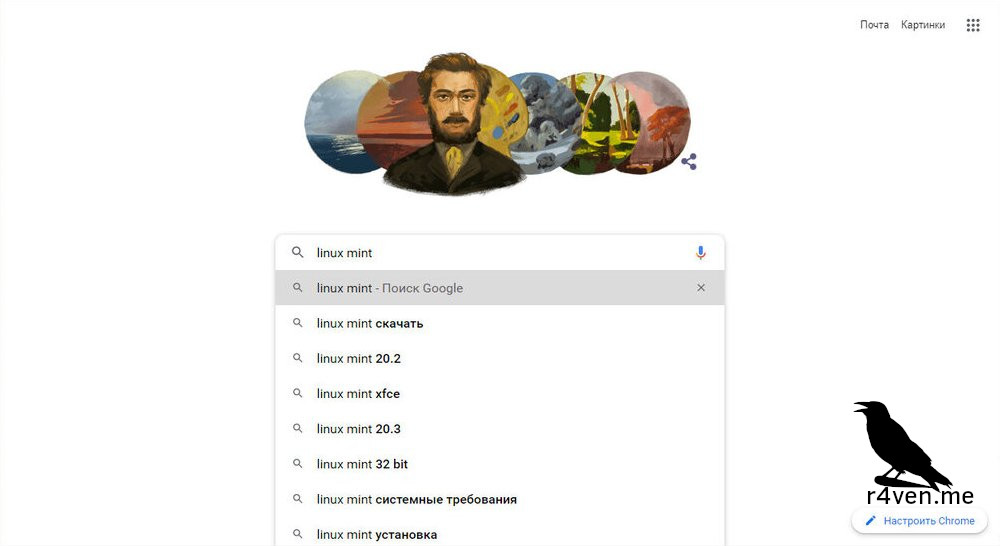
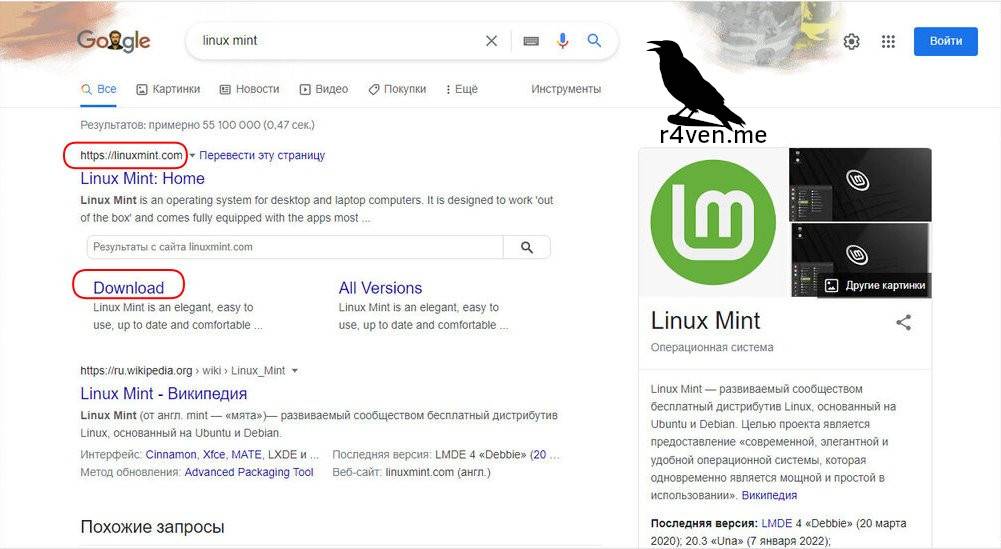
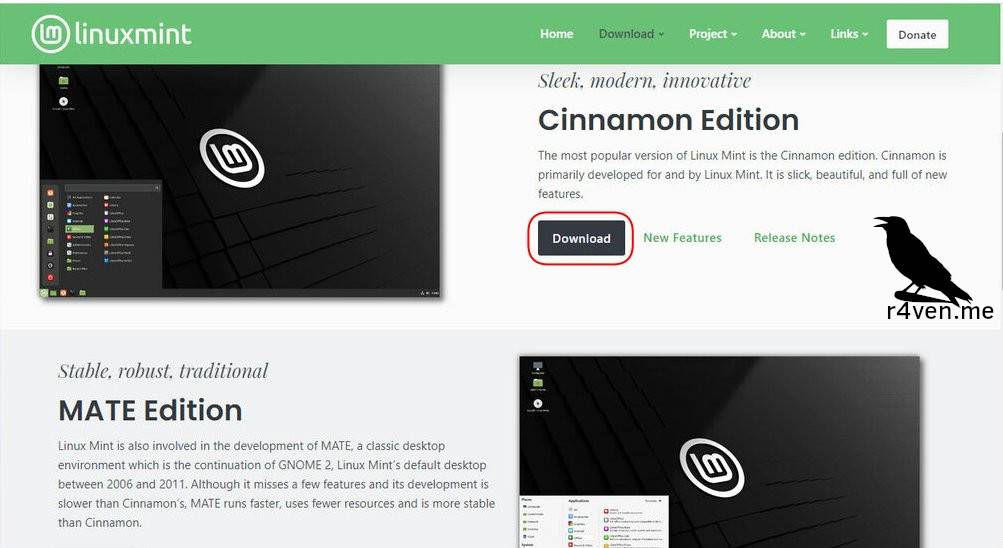
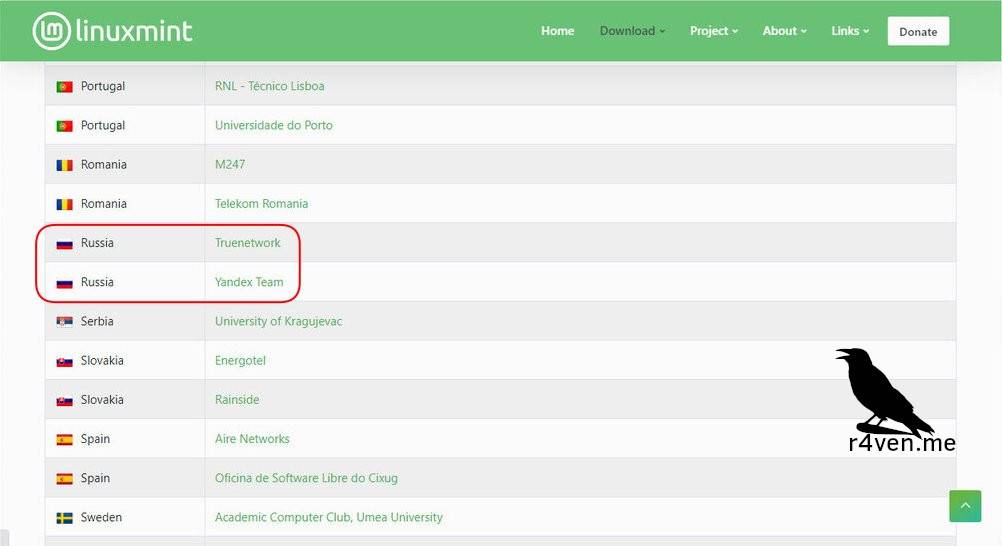
To do this, let’s go visit Google or Yandex and search for “Linux Mint,” then go to the official project website’s downloads section and choose the Cinnamon edition, or simply click here. This page has links to download mirrors, sorted by country. Choose the country you need, in this case Russia, where mirrors are kindly provided by the providers Truenetwork and Yandex Team for maximum download speed.
A brief digression on choosing a distribution edition.
The Linux Mint project develops and maintains three editions of the operating system: Cinnamon, XFCE, and Mate. Each edition represents a separate desktop environment, configured in a consistent style, in line with the vision of the Linux Mint designers.
- The Cinnamon desktop is developed in-house by the Linux Mint team. This desktop environment is quite balanced in terms of user experience, practicality, and functionality of graphical elements. A great choice for beginner Linux users;). Today our choice falls on this particular edition.
- The XFCE edition is a more lightweight environment, suitable for less powerful computers. Although lately there have been questions raised about just how lightweight this environment really is. Despite that, XFCE is noticeably lighter than Cinnamon. Nowadays, for old PCs there are genuinely minimalist distributions that break all lightness records in the world of operating systems, but that’s a topic for another time.
- The Mate edition is a community continuation of the Gnome 2 desktop, which at one time won over millions of Linux fans’ hearts. Fans who couldn’t come to terms with the changes made by the official Gnome project developers in version 3.
Now for the screenshots:
Downloading the program to create a bootable flash drive
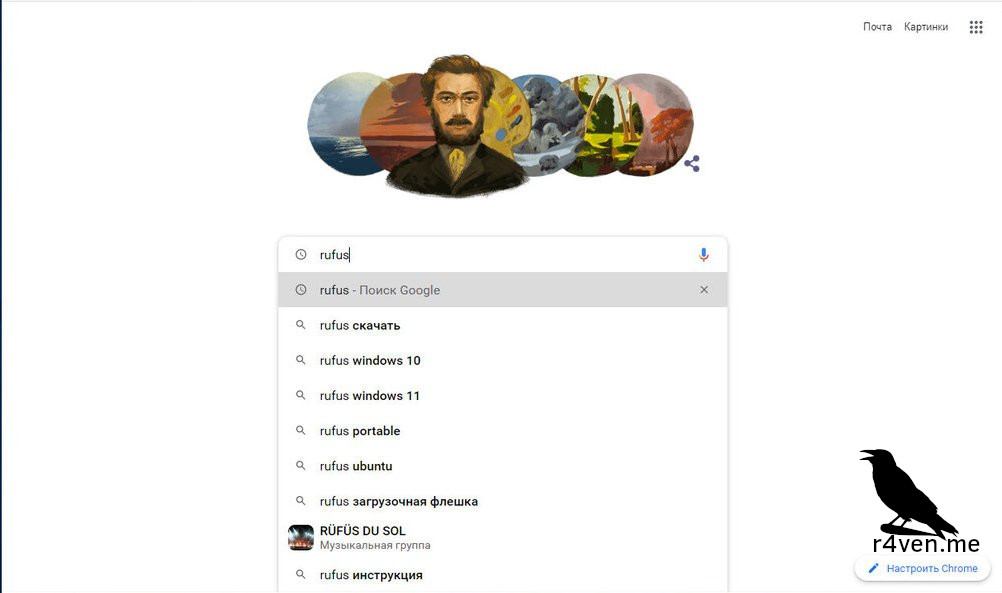
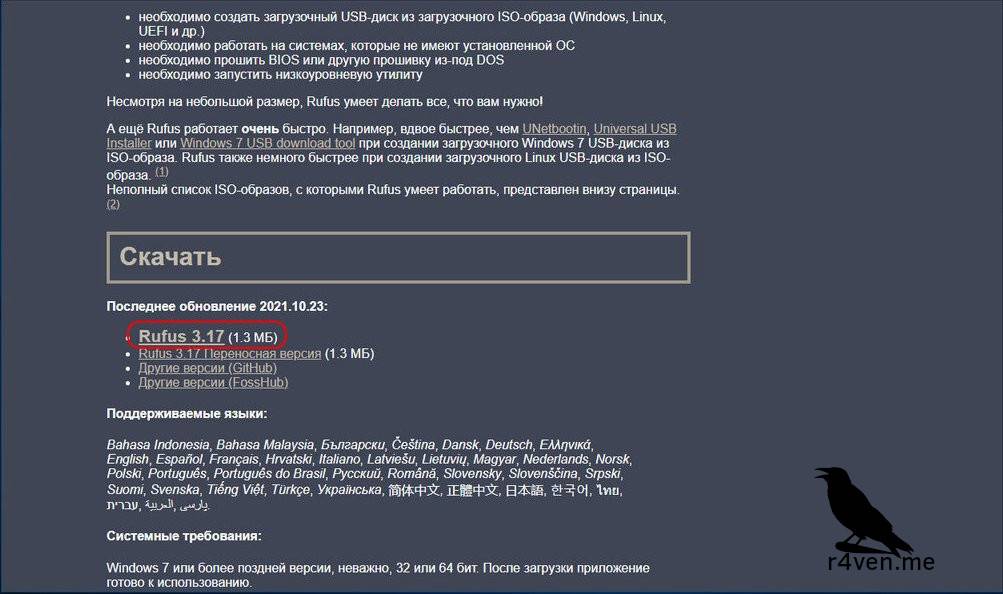
To install Linux on a computer, you need to write the distribution image file onto a USB flash drive and make it bootable, so the computer’s BIOS recognizes it as a bootable device. There are many software solutions for creating such a flash drive. One of the simplest and most effective is the Rufus program. Let’s go to Google and search for rufus. Find the official website rufus.ie/ru, or again just click here, and download the program. You won’t need to install it — it runs in portable mode.
Creating a bootable flash drive
Insert our USB drive into the PC, and all the ingredients for creating it are ready.
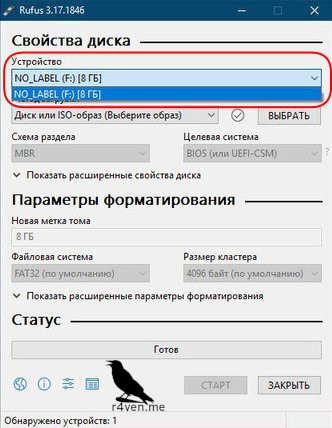
Launch Rufus and you’ll see the following window:
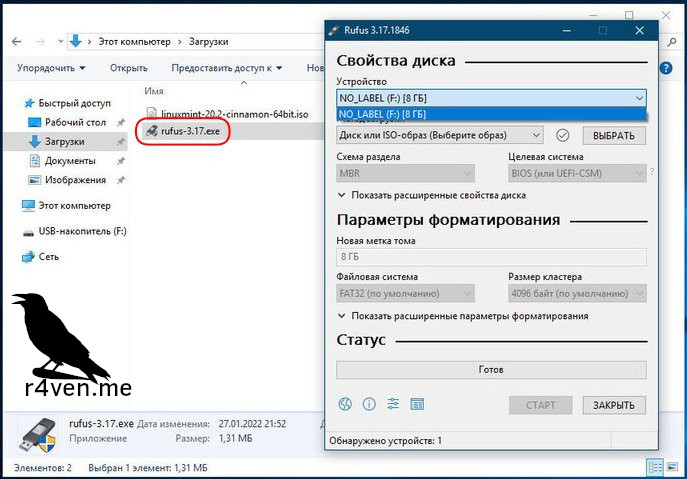
In the “Device” field, select our USB drive.
BE CAREFUL!
During the process of creating the bootable flash drive, all data currently on it will be erased. So if you have more than one USB drive plugged into your PC, make sure you select the one you intend to use for installing Linux.
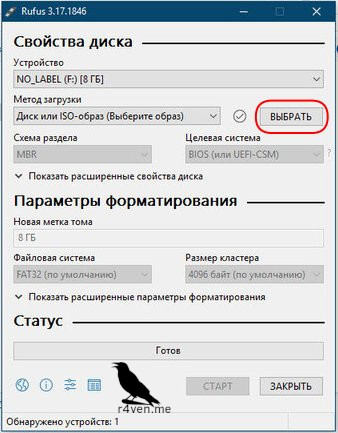
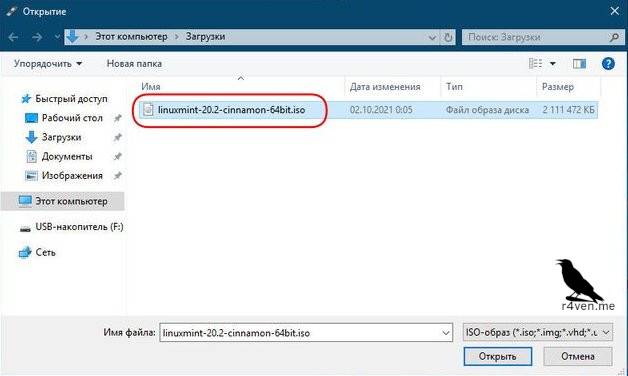
Now we need to select the Linux Mint distribution we downloaded earlier:
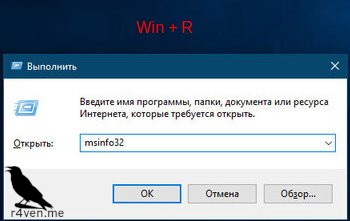
The next item in the program is “Partition scheme.” Here you need to choose the partitioning scheme for your disk. There are two options: MBR or GPT. If you have an older computer with a BIOS system, choose MBR. If you have more modern hardware and a motherboard with UEFI, then choose GPT. If you don’t know which one you have, the built-in Windows utility msinfo32 will help. To use it, press the key combination Win + R, and in the window that appears type msinfo32 and press Enter. A program window will open providing detailed information about your hardware.
Here we need to select “System Summary” and find the line “BIOS Mode.” If it says “Legacy,” then in Rufus choose the MBR layout. If it says “UEFI,” then choose GPT accordingly.
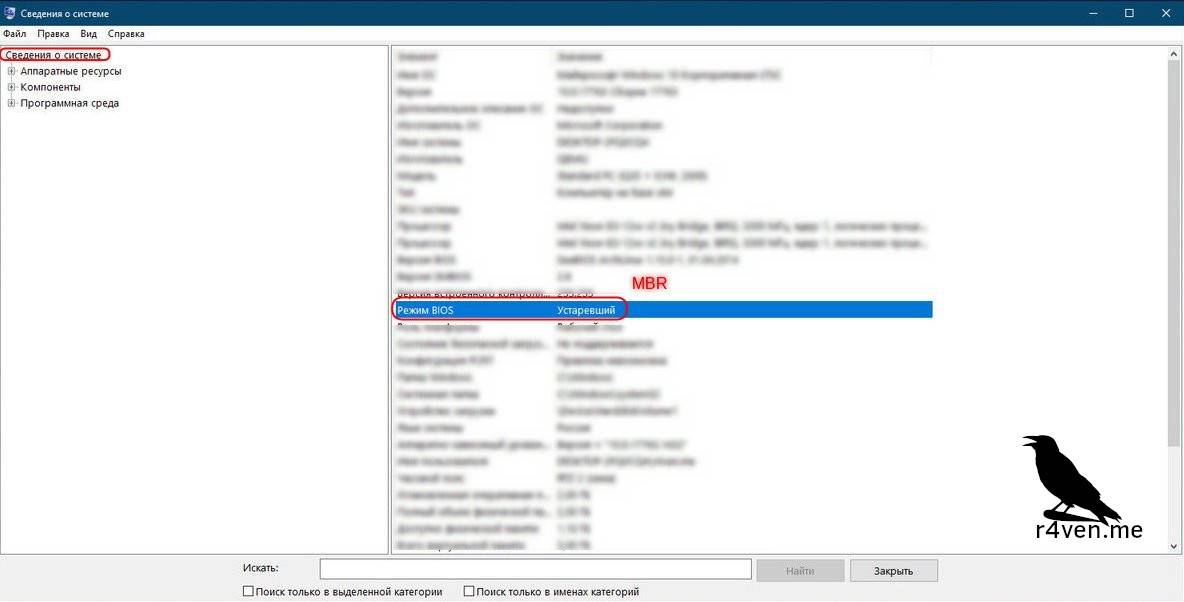
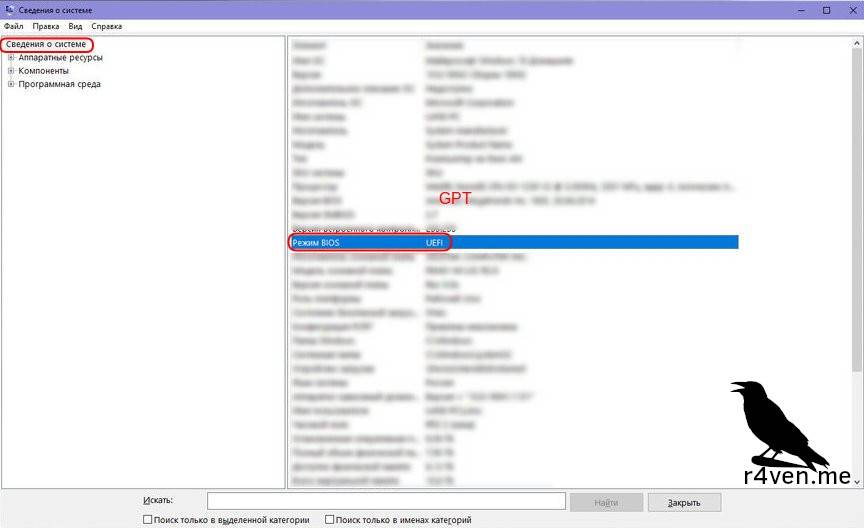
Next, make sure the file system selected for the USB drive is FAT32 or NTFS, and click the START button:
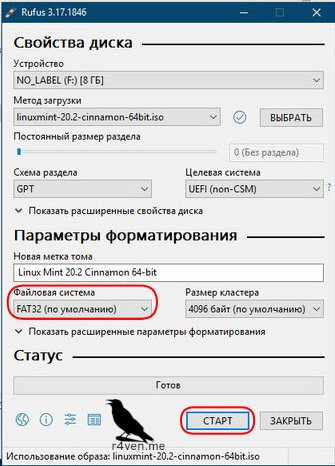
After clicking it, a notification will appear letting you choose the write mode. For Debian- and Ubuntu-based distributions, the first option is preferred:
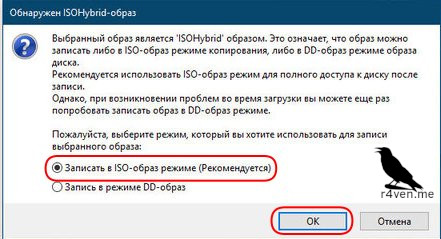
Confirm that all data on the flash drive will be erased before creating the bootable drive:
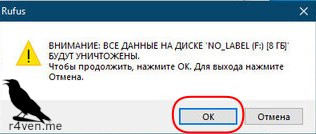
And wait for the creation process to finish.
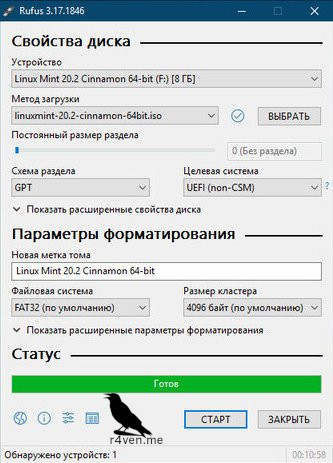
Our bootable Linux Mint flash drive is ready.
Booting the system from the installation media
The next step is to boot the computer from the removable media — our bootable flash drive. To do this, restart the PC and immediately repeatedly press the boot device selection key. This key can differ across motherboards. In my experience I’ve encountered F8, F12, Esc, and F2.
In my case (an Asus motherboard) it’s F8. I press it and get a list of boot devices:
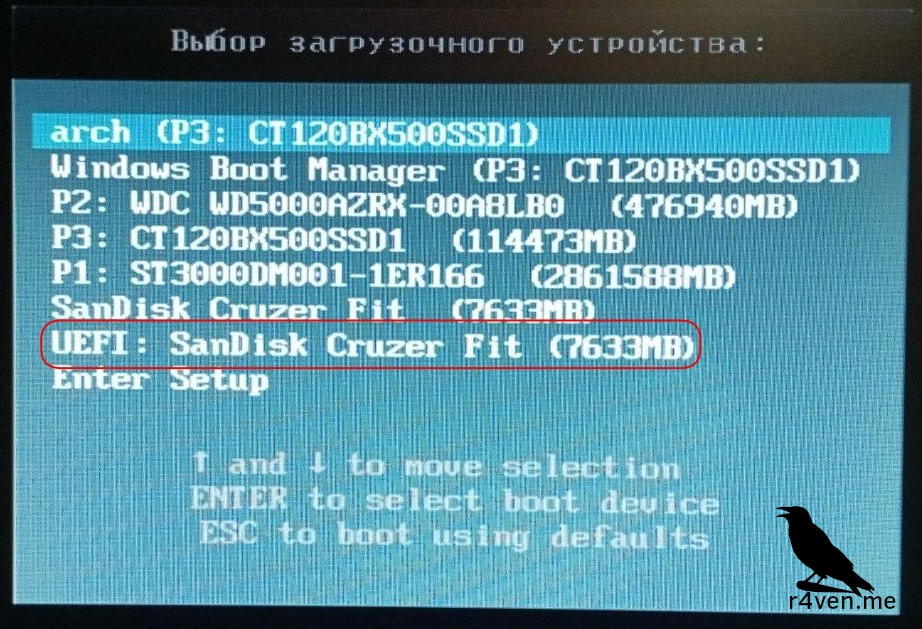
Find our USB flash drive in the list by its name and size.
Please note. If you have a UEFI system, choose your flash drive with the corresponding suffix from the list. If it’s plain BIOS, there will only be one option.
And press Enter.
If all the previous steps were done correctly, you’ll see Linux Mint boot up and end up on its desktop. This isn’t an installed system yet, just its live CD image, loaded and running from your PC’s RAM.
Installing Linux alongside Windows
So, we’ve booted into live CD mode of our Linux Mint system image.
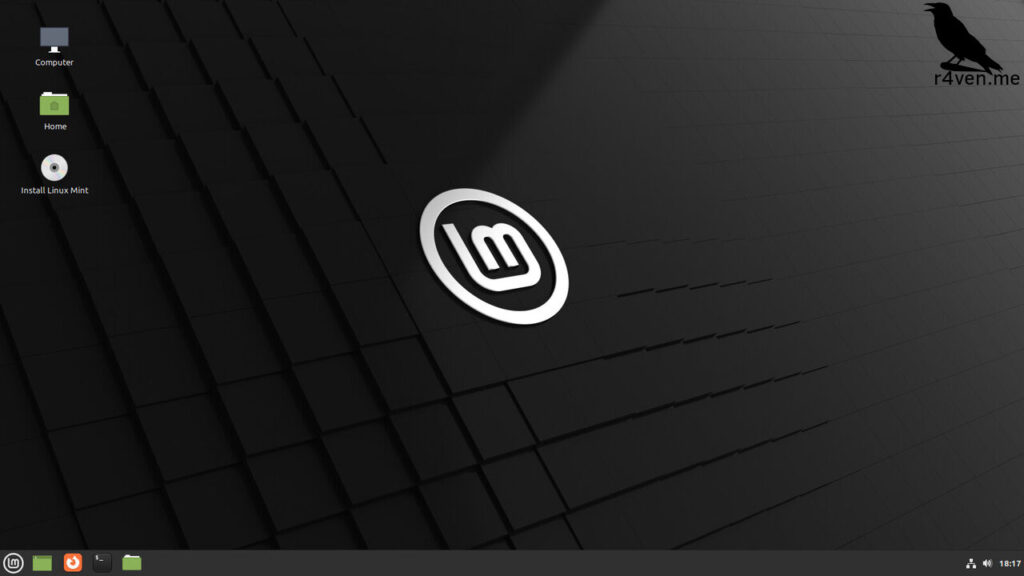
Let’s get to the installation. Double-click the desktop shortcut Install Linux Mint to start the installation.
Now let’s go through the installer steps:
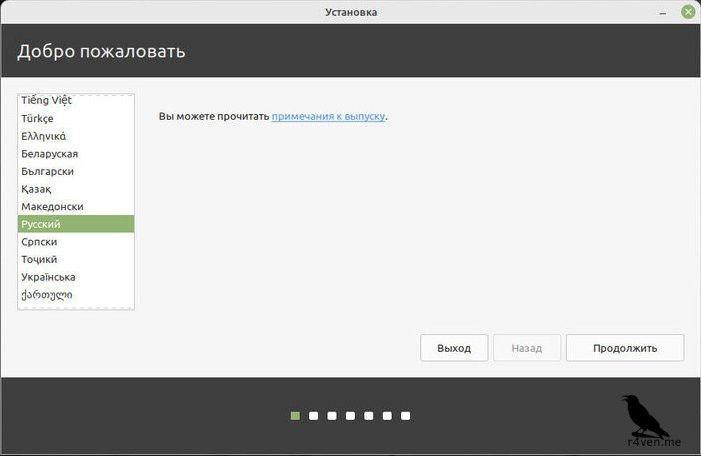
Choosing the system language
Here choose the language you need. In my case, Russian:
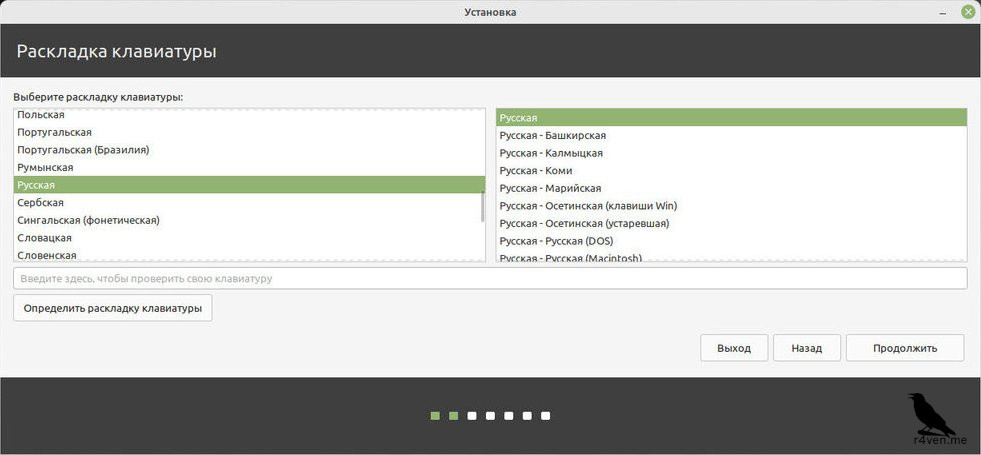
Choosing the keyboard layout language
Here also Russian:
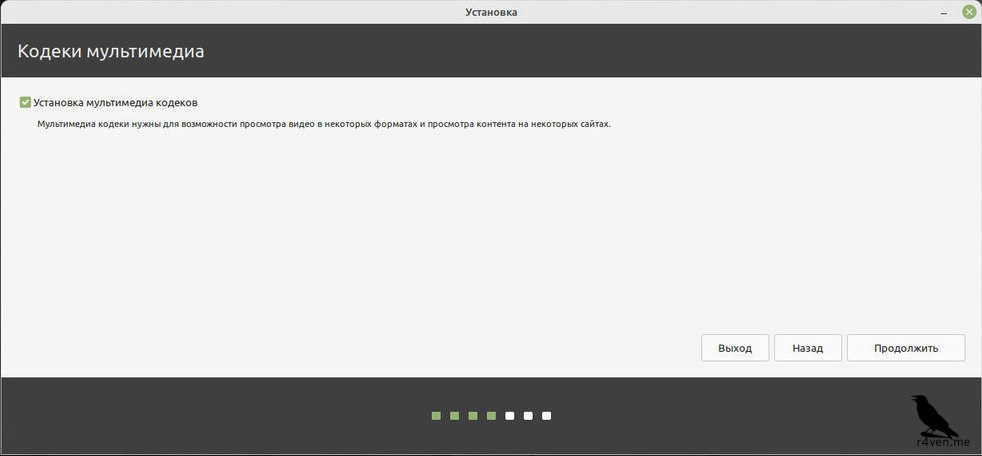
Agreeing to install multimedia codecs
Why does this item deserve special attention? Because some multimedia codecs have closed source code, and the Linux Mint developers, respecting the privacy and freedom of their users, leave the choice of installing them up to the users themselves. Here we check the box, otherwise on some websites there will be problems playing video and other media content.
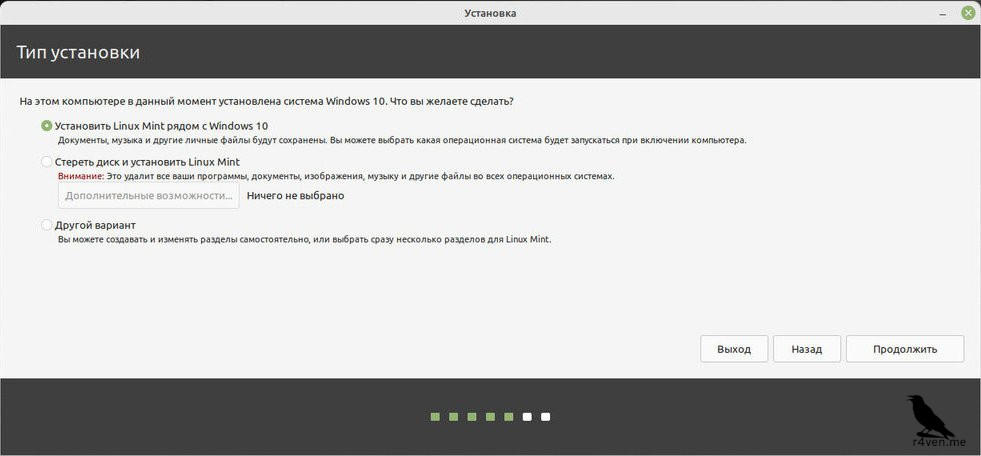
Installation type
For a beginner, the correct and safe choice is to use automatic disk partitioning by selecting “Install Linux alongside Windows.”
Allocating disk space for Linux
When choosing the installation type as in the step above, the installer will allocate and partition the specified disk space for the system itself. All that’s left for us is to specify the amount of space to allocate. I recommend allocating at least 15-20 gigabytes for Linux Mint to run fully. If possible, it’s worth allocating at least 50 GB. There’s essentially no limit. More is better, depending on your plans.
To specify the required space in the installer, move the slider on the disk partitioning diagram with your mouse. On the left is the Windows partition, and on the right is the space allocated for Linux:
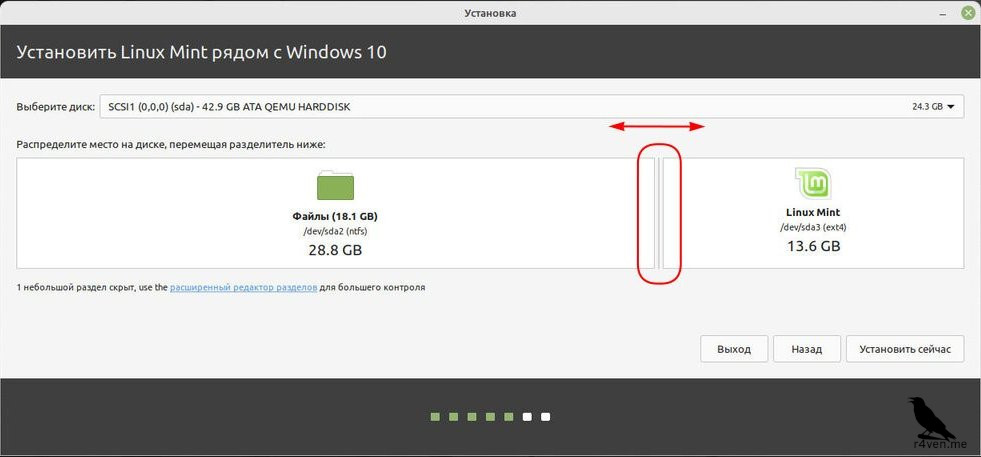
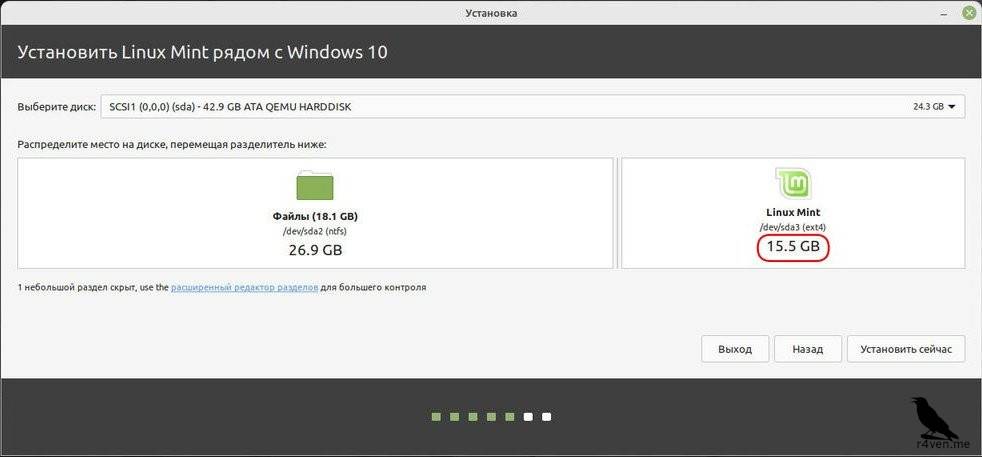
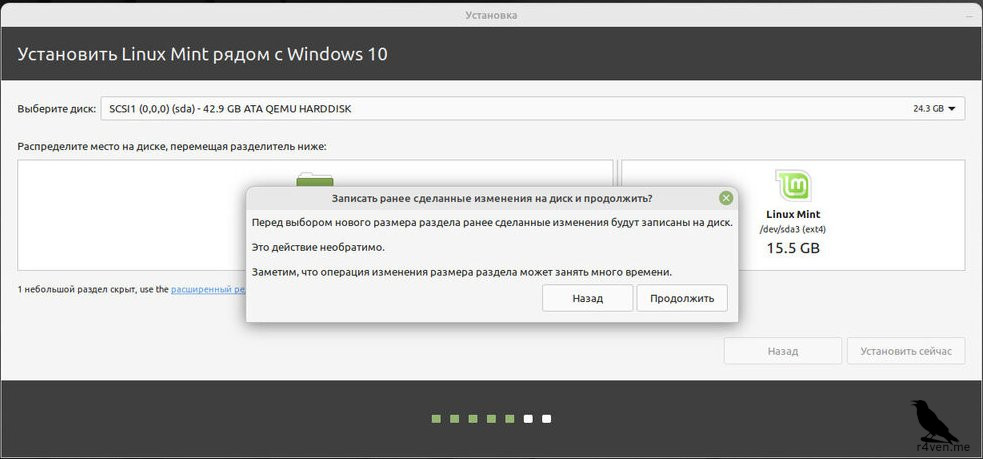
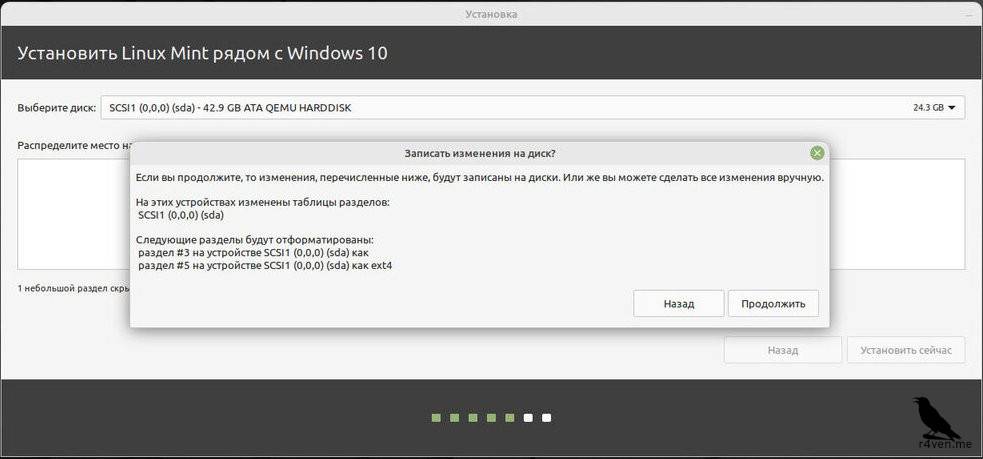
After determining the space, click “Install Now” and confirm the changes to the disk partitioning twice:
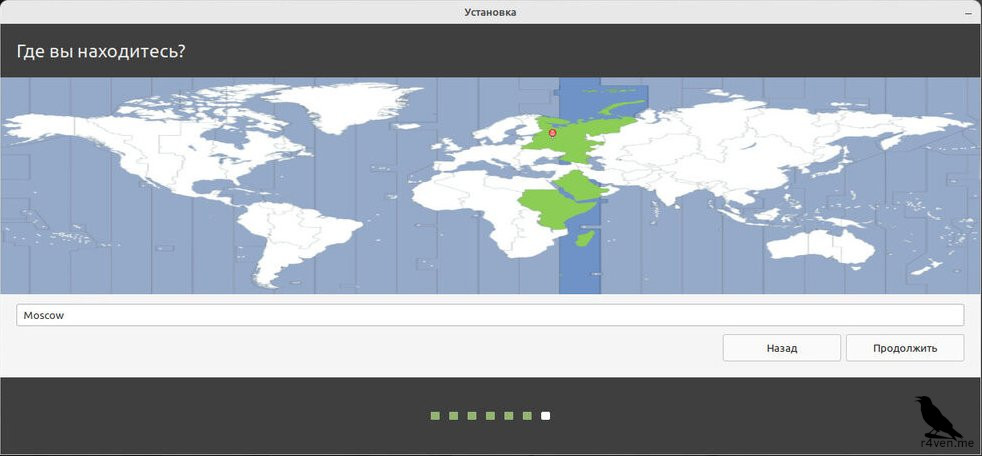
Choosing a time zone
Choose the time zone you need, either by clicking on the map or by entering the region name manually:
Creating a user and password
At this step, we need to set a username and password for it. You won’t be able to set an empty password, as in Windows, due to Linux’s security philosophy.
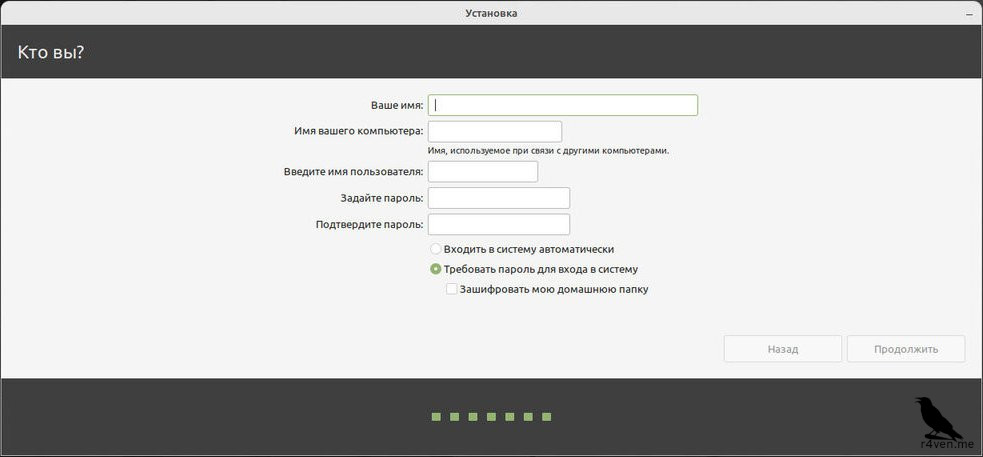
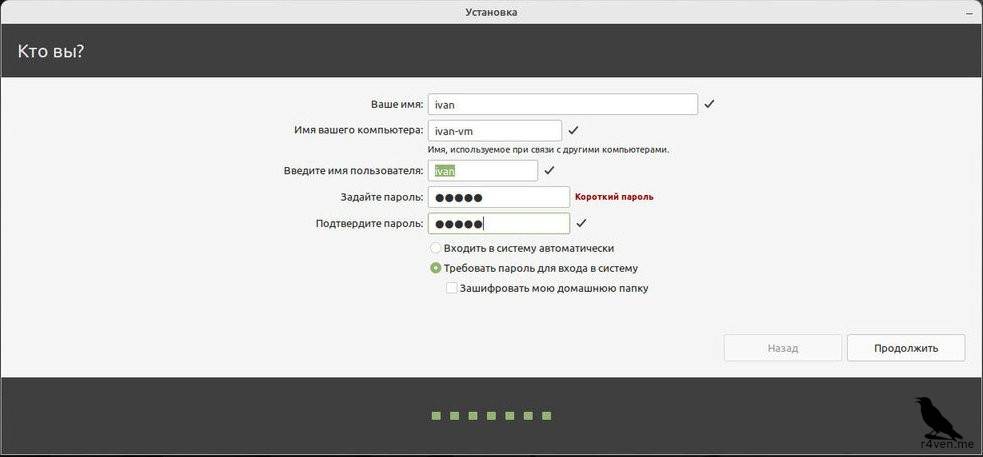
The item “Log in automatically” or “Require my password to log in” is up to you. I left it set to require a password on login.
Click “Continue.”
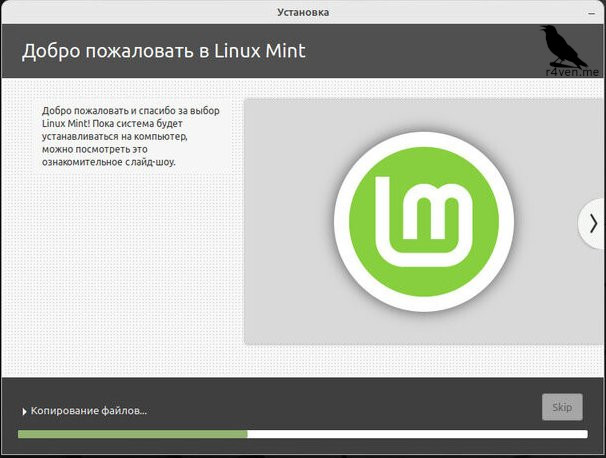
Finishing the installation
Now simply wait for the file copying and system installation process to finish:
Rebooting
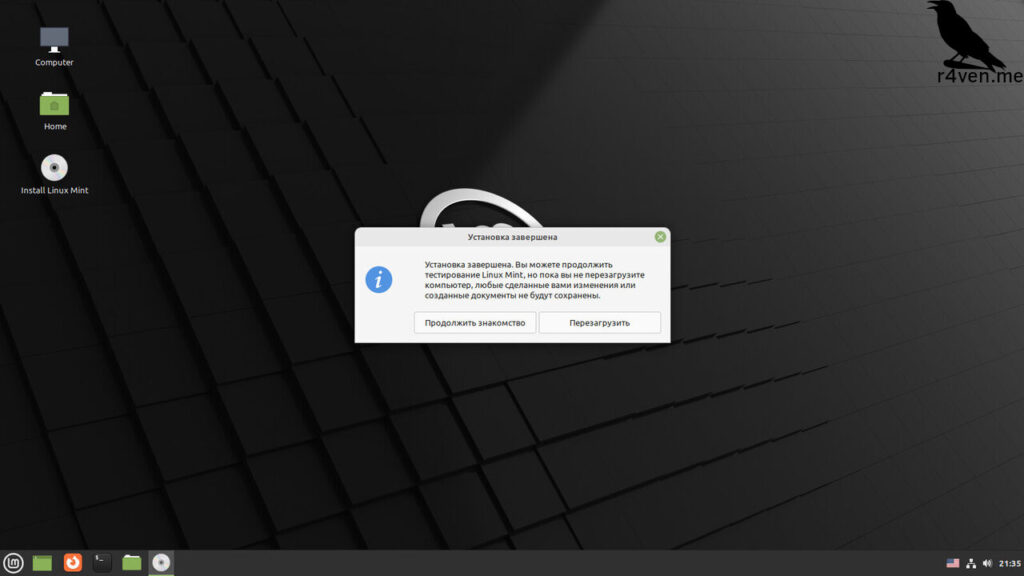
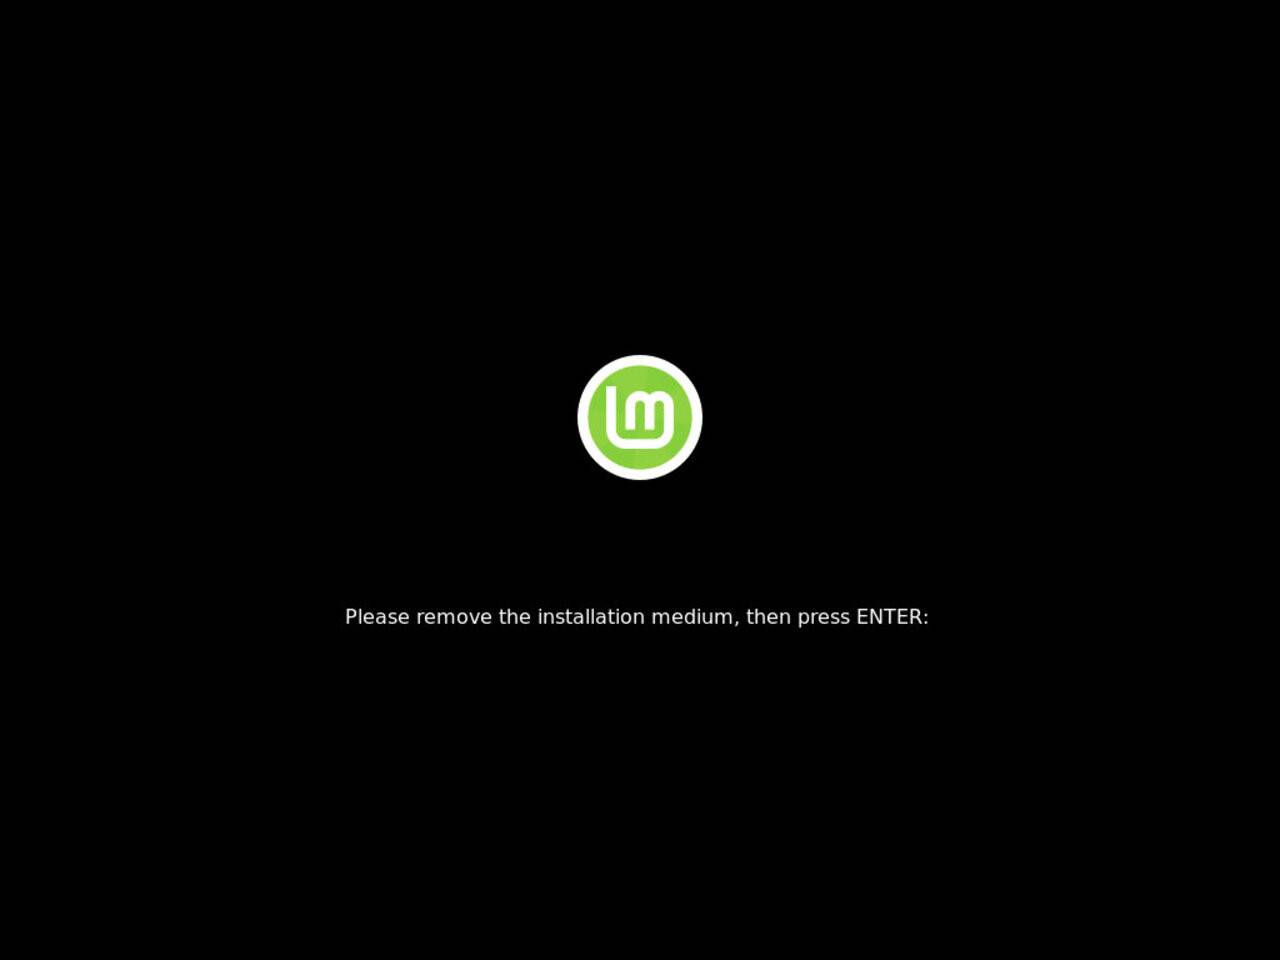
Once the installation is finished, the program will notify you of completion and the option to reboot into the newly installed Linux OS. Afterward, you’ll be prompted to remove the USB drive and continue by pressing Enter.
First launch of the Linux Mint operating system
After rebooting, you should see a screen like this:
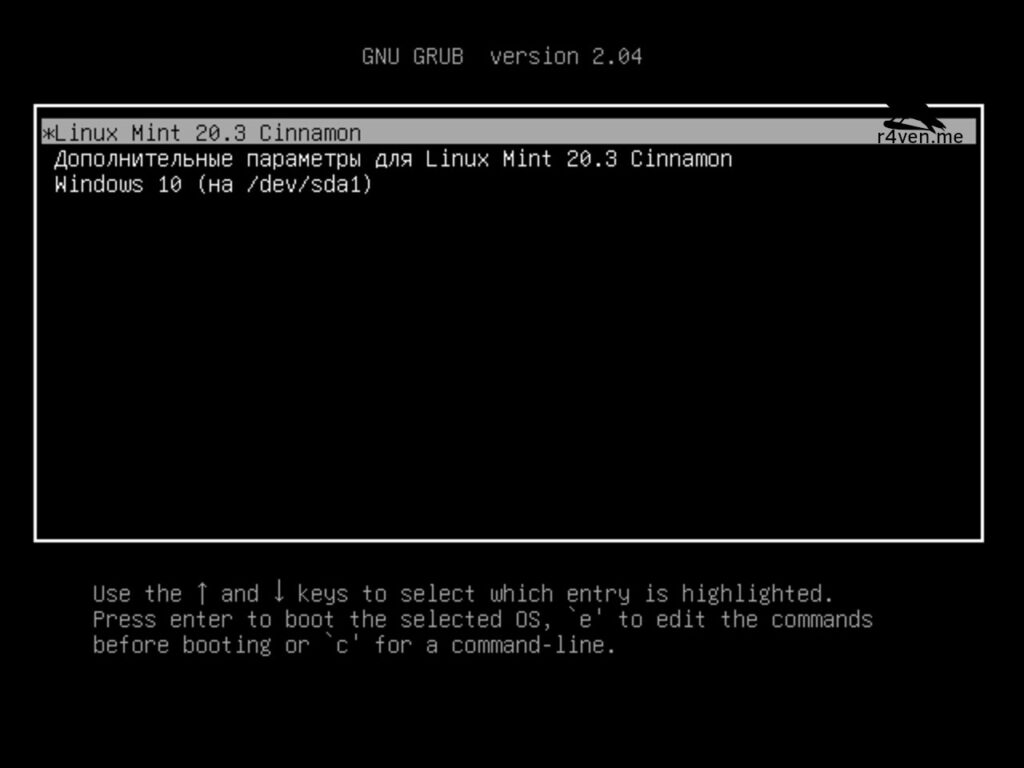
The Grub bootloader window
In this window you can choose which system to boot into: Linux Mint or Windows.
If you don’t press anything within 10 seconds, the default option will be selected, which is Linux Mint.
At the end of the guide, I’ll show how you can change the OS boot order so that Windows is the default.
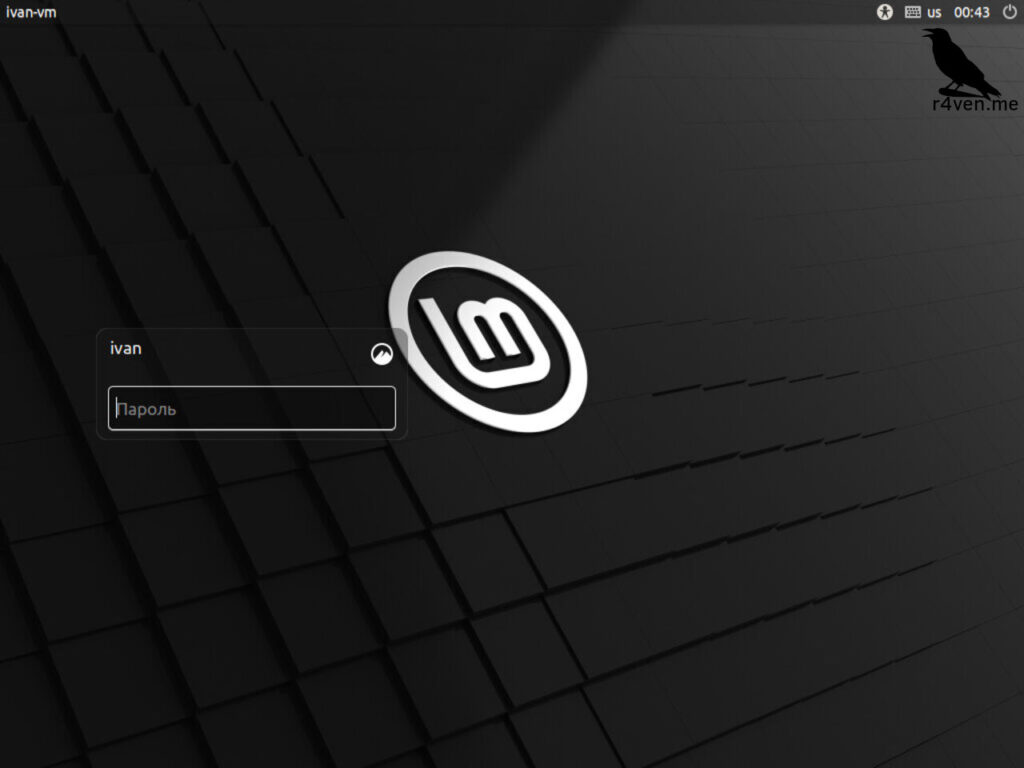
After launching Linux Mint, we land on the login screen, and after entering the correct password, on the desktop of our installed system:
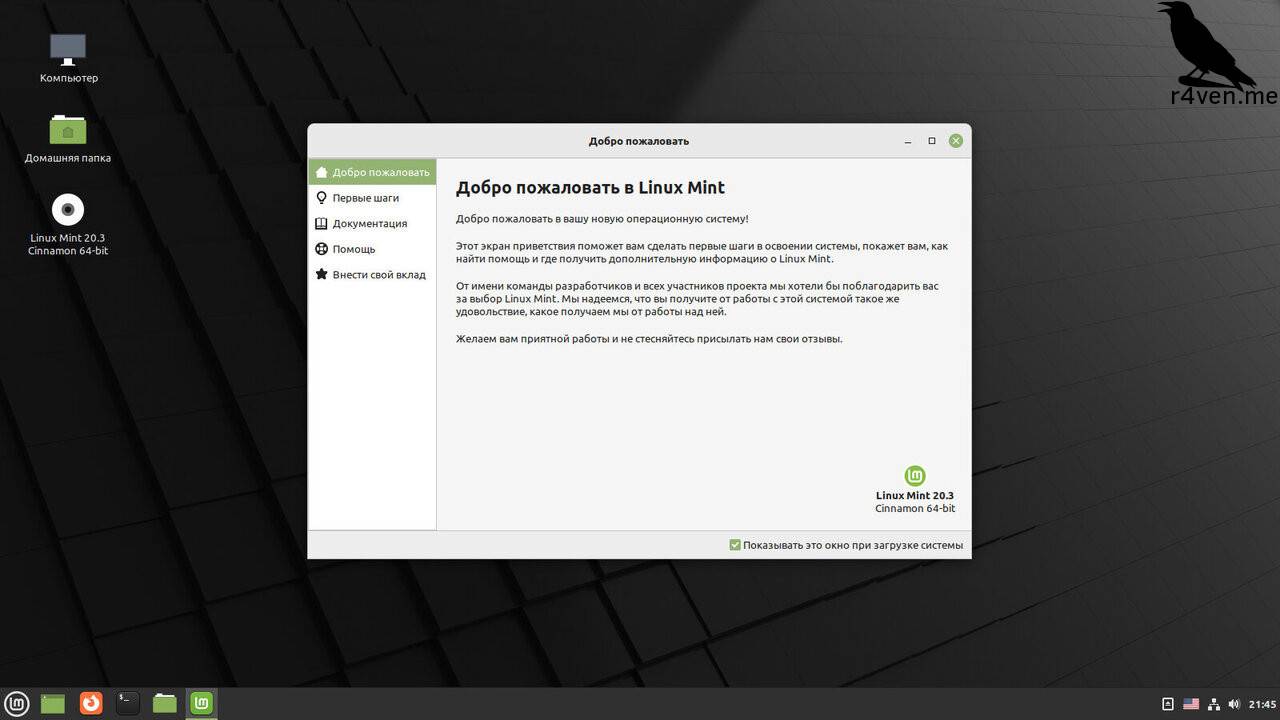
Here we’re greeted by a welcome window describing the first steps and their description. For example, here you can change basic system appearance settings, launch the driver manager, which will help install video drivers in case you’re using nvidia graphics cards, or drivers for less common wi-fi hardware, and so on.
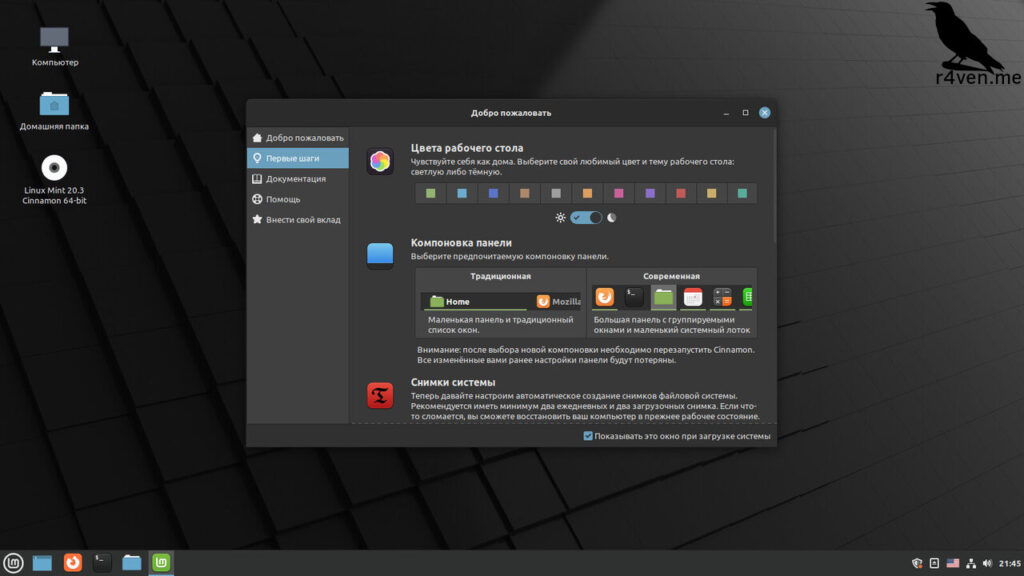
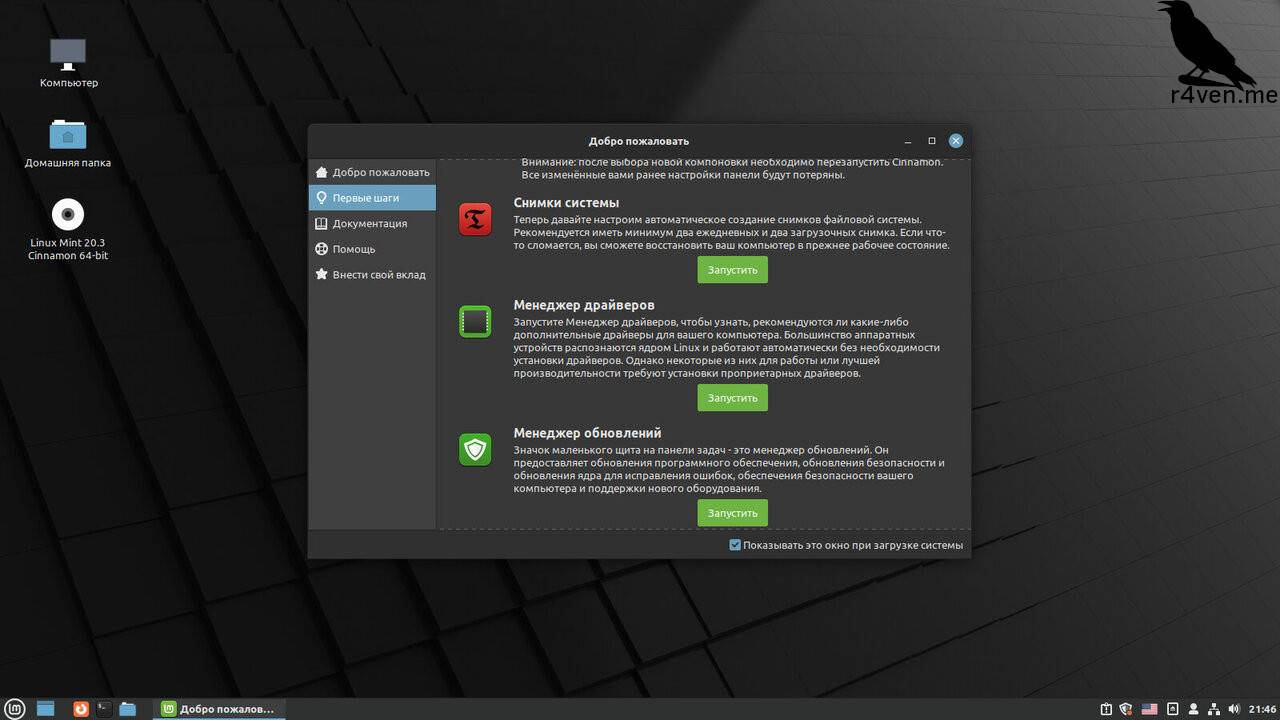
To prevent this window from appearing after every reboot, uncheck the box in the bottom-right corner of this window.
Your Linux system is ready to use. Go into the settings, work with files, install the programs you’re interested in from the app center.
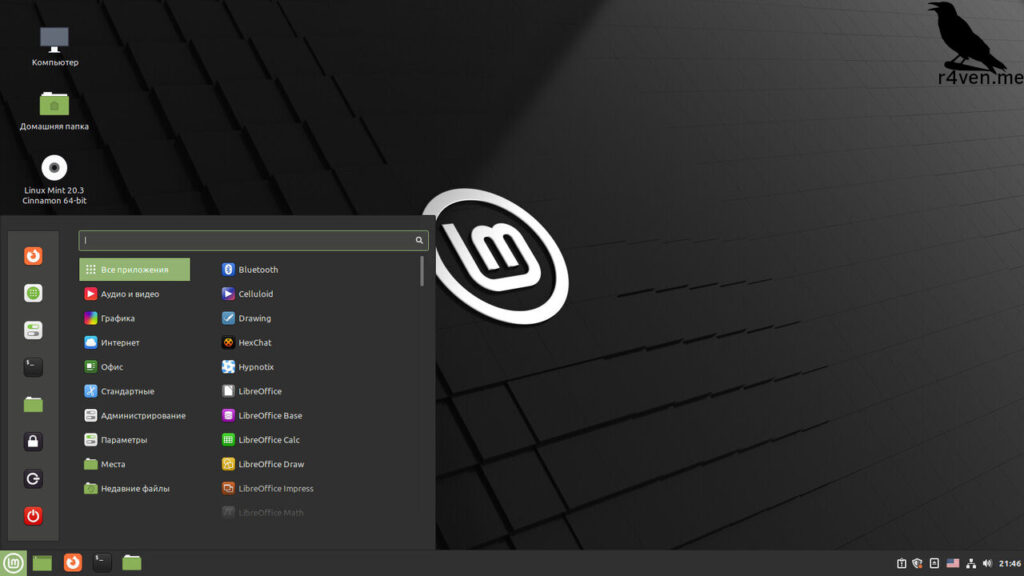
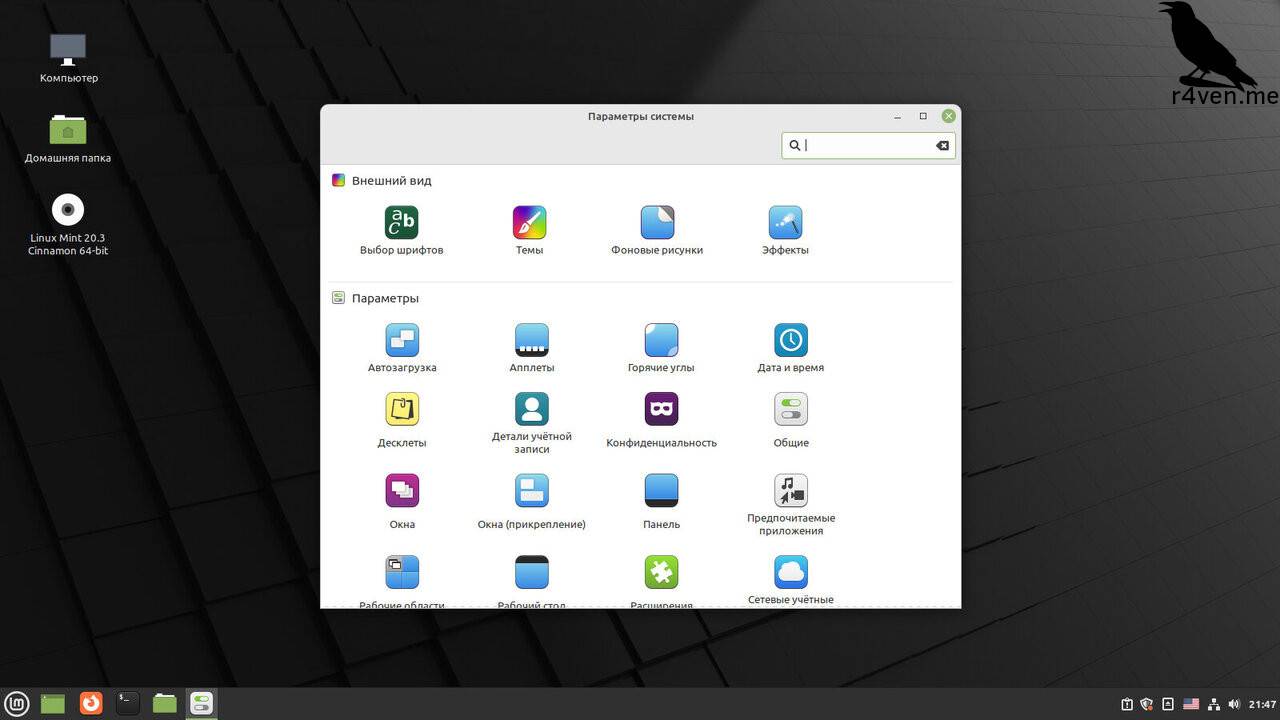
Everything found in the official repositories of the Linux Mint distribution is predominantly open-source software and completely free.
A few notes
Here I’ll talk about a few particulars after installing Linux Mint.
Perhaps this list will grow over time.
First, let me explain how to change the default boot OS to Windows.
To do this, you need to perform a few actions.
Go into the software manager (the first launch will take some time to build the cache), type “grub” into the search, find “Grub-customizer” in the list, and select it:
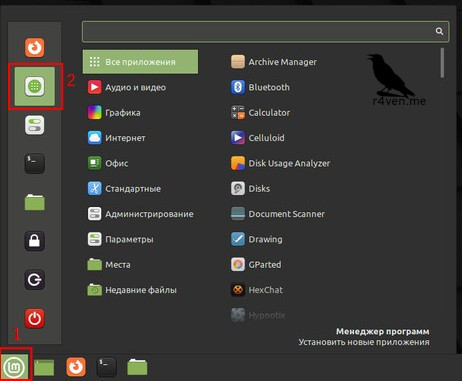
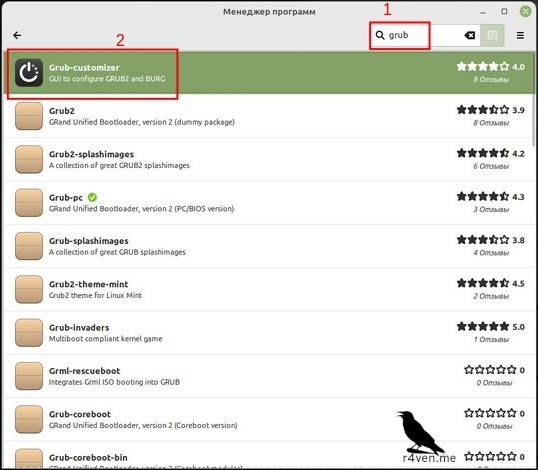
Grub is a bootloader program for operating systems. The black window with the list of OSes to launch — that’s Grub.
Now click “Install,” after which you’ll need to enter the password for your account, which you set during the Linux Mint installation.
In Linux systems, superuser privileges (like an administrator in Windows), also known as root, are required to make changes affecting system settings. In graphical desktop environments, for security, a privileged user password is always requested to make any system changes.
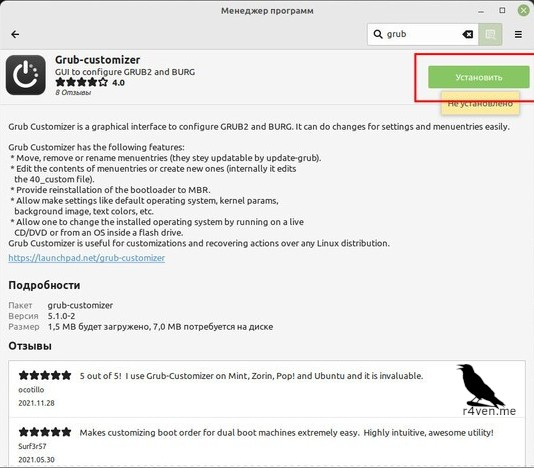
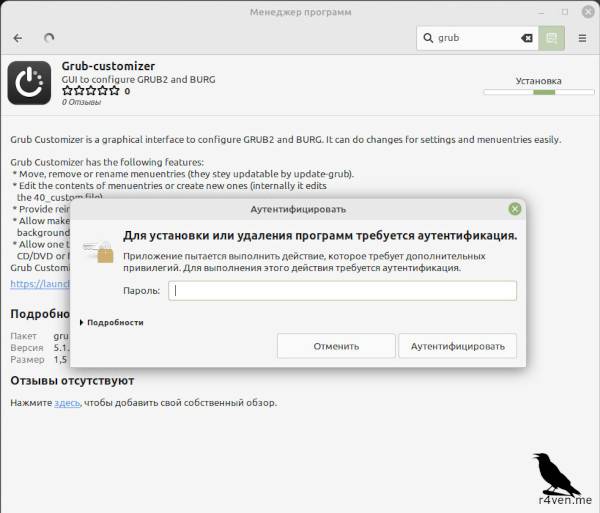
Wait for the installation to finish, click “Launch,” and enter the password again:
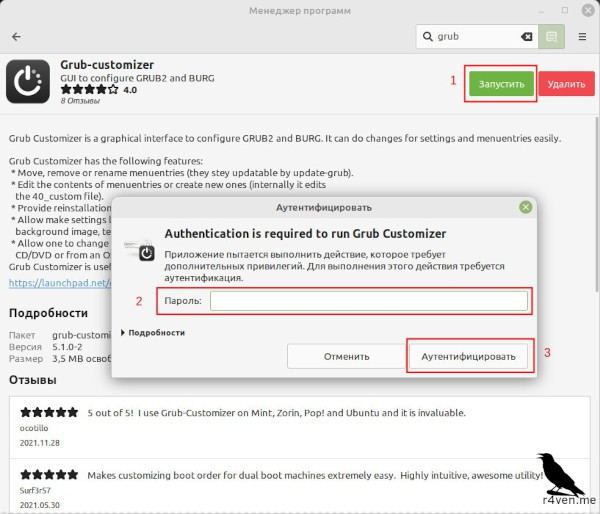
The Grub bootloader configuration program window will open.
⚠️ Warning
Be careful when changing bootloader parameters. Without additional knowledge, it’s better not to change already-set parameters unless truly necessary.
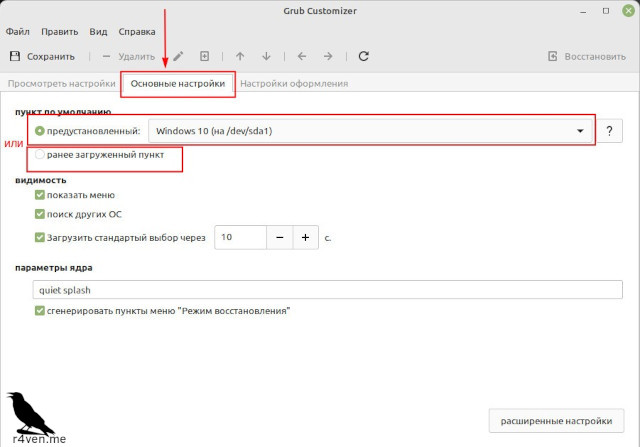
In our case, to change the OS that boots by default, go to the “General settings” tab, and here we have two options:
- Set the OS that was launched last as the default at startup
- Set a specific OS to boot by default
In my case, I simply changed the “default entry” setting to “predefined” and selected Windows in it. After choosing the OS you need, click the “Save” button to apply the changes to our grub bootloader configuration:
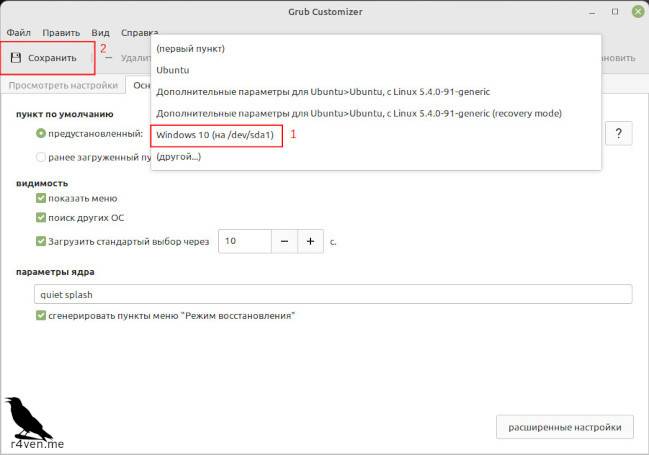
You can explore the Grub customizer program’s functionality in more detail. Here you can change the timeout after which automatic boot occurs, rename boot menu entries, configure the appearance theme, and much more. But in order not to break anything, I recommend leaving everything as is.
In my next guide, I’ll cover Linux Mint’s appearance customization options in full detail, including the grub bootloader window.
Thanks for reading. Good luck exploring Linux systems ;)
👨💻And…
Don’t forget about our Telegram channel 📱 and chat
Or maybe you want to become a co-author? Then click here🔗
💬 All the best ✌️
That should be it. If not, check the logs 🙂

Comments