
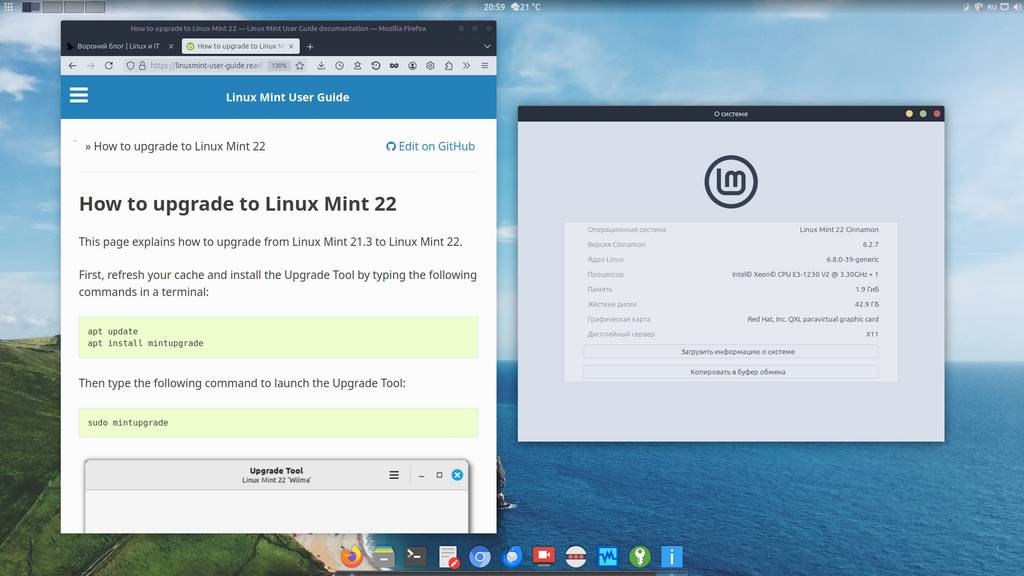
A new release of the Linux Mint 22 distribution (based on Ubuntu 24.04) codenamed Wilma has just come out. And just recently the developers prepared instructions and a tool for a native (without reinstalling the OS) system upgrade, from Linux Mint 21.3 to Linux Mint 22. In this short note I’ll demonstrate this simple process 😉
I’d like to note that my test system has been upgraded this way since Linux Mint 20. Still alive so far)
🖐️Hey!
Subscribe to our Telegram channel @r4ven_me📱, so you don’t miss new posts on the website 😉. If you have questions or just want to chat about the topic, feel free to join the Raven chat at @r4ven_me_chat🧐.
Updating the current system to the latest version
The first thing to do is update our current system.
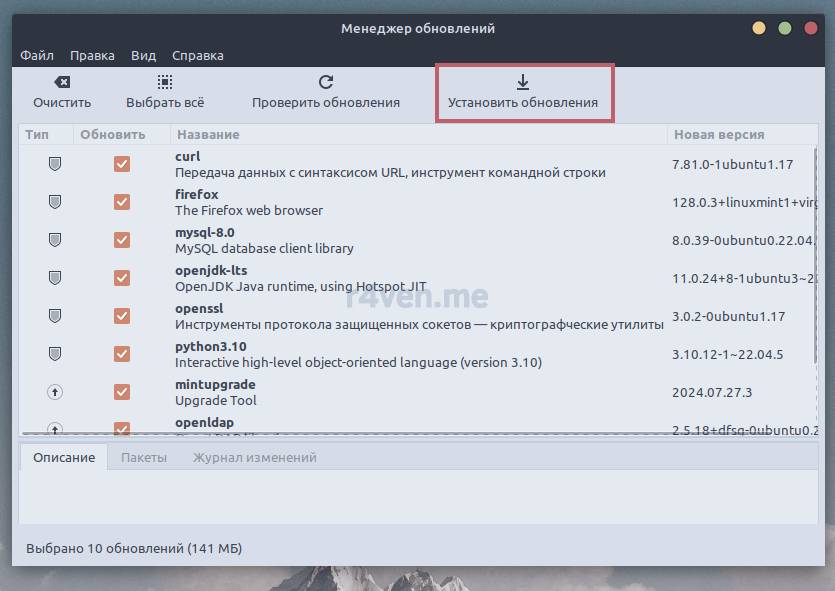
You can do this using the graphical program — Update Manager, launching it from the main menu or via the icon in the tray:
Or, in the classic way, run the following commands in the terminal:
sudo apt update

sudo apt upgrade -y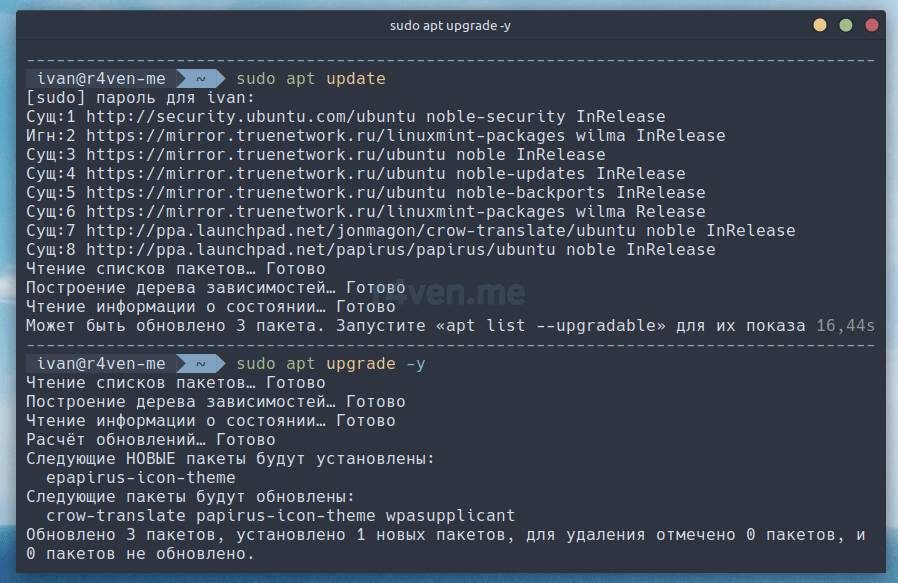
If necessary, restart the OS after this procedure completes.
Creating a system backup with Timeshift
Now a very important step (!): creating a system backup using the preinstalled tool — Timeshift.
Let’s launch this program from the main menu (you’ll need to enter the root password) and create a new snapshot (or delete the old one and create a new one, if disk space is low):
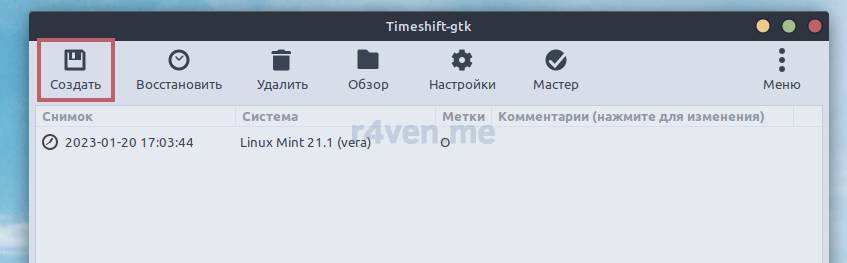
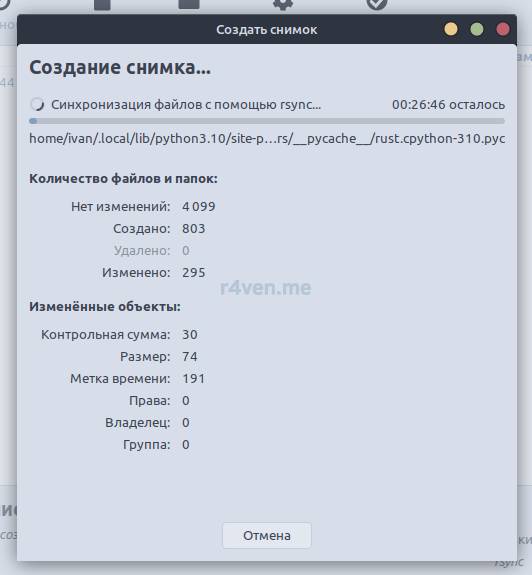
I described the procedure for creating system snapshots with this program in more detail in Step 2. Setting up operating system backup with Timeshift from the guide: Initial setup of Linux Mint 20/21.
Installing and running the system upgrade tool — mintupgrade
Now let’s install a special graphical tool (hereinafter the tool or utility), which is a step-by-step wizard. It will let us easily upgrade our system to Linux Mint 22.
Run in the terminal:
sudo apt install mintupgrade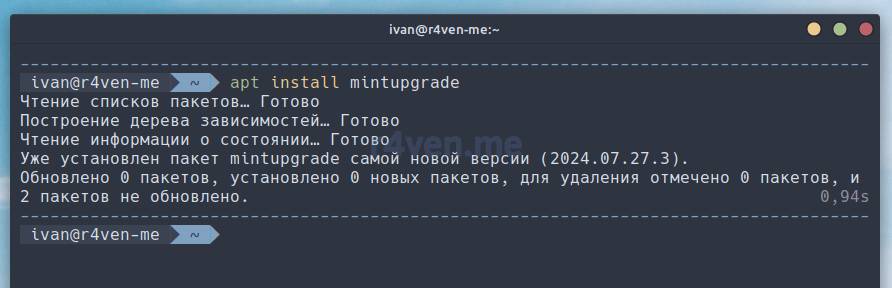
After that, run the utility as root:
sudo mintupgradeThe program window will open. Don’t close the terminal until the update is finished.
Upgrading to Linux Mint 22
Well, let’s go!
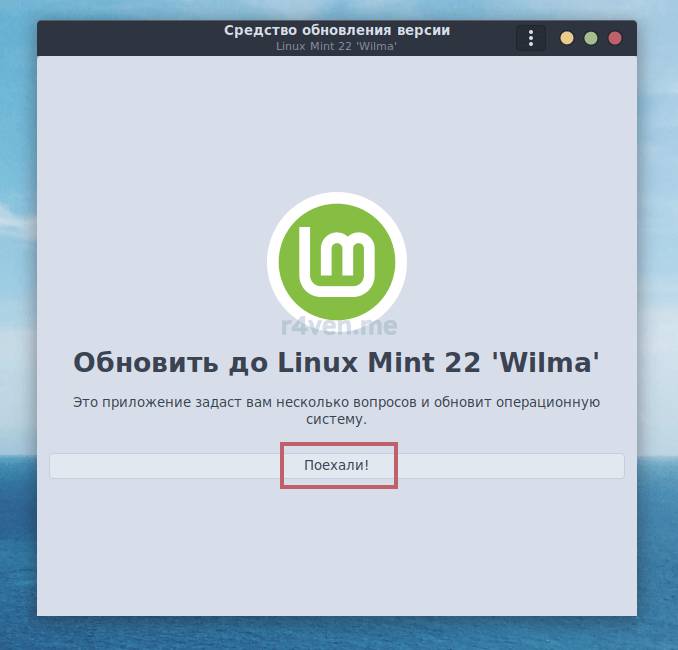
The program will run a series of tests to make sure your system is ready for the global upgrade:
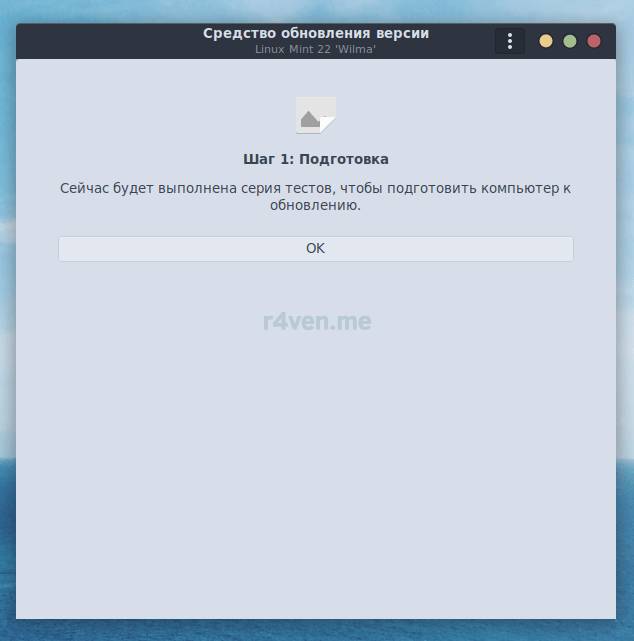
If you didn’t create a fresh backup of your system in the previous step, the upgrade tool will kindly remind you of this necessity:
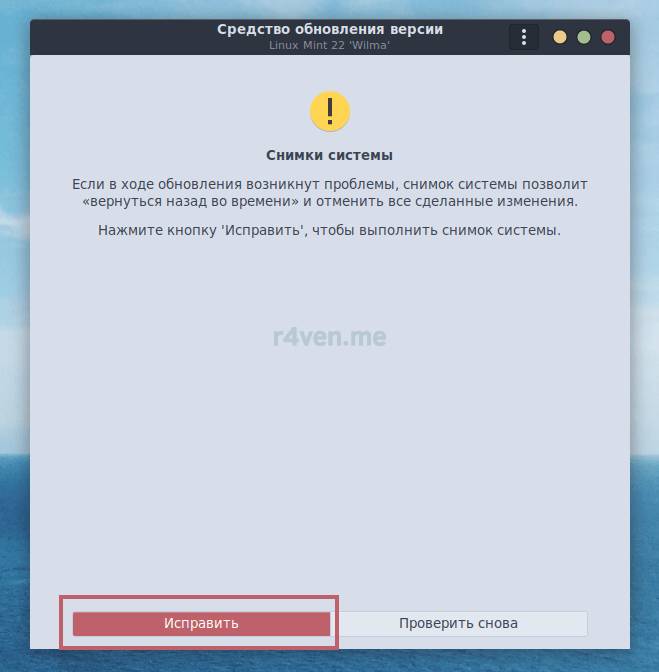
Without a backup the wizard simply won’t let you proceed. This is done to protect you. And, well, this way the developers also protect themselves from angry users)
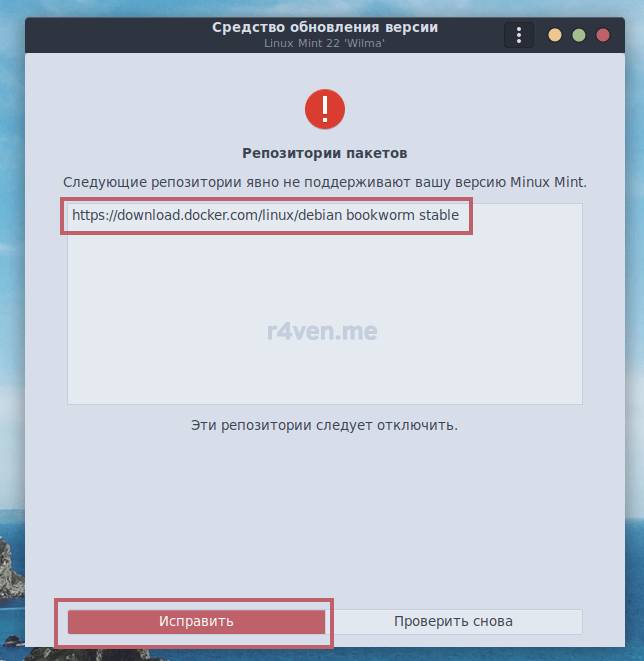
Next the tool will check for the presence of unsupported Linux Mint 22 software repositories.
If you continue the procedure, the tool will remove them from the list of software sources in your OS:
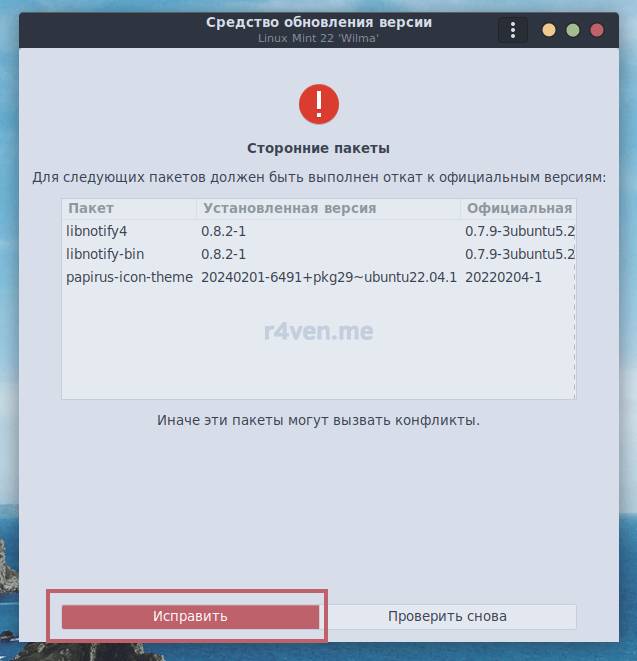
Next, similarly, a search for unsupported packages installed in the system will be performed. They will also be removed. Just write down their list in a separate file so you can reinstall them later.
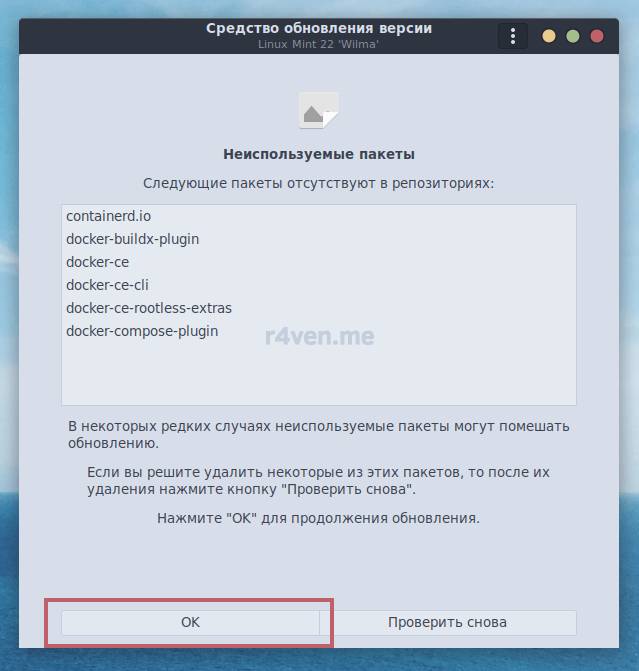
The next step will be removing packages that are absent from the supported Linux Mint 22 repositories:
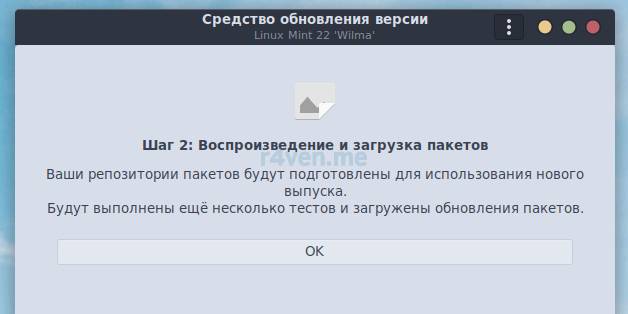
After that the utility will perform a simulation of the upgrade:
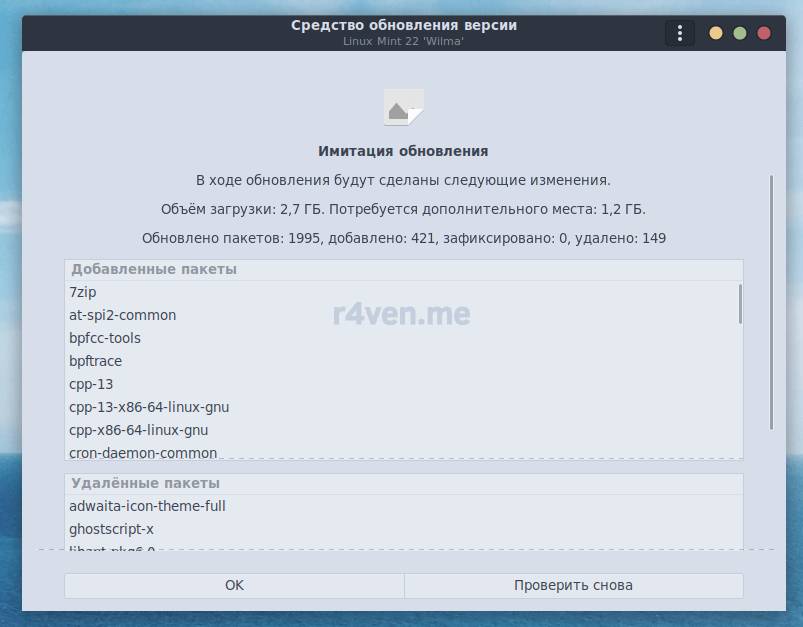
For this it will need additional disk space. It may turn out that there isn’t enough:
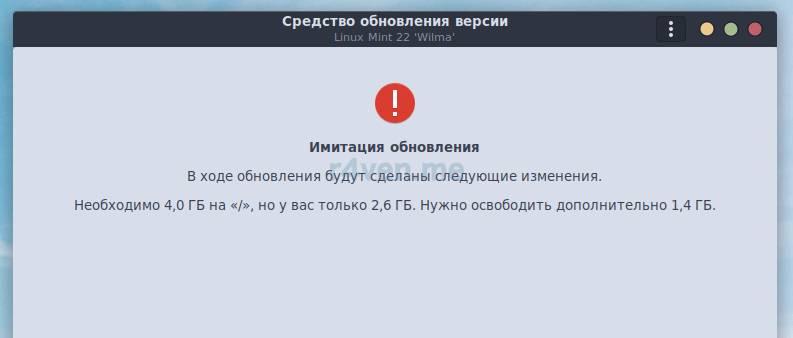
To continue, you’ll need to clean the system of “unnecessary” files)

To quickly find large files, use this command in the terminal:
du -h ~/ 2> /dev/null | sort -rh | head -n 20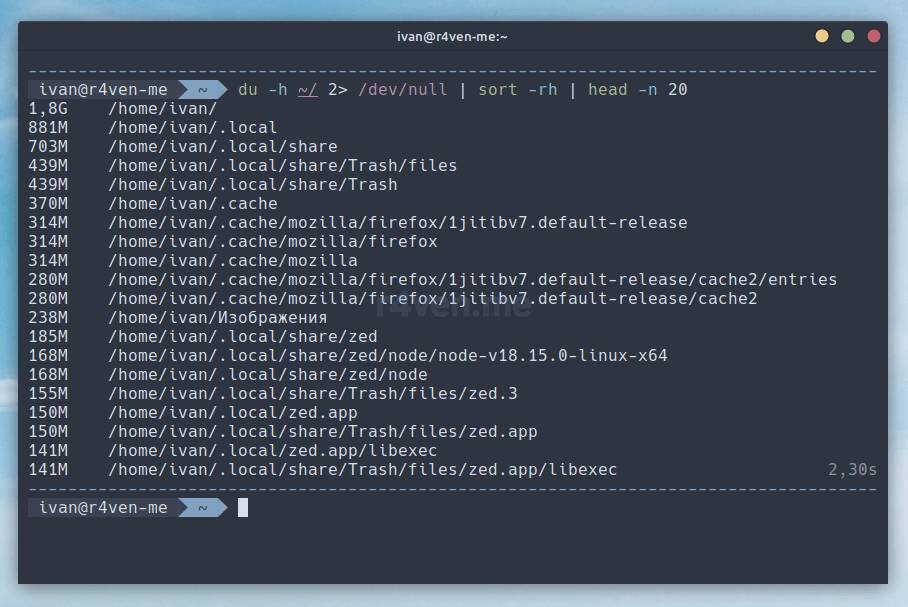
It uses the du (disk usage) utility to output the size of subdirectories at the given path as a list, redirecting error output to a “black hole” — the /dev/null pseudo device. Then, using the pipe mechanism, the result of the command is passed to the sort utility to sort by file size, and then the head command trims the output to the first 20 lines. The end result is the paths to the 20 “heaviest” directories.
See more about the stream redirection mechanism in the article: Linux command line, input and output redirection: the “>”, “<”, “|” operators.
To determine the size of each file in a specific directory, slightly modify the command:
du -sh ~/Изображения/* 2> /dev/null | sort -rh | head -n 20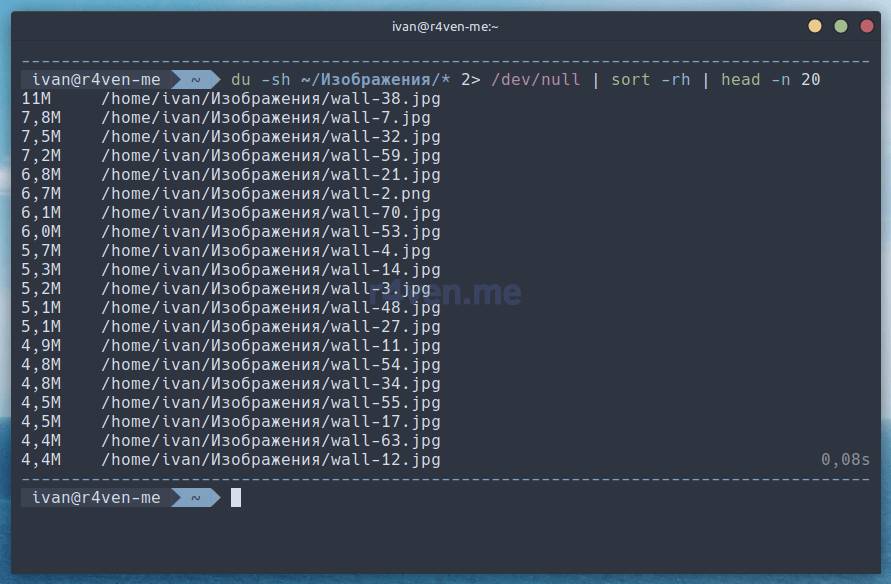
We added the -s option and the wildcard character *, which means “all items.”
After cleaning up, return to the upgrade tool.
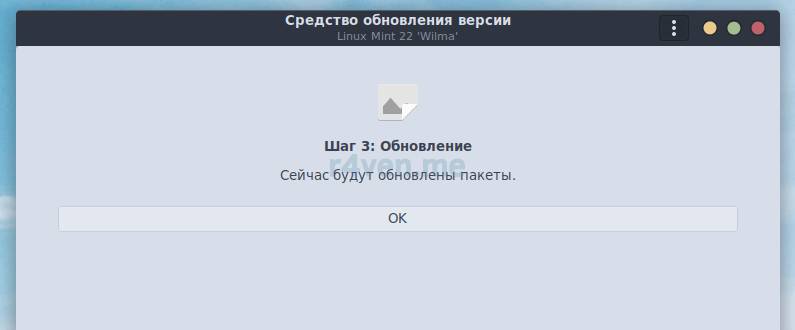
If everything went successfully, next comes the actual system upgrade (finally):
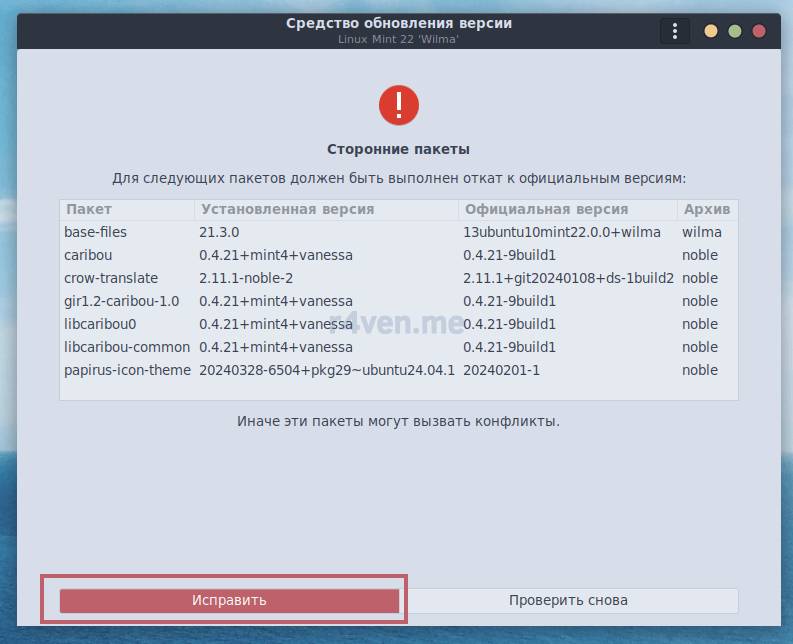
At this step third-party packages may also be detected, which will accordingly be removed:
At the end of the tunnel you’ll see light this message:
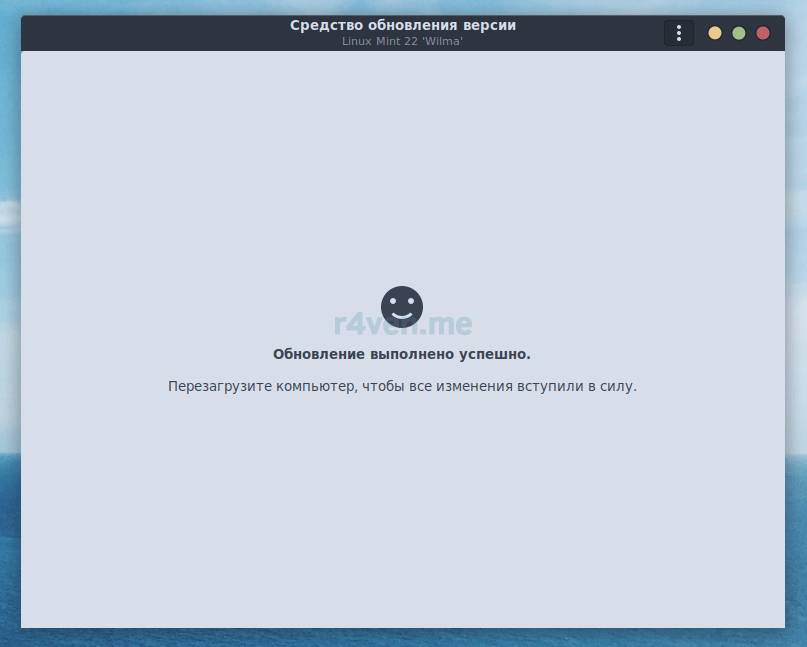
Here I congratulate you for the first time — you’ve successfully upgraded to Linux Mint 22 Wilma 😉

Final reboot and verification
Now you need to restart the system for the changes to take effect. Let’s do this as usual, through the menu or in the terminal:
rebootAnd let’s cross our fingers 🤞
If you see the desktop, then everything is fine. To make sure the system has actually been updated, open the “About the system” utility from the main menu:
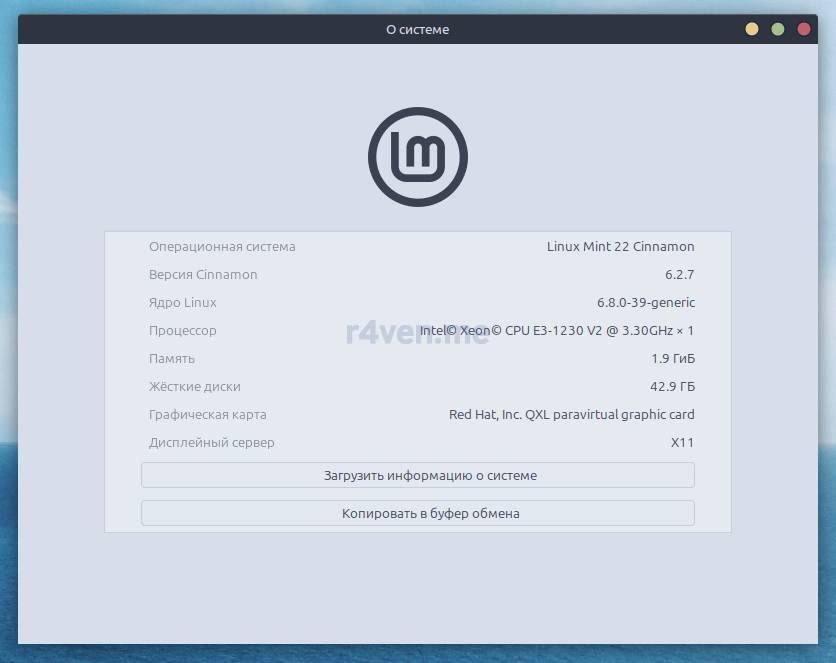
Or run in the terminal:
hostnamectl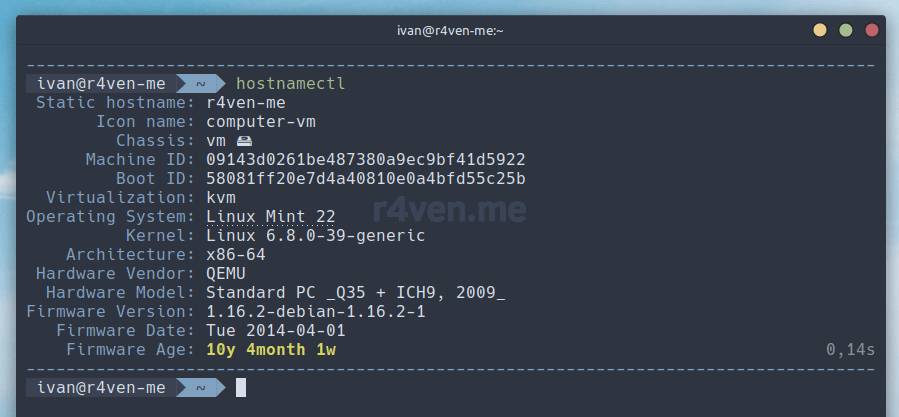
If the system doesn’t start, maybe the steps from the Chief, everything’s gone! section will help.
from my previous guide: Upgrading Linux Mint 20 to Linux Mint 21.1.
Conclusion
That’s how, in this simple way, we upgraded our system to Linux Mint 22, based on Ubuntu 24.04.
The Linux Mint developers put in a lot of effort to ensure the system’s stability, paying particular attention to developing convenient tools that make it easier for users to operate the operating system.
There are countless distributions in the Linux world, but very few maintainers who are so conscientious about the product they maintain. In a word, respect.
Thanks for reading the Raven blog. Stop by our telegram chat @r4ven_me_chat, and subscribe to our channel @r4ven_me, so you don’t miss new posts on the site.
Wishing you success and only successful upgrades!
Useful sources
- Official guide for upgrading to Linux Mint 22 (EN)
- Note in the official Linux Mint blog about the upgrade (EN)
- Initial setup of Linux Mint 20/21 | Raven blog
- Upgrading Linux Mint 20 to Linux Mint 21.1 | Raven blog
👨💻And…
Don’t forget about our Telegram channel 📱 and chat
Or maybe you want to become a co-author? Then click here🔗
💬 All the best ✌️
That should be it. If not, check the logs 🙂

Comments