
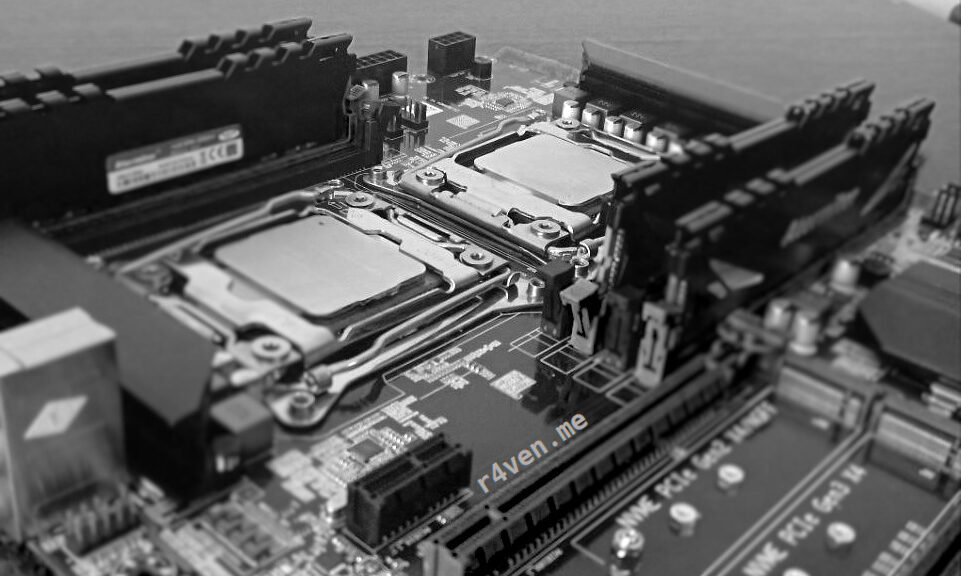
The title turned out clickbaity😏, but today we’re really going to talk about my dual-processor PC build🧑💻. There will be a lot of photos and few words, let’s go😉.
🖐️Hey!
Subscribe to our Telegram channel @r4ven_me📱, so you don’t miss new posts on the website 😉. If you have questions or just want to chat about the topic, feel free to join the Raven chat at @r4ven_me_chat🧐.
RED BANNER
Please note that this article is not a recommendation. I am only sharing my opinion and personal experience. Be careful when buying used parts, because there is always a risk of getting a non-working unit.
Why you need a dual-processor PC
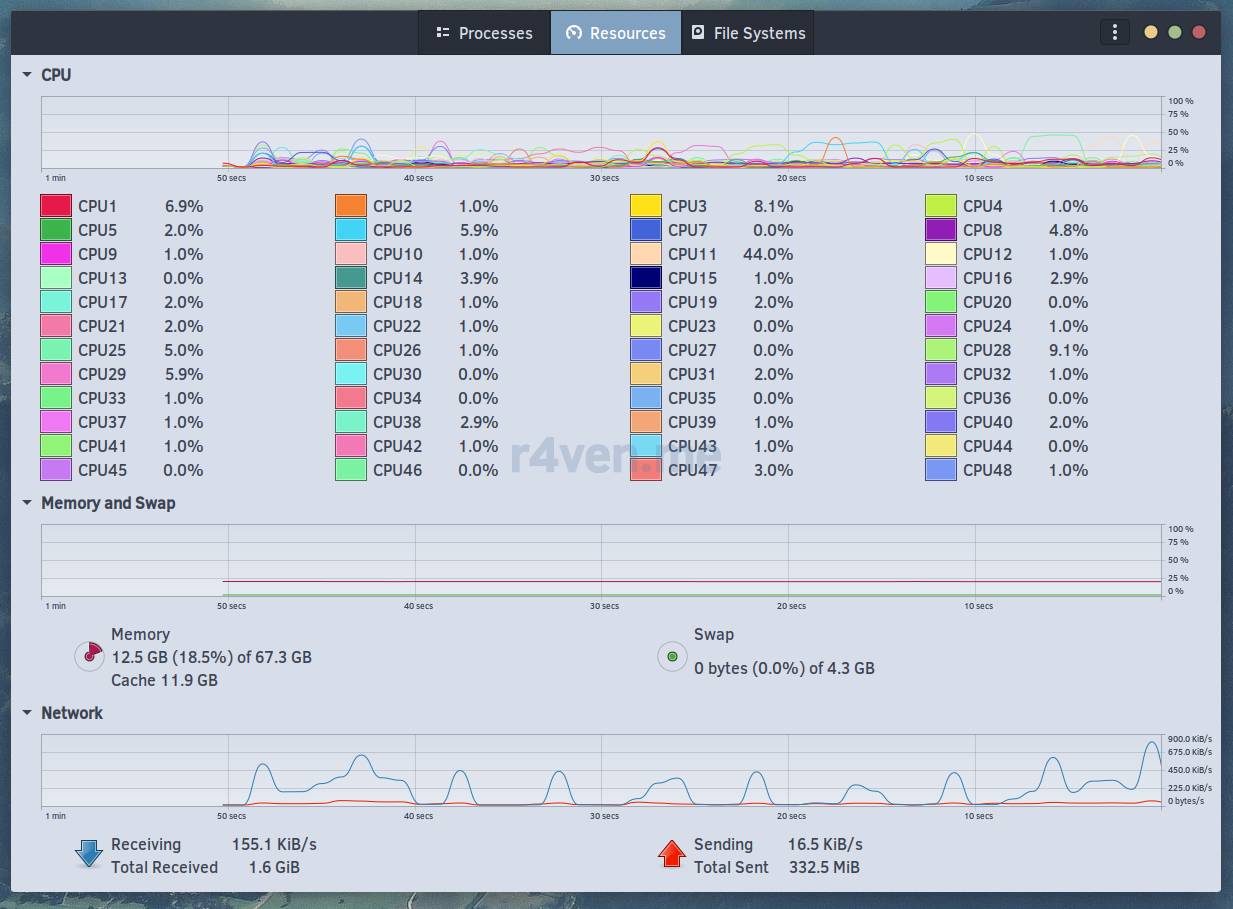
TLDR: to watch a rainbow like this in the system monitor😂:
Seriously though, the main reason is here:
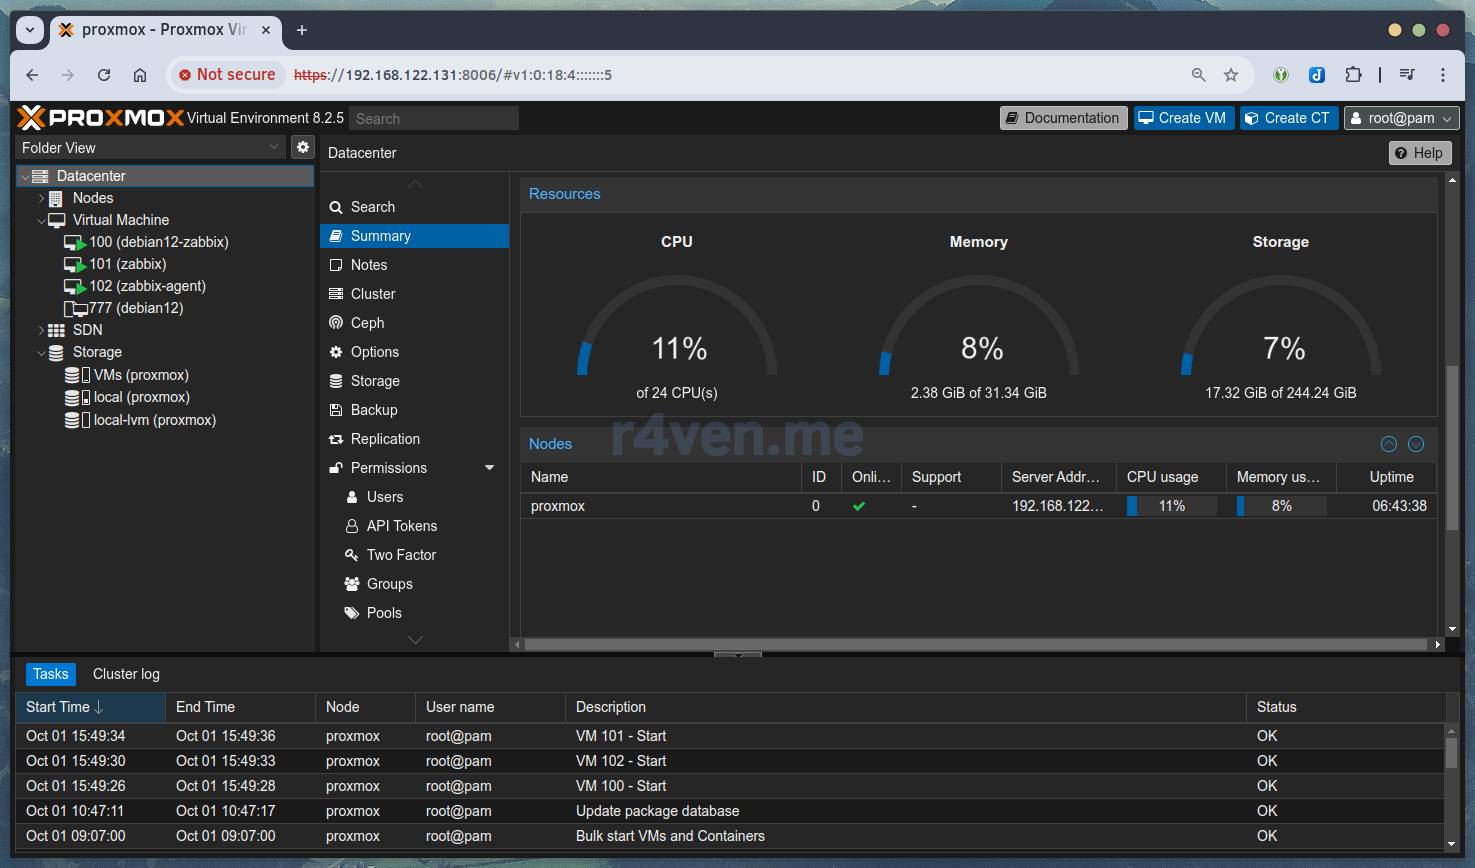
Building a lab environment based on a functional hypervisor for running various tests and quickly deploying VM images, including with the use of Cloud init. Here my choice fell on the popular open source solution — Proxmox.
Despite the fact that in my case proxmox runs VMs in paravirtualization mode, everything works quite fast. It’s more than enough for my testing needs. Maybe I’ll write a note on this topic in the future📝.
As a result, half of the resources go to my graphical environment (LMDE6 with Cinnamon), and the other half is given to Proxmox👌.
Component overview
Motherboard
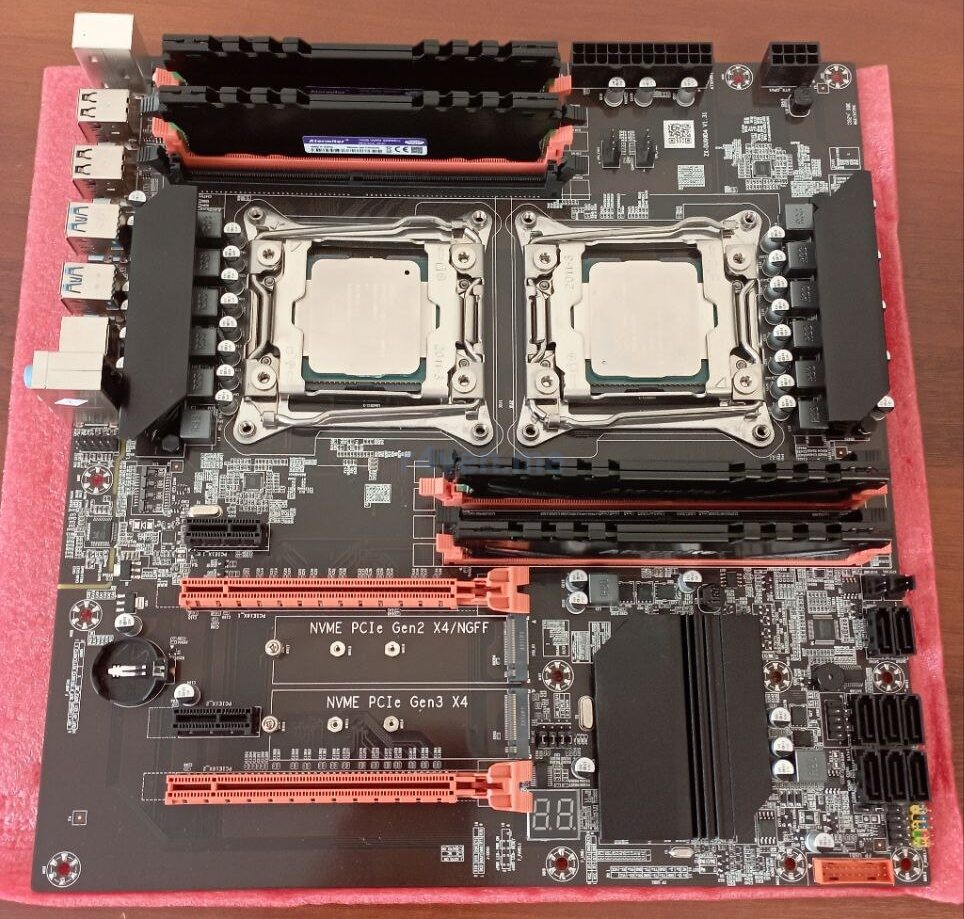
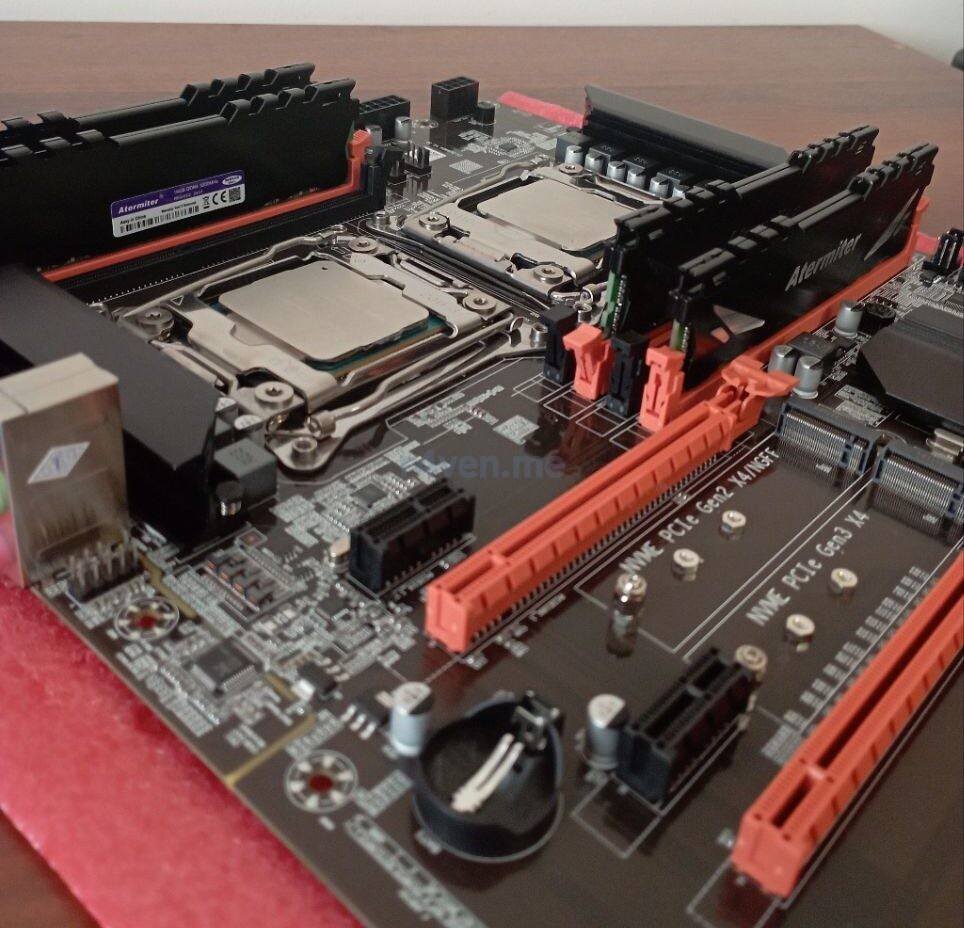
Atermiter Dual X99 2011-3 — as my friends joke, the manufacturer is, quote, “some sh*tty brand”😂😂. Just so you know, “the board was bought on Ali.”
Specifications:
- Socket: 2011 v3
- Number of sockets: 2
- Number of memory slots: 8
- Memory type: DDR4 DIMM
- PCI-E slots: 2 x PCI-E 3.0 x1, 2 x PCI-E 3.0 x16
- On-board USB: 1 x USB 3.2, 1 x USB 2.0
- Rear panel connectors: 4 x USB 2.0 Type-A, 4 x USB 3.2 Type-A, LAN RJ-45, PS/2 (keyboard), PS/2 (mouse)
- Audio: AC'97
- Form factor: EATX
- Storage slots: 8 x SATA 6G, 2 x M.2 NVME (probably from different generations)
ProcessorS (used)
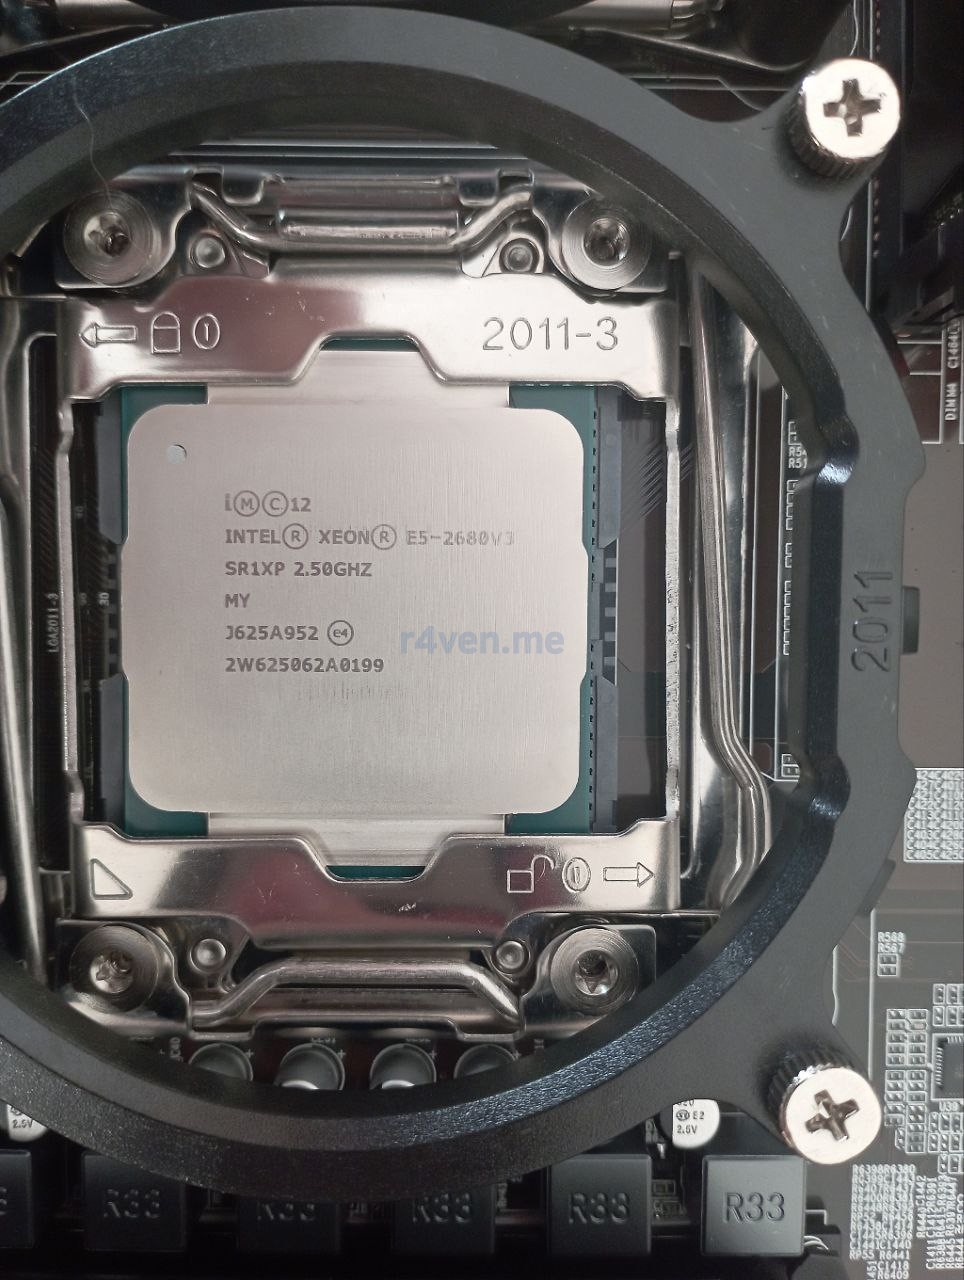
2 pieces of Intel Xeon E5-2680V3 — not the most powerful for this socket, they simply were sold in a bundle with the motherboard and memory. It was just plain cheaper this way. There’s an option to “upgrade” later if needed😎.
Specifications (per processor):
- Quantity: 2 pcs.
- Process node: 22 nm
- Cores: 12
- Threads: 24
- Base clock: 2500 MHz
- Max Turbo Boost clock:
- 3300 MHz (1-2 cores)
- 3100 MHz (3 cores)
- 2900 MHz (4 cores)
- 2800 MHz (5 cores and more)
- L3 cache: 30 Mb
- DDR4 memory support: 2133 MHz
- TDP: 120 W
CoolerS
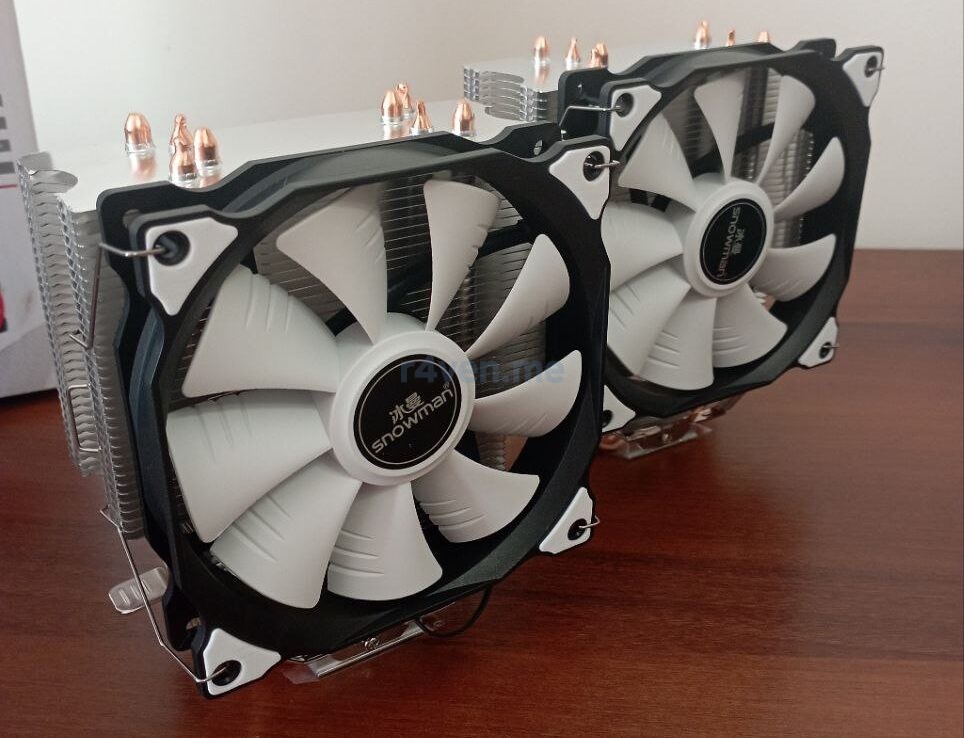
Everything is simple here. 2 white Chinese towers — M-T4 Snowman
- Power connector: 4 pin
- Number of heat pipes: 4 pcs
- Fan diameter: 120 mm
- Max. RPM: 1300 rpm
- TDP: 150 W
- Max. airflow: 48 CFM
RAM (used)
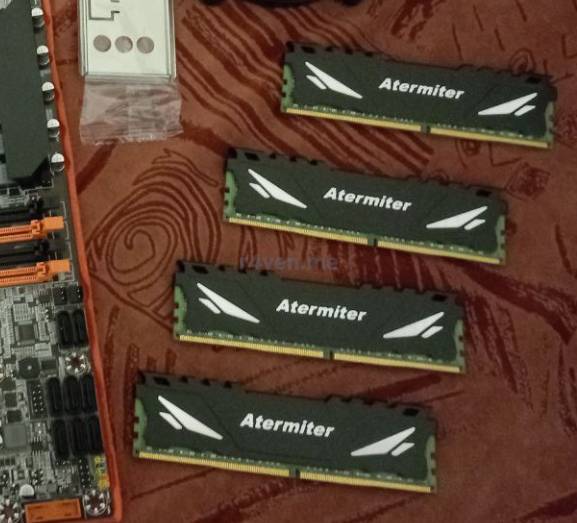
Memory from the same sh*tty assembler — Atermiter. Most likely, the only thing this vendor actually made are the heatsinks😁. The memory is server-grade, but whose chips are inside — no idea.
Specifications:
- Type: DDR4
- Form factor: DIMM
- Quantity: 4 pcs.
- Capacity per module: 16GB
- Frequency: 3200 MHz (yep, but the processor only supports 2133)
- Features: server-grade, ECC REG
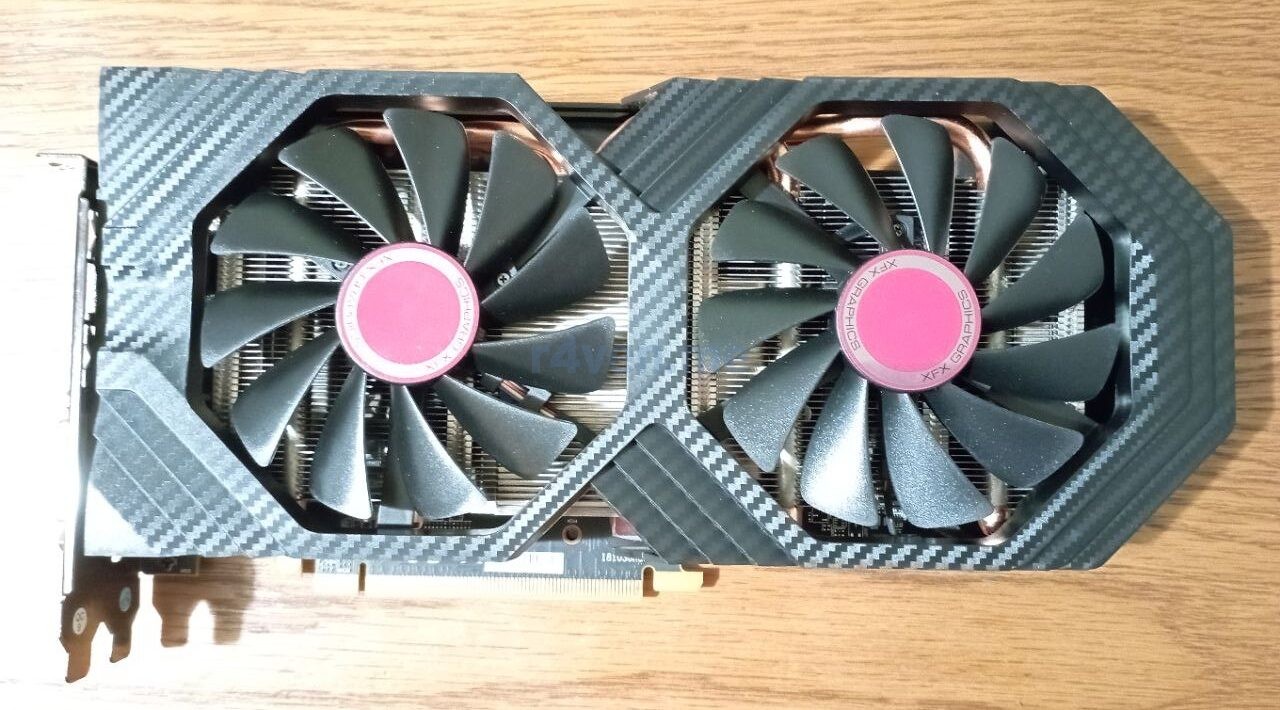
Graphics card (used)
I’ll say right away that I rarely play games these days. So I didn’t overthink this part much. Since I decided to go with a motherboard with a used CPU, I got a similar GPU as well.
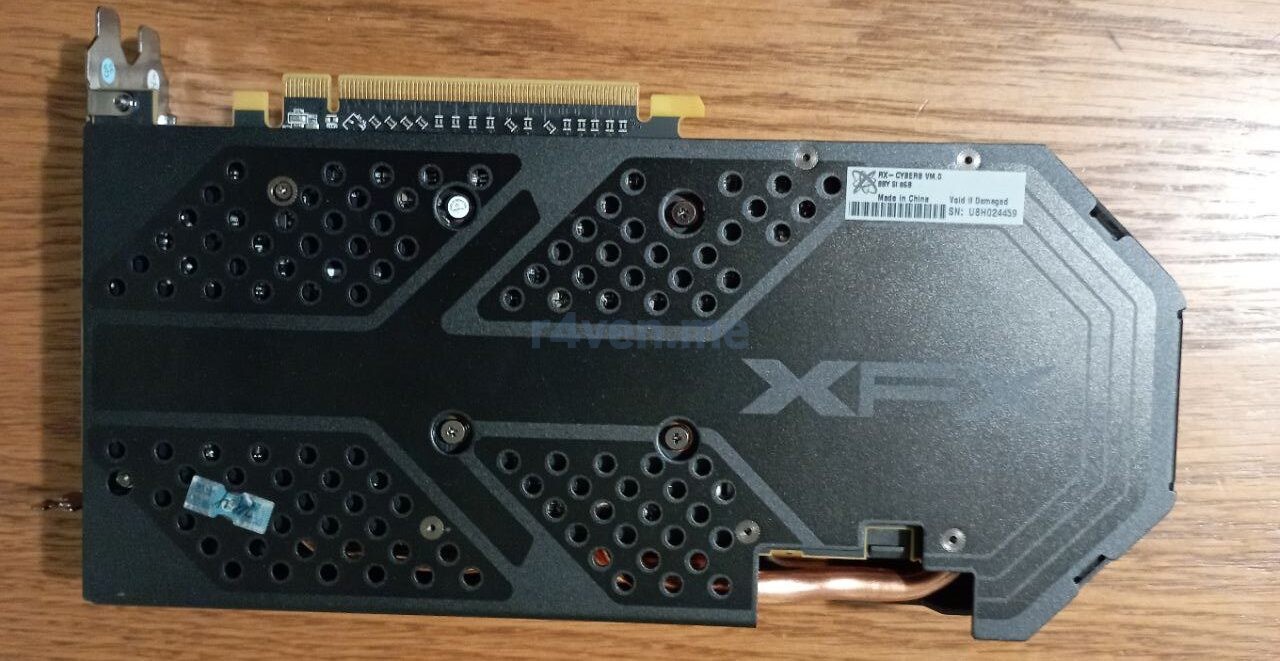
I settled on the Radeon RX 580 8GB, as the most widespread and available in terms of price-to-performance ratio. The vendor — it says XFX.
Specifications:
- GPU power: 8 pin
- Video connectors: DisplayPort x3, HDMI x1, DVI-D x1
- VRAM size: 8192 MB
- VRAM type: GDDR5
- Bus width: 256 bit
- Power consumption: 150 W
M.2 drive
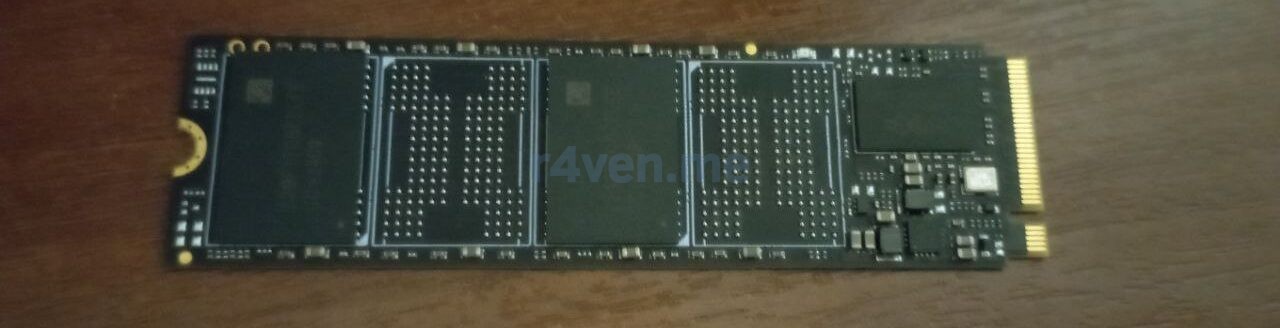
Since the board has 2 M.2 slots, I decided to try it out. I got one of the cheap ones: ARDOR GAMING Ally AL1282 at 256GB for the system. Benchmarks show numbers quite different from what’s advertised. But whether the motherboard or the SSD is at fault, I haven’t figured out yet.
Specifications:
- Capacity: 256 GB
- Connector key: M.2
- Interface: NVMe
- Memory structure: 3D NAND
- Max. rated read speed: 3000 MB/s
- Max. rated write speed: 1300 MB/s
- Max. write endurance (TBW): 187.5 TB
Power supply
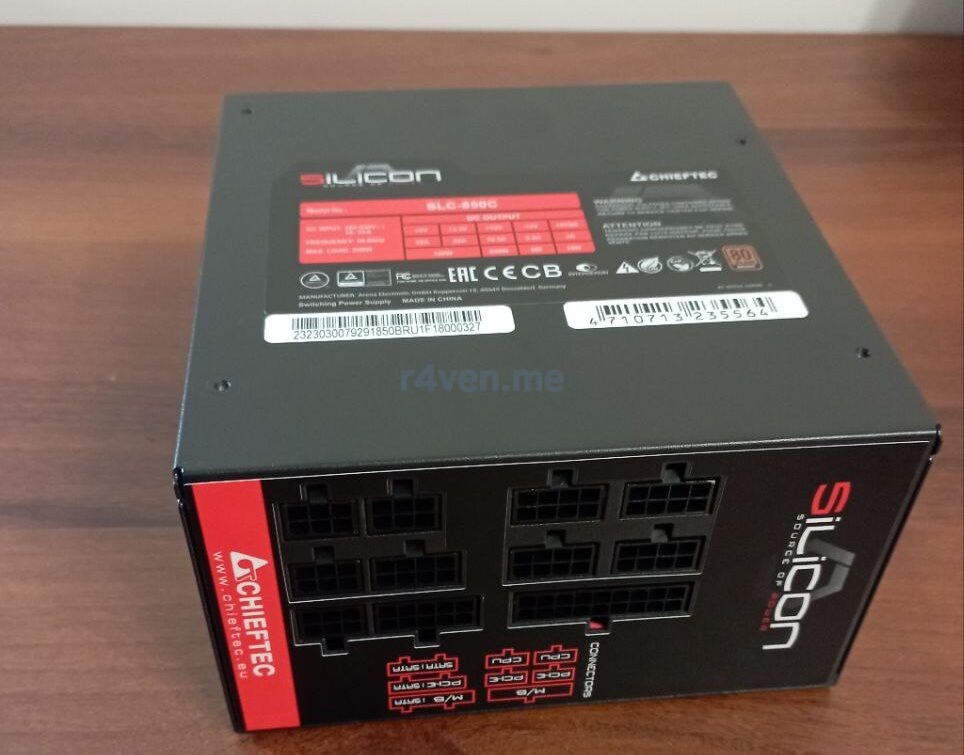
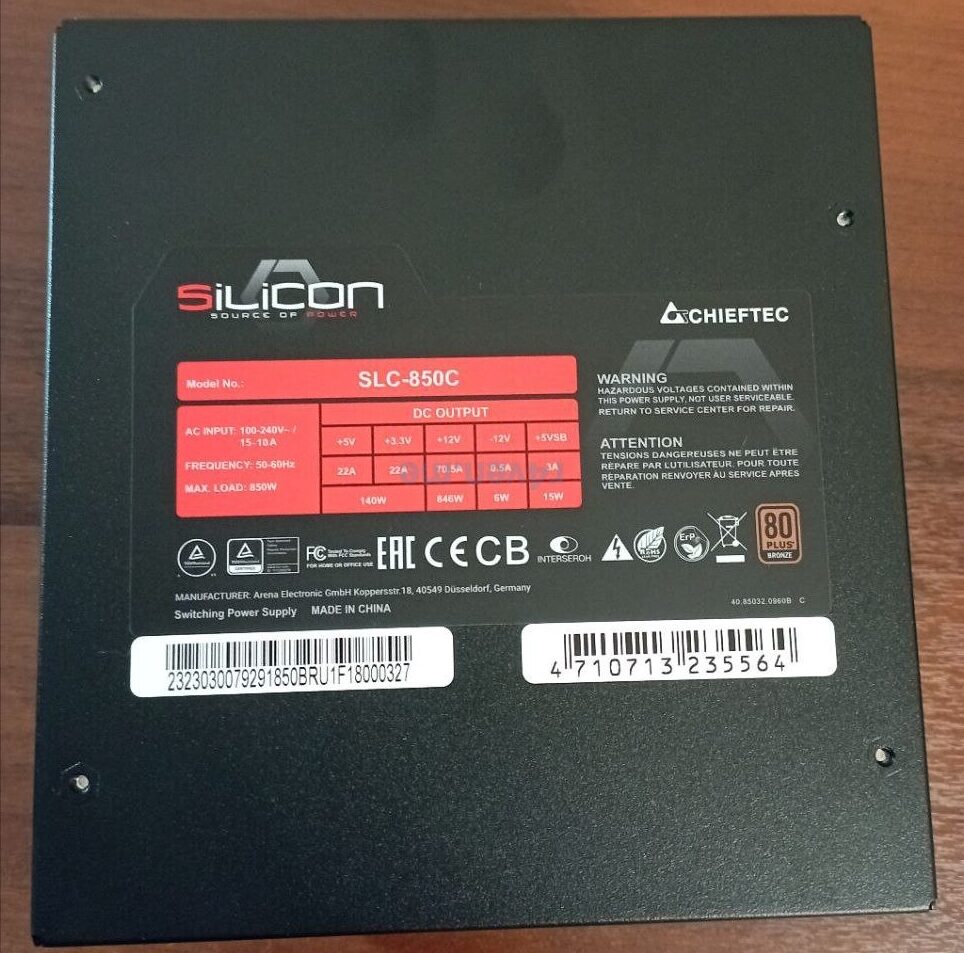
The PSU is the heart of the computer, and I never recommend cutting corners on it. And I definitely urge you NOT TO BUY used power supplies!!! This is, after all, about your safety. For me, the choice here was: Chieftec Silicon 850W [SLC-850C]. Plenty of power headroom.
Specifications:
- Power (rated): 850 W
- Form factor: ATX
- Connection type: modular
- 80 PLUS certification: Bronze
Case
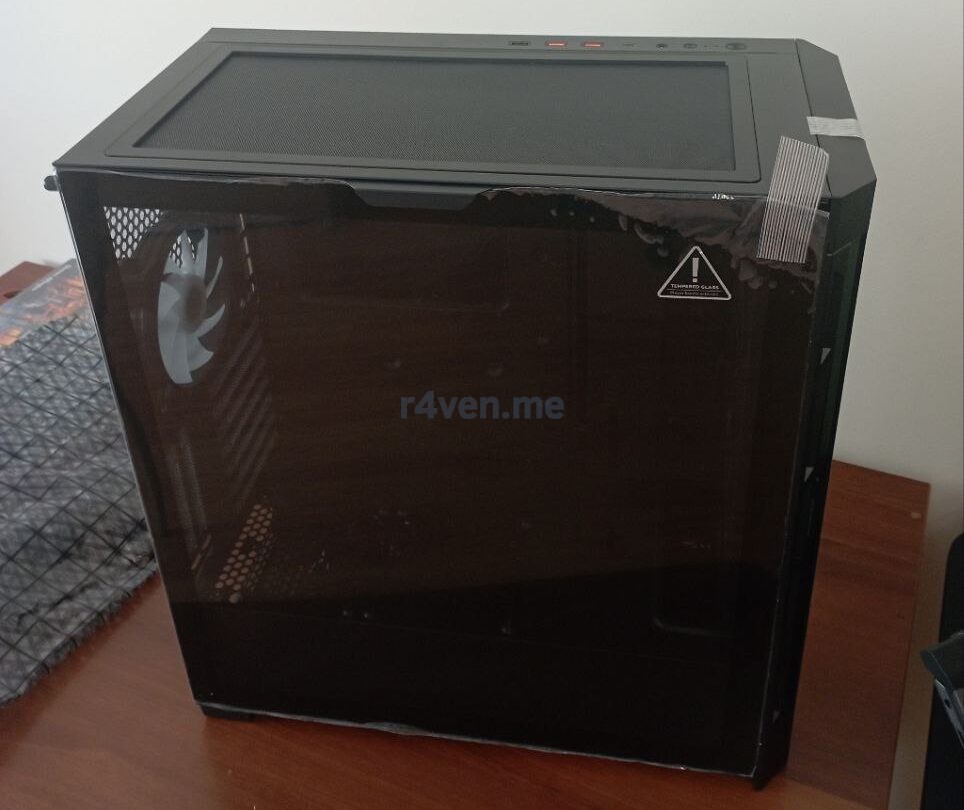
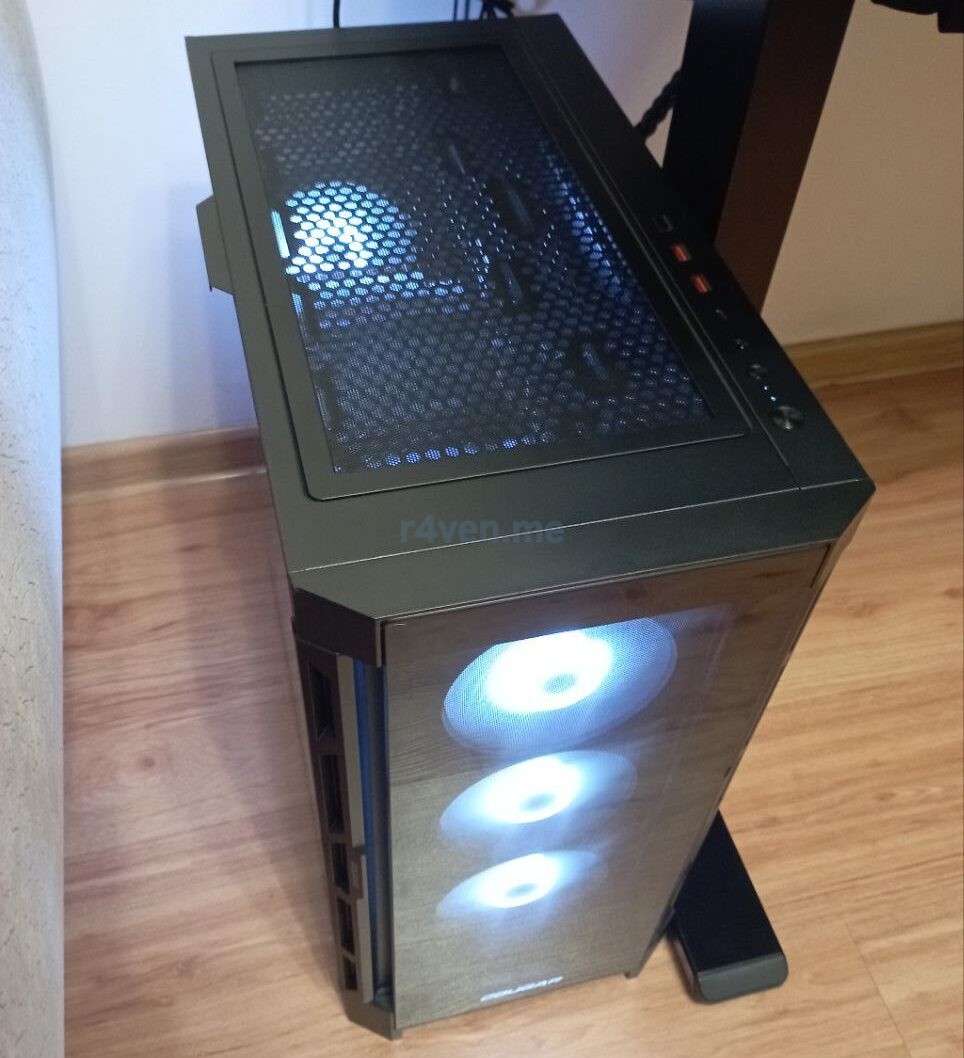
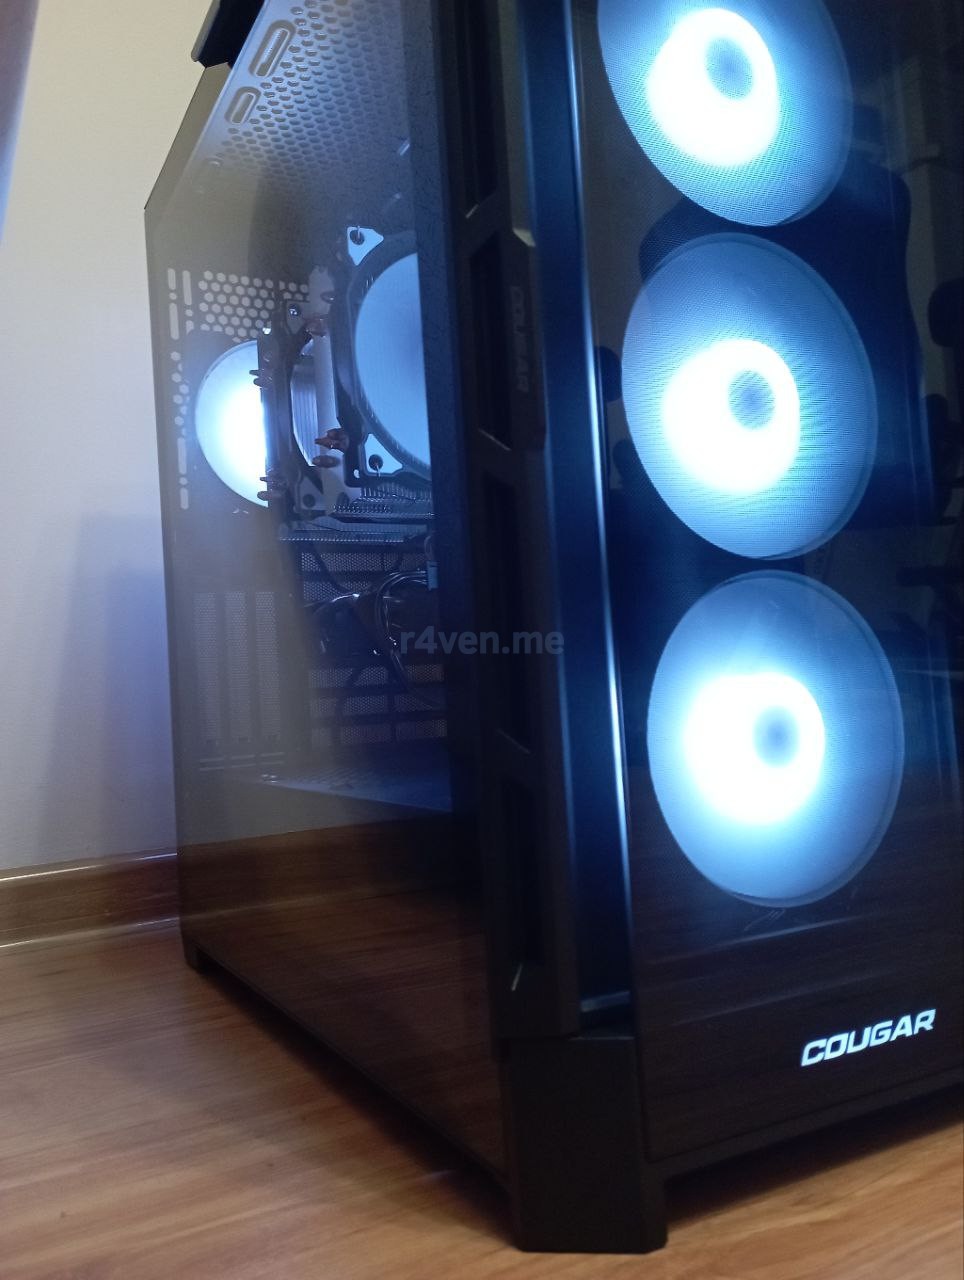
My previous PC was also in a case from “Cougar” with excellent ventilation. So this time I decided to get one from them again, just bigger in size because of the tall coolers — Cougar Duoface Pro RGB [CGR-5AD1B-RGB]. And of course “non-traditional orientation” RGB lighting with lots of colors. I originally wanted white.
Specifications:
- Case form factor: Mid-Tower
- Included fans: 4 x 120 mm
- Lighting type: ARGB
- Window material: tempered glass
- Connectors: 3.5mm jack, 2 x USB 3.1, 1 x USB 2.0, 1 x USB Type C (which the board doesn’t have😔)
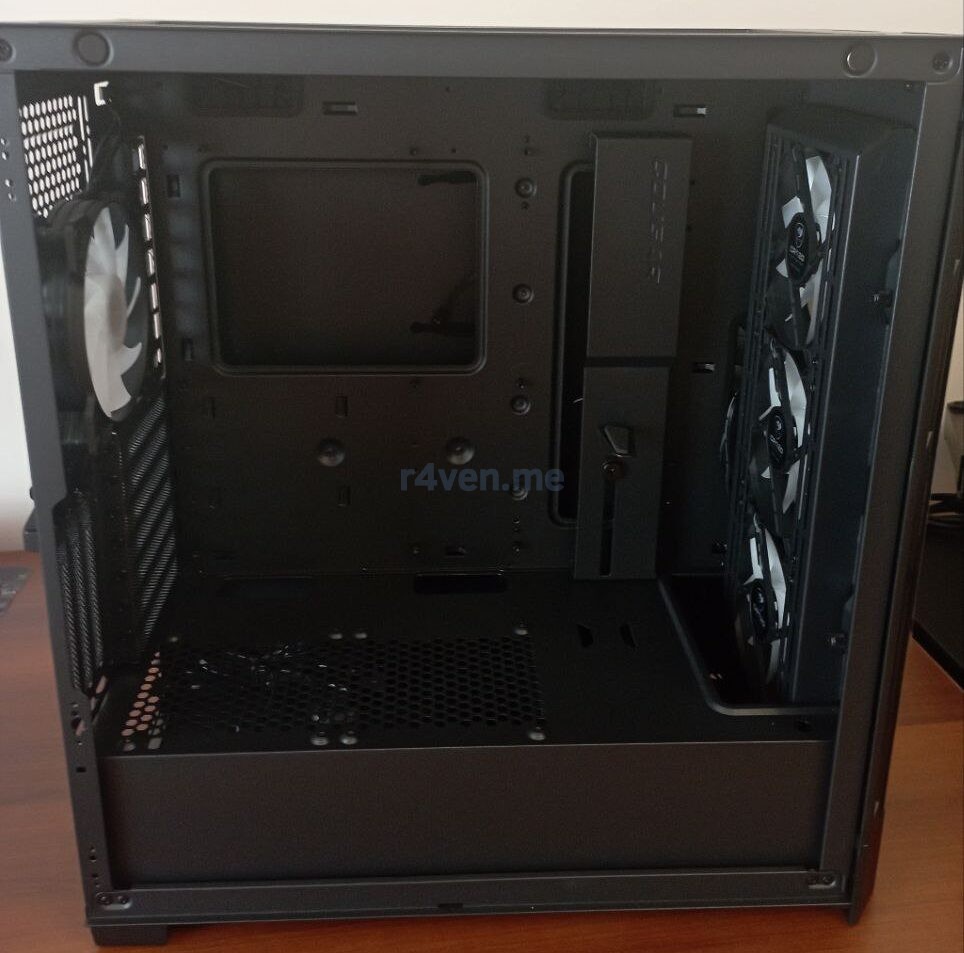
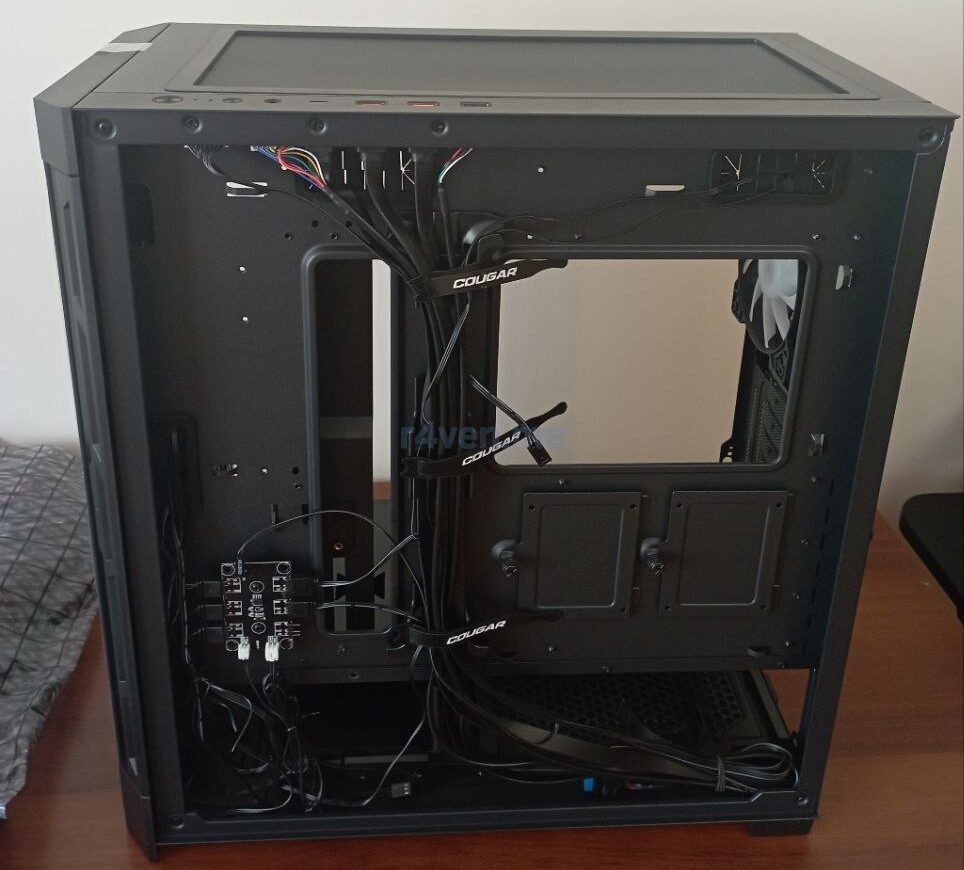
There’s even some cable management by default😎
The build
Let’s start assembling:
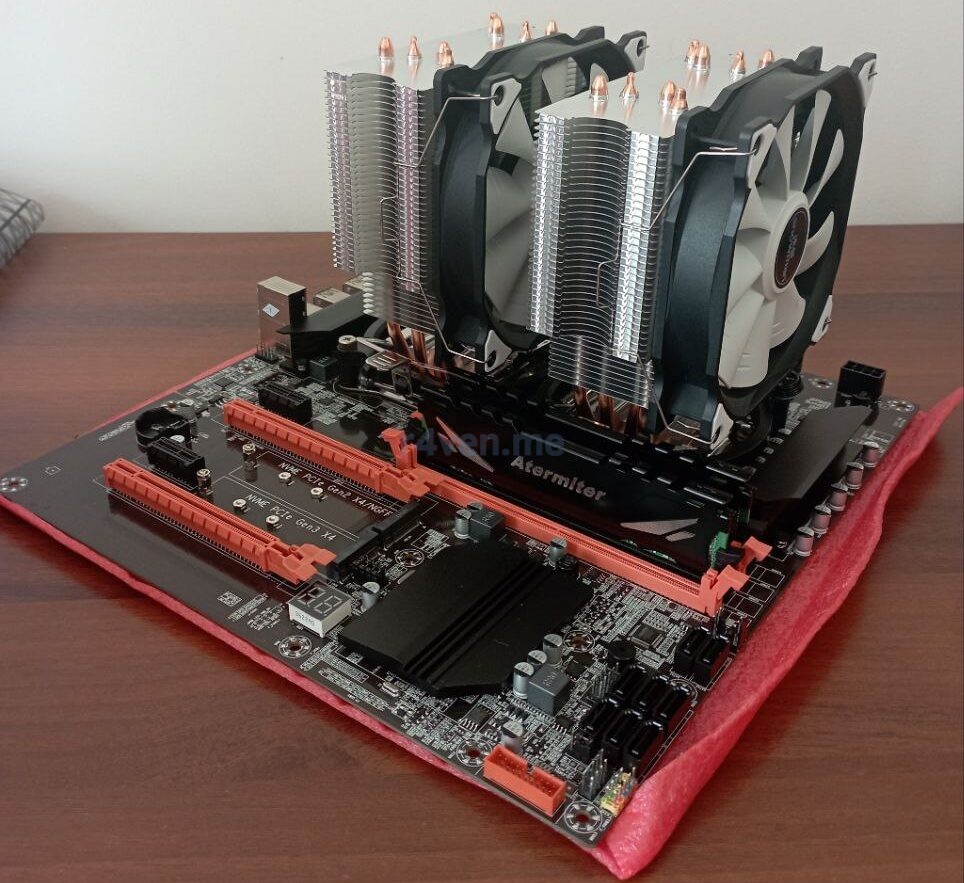
And we run into this unpleasant situation:
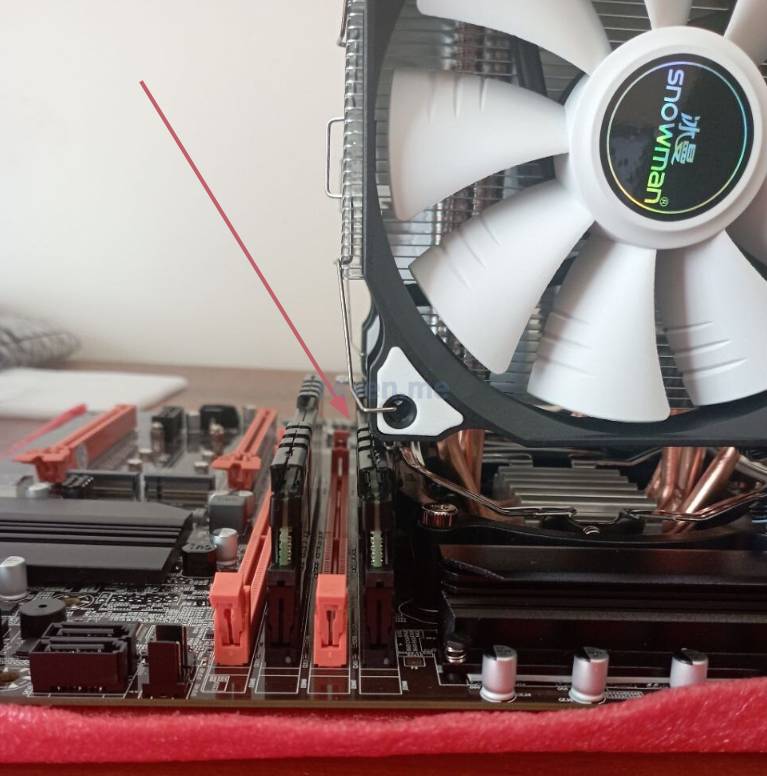
In my case it’s not critical, so I decided not to bother with filing it down. It works fine as is, but in the end I did swap some of the RAM sticks around anyway.
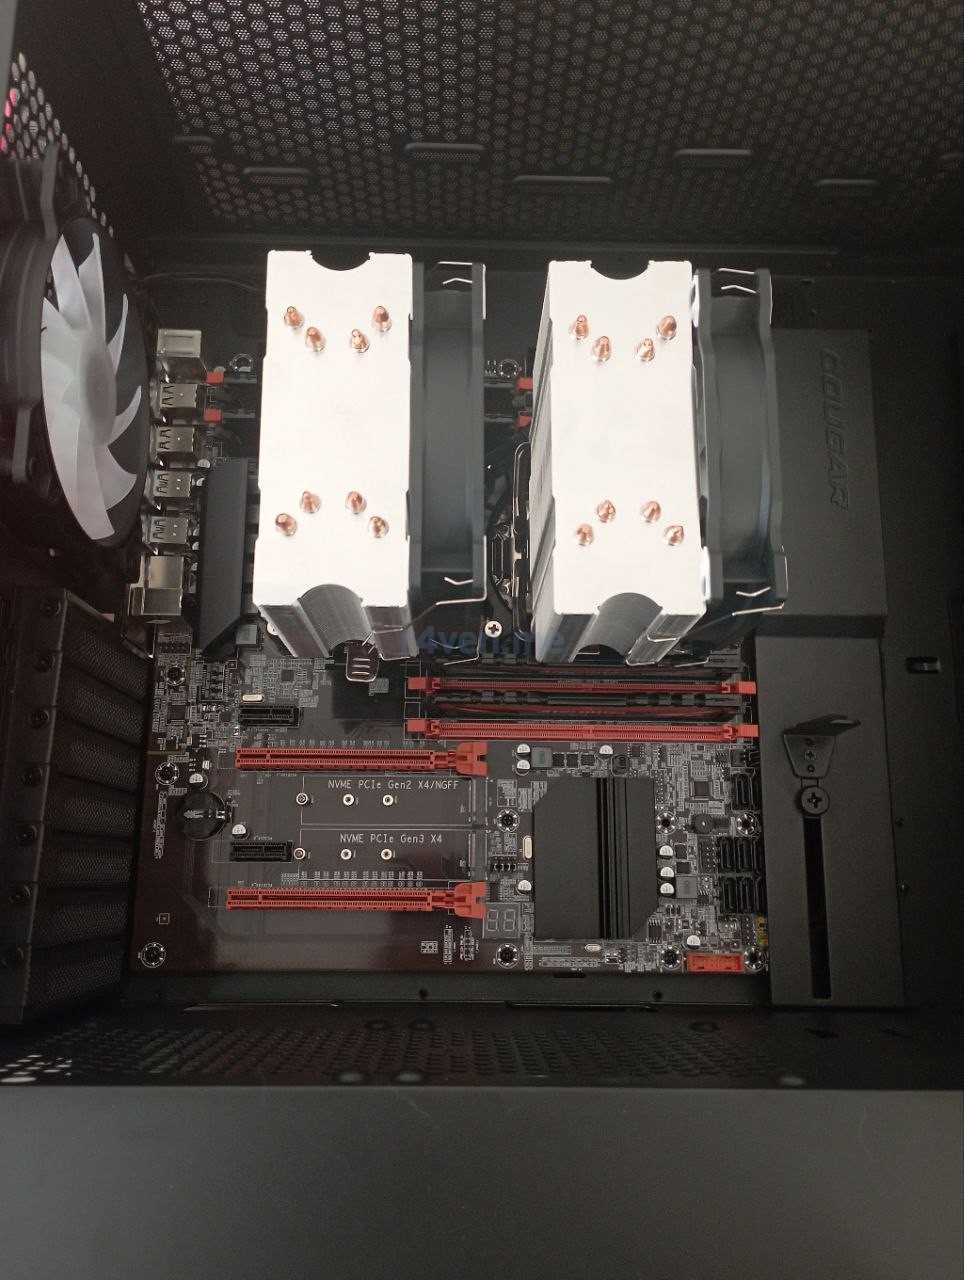
Stuffing all the goodness into the case:
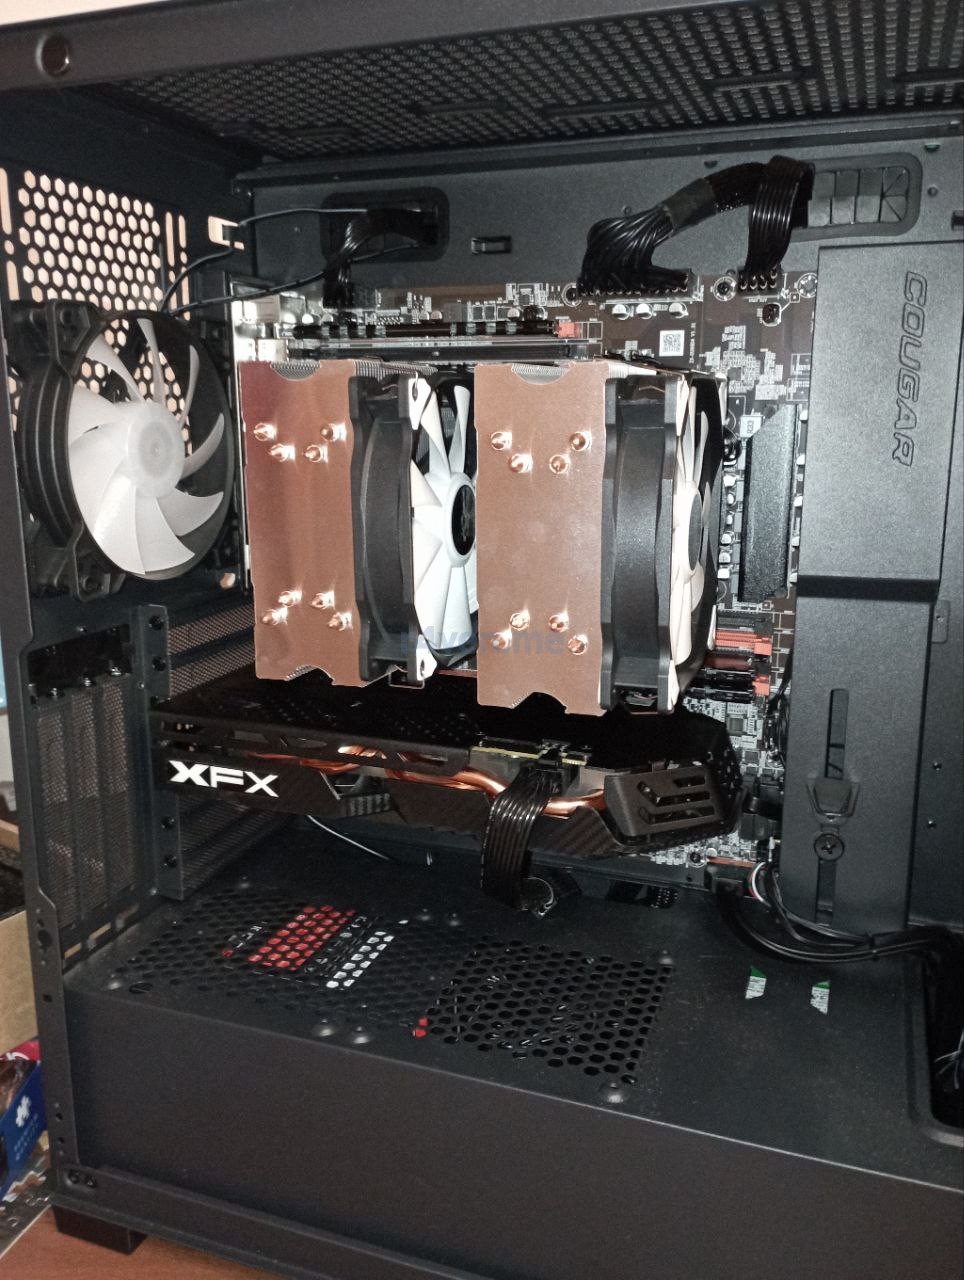
Adding a pinch of spices the graphics card:
Well, let’s power it on!!!

And…


Of course, nothing booted on the first try😳. Fortunately, the motherboard has a small display showing POST codes on startup, which are easy to look up. The problem: the used RAM decided to “act up.” But, having some experience, I turned to a qualified specialist for help.
Meet him:
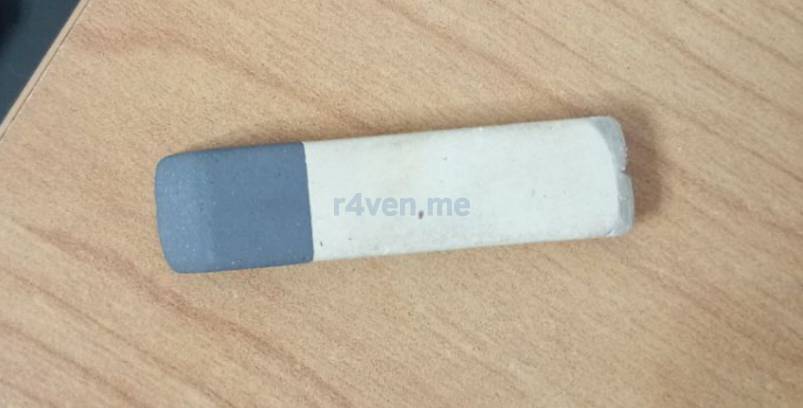
Had a chat with him about the RAM contacts and everything came to life😁.
After assembly, the logical next step is installing the OS. I downloaded the latest Linux Mint Debian Edition 6 and installed it. And while this brief process was running, I decided to have some tea☕️. There was also some boring international news on TV📺.
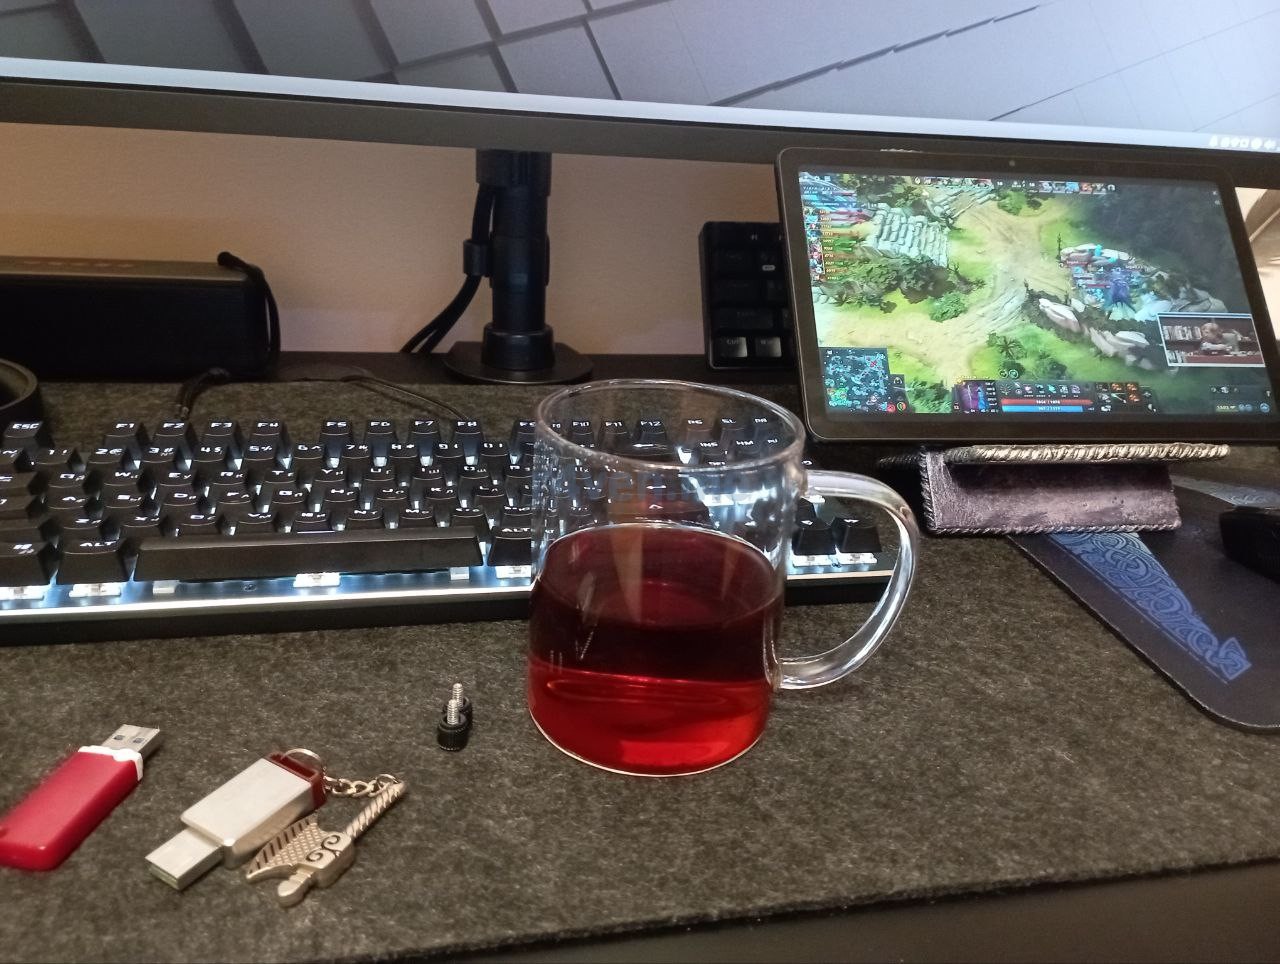
Final result
As a result, here’s the Devil Machine😈😈😈 I ended up with:
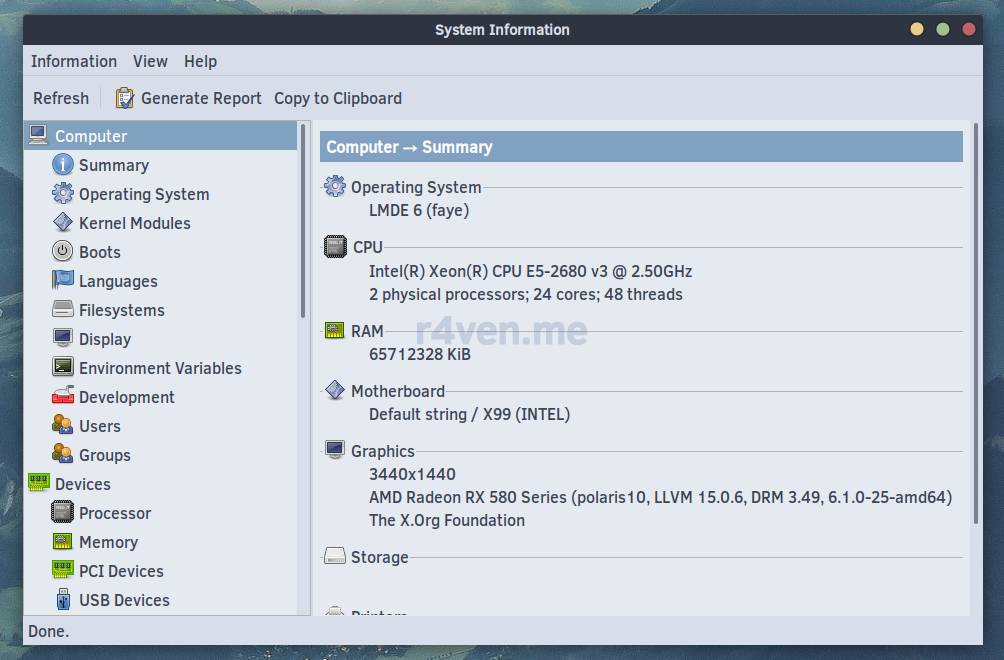
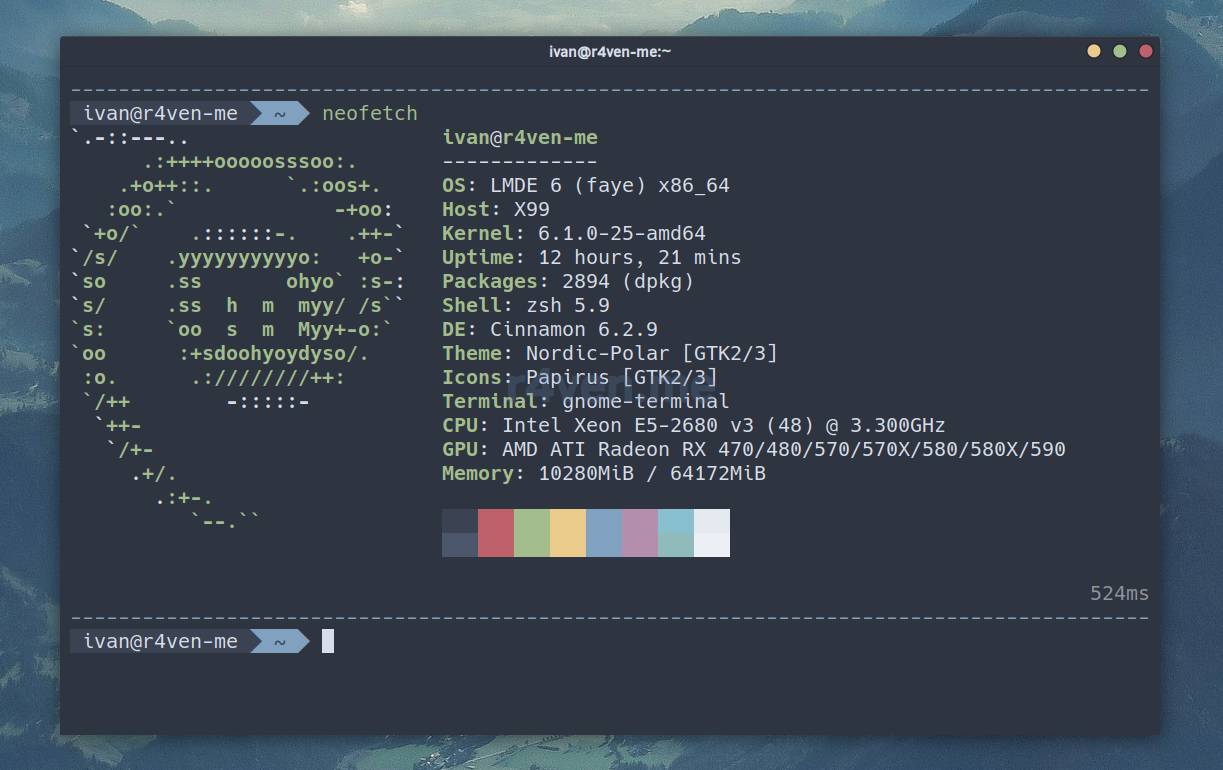
A bit of Hardinfo already in the OS:
What’s the cost?
Here’s the price breakdown I ended up with in 2024:
- Motherboard + CPUs + RAM: 15200 rub.
- 2 coolers: 2200 rub.
- Graphics card: 8860 rub.
- SSD 256GB: 2850 rub.
- Power supply: 10450 rub.
- Case: 8500 rub.
Total: 48,060 rub.
I’ll say that this is reasonable for today. You could even call it economical💰, even accounting for the risks (after all, some parts are used).
Conclusion
My overall opinion: happy as a clam. Of course there were some nuances during the build, mostly with the RAM, but everything came to life and works. I’m already actively using the Proxmox setup for my tasks and various tests😎. I hope the machine will keep working great going forward😌. It was an interesting experience.
Thanks for reading. I wish you nothing but working builds😉.
👨💻And…
Don’t forget about our Telegram channel 📱 and chat
Or maybe you want to become a co-author? Then click here🔗
💬 All the best ✌️
That should be it. If not, check the logs 🙂

Comments