
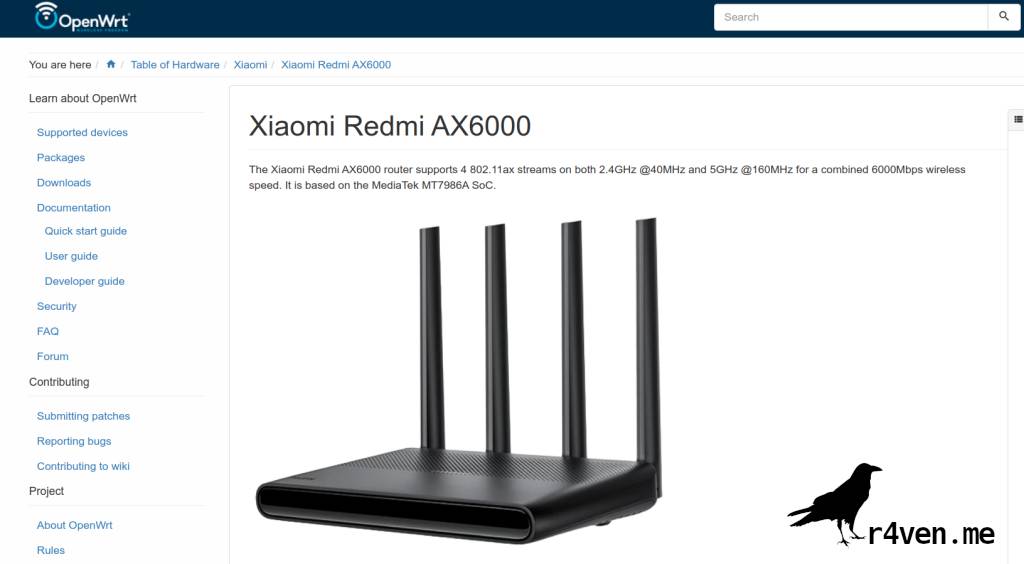
In this note I’ll tell you how I chose a router and installed a Linux-based firmware on it — OpenWrt 🧑💻. All actions were performed in the distribution environment of LMDE6 (Debian 12).
🖐️Hey!
Subscribe to our Telegram channel @r4ven_me📱, so you don’t miss new posts on the website 😉. If you have questions or just want to chat about the topic, feel free to join the Raven chat at @r4ven_me_chat🧐.
❗️ Caution
⚠️ I’d like to point out that this article is my personal example of installing OpenWrt on a router. When installing custom firmware, there is always a chance of ending up with a “brick” instead of a device. Remember that any actions based on the information in this article are performed at your own risk and responsibility. Thanks for understanding.
Preface
Recently I found myself needing to replace my router, since the old one didn’t satisfy my needs in terms of functionality. One of these needs was the ability to connect the router to a secure network via the OpenConnect protocol. I knew that this functionality is available in the OpenWrt firmware😎.
OpenWrt is an open source Linux-based operating system designed to run on routers and other embedded devices. Unlike standard firmware, OpenWrt provides a full-fledged file system with the ability to install and manage packages, which allows you to modify and extend the device’s functionality.

The main reason for choosing this firmware is, of course, Linux under the hood🔥.
As for choosing a router for OpenWrt, I didn’t overthink it much. A quick Google search led me to an article on Habr, which lists devices with detailed descriptions that are known to work with this firmware. I settled on a router from Xiaomi: Redmi AX6000, since it’s top for the money a reasonable price-to-performance ratio🚀.
Here are some of its specifications:
| Model | Redmi AX6000 |
|---|---|
| CPU | MediaTek MT7986A |
| CPU MHz | 2000 |
| CPU Cores_numcores | 4 |
| Flash MB | 128 |
| RAM MB | 512 |
| WLAN Hardware | MediaTek MT7976GN, MediaTek MT7976AN |
| Ethernet 1Gbit ports | 4 |
I bought the router on one of the marketplaces a few months ago for 7400 rub. Now its price has gone up a bit (around 9000 rub), but nevertheless this model remains a good choice in its segment.

Among the downsides: the router was released for the Chinese market, so its stock firmware is in Chinese🤯. Also, the seller may not include an adapter for a European outlet, so you’ll have to buy one separately💰:

The default web interface address of the router:
http://192.168.31.1
pain
Finding any settings was difficult for me🤕.
Preparation

I installed OpenWrt on the purchased router using scripts from a GitHub project — XMiR-Patcher. This project is designed for flashing Xiaomi routers with alternative firmware, such as OpenWrt.
Briefly about the main scripts in the repository:
install_bl.py— handles installing the bootloader on the router. Depending on the device model, the script selects the appropriate bootloader and writes it to the required memory partition;install_fw.py— installs the new firmware on the device;create_backup.py— creates a backup of the router’s current firmware;install_ssh.py— enables SSH access on the device for remote management;read_info.py— collects information about the device, such as model, firmware version, and other technical details;- and others.
By the way, XMiR-Patcher works on Linux, as well as MacOS and Windows. It requires a Python🐍 interpreter version 3.8 or higher.
Let’s get started with preparation. Open the terminal and install the version control system git and the python module for working with a virtual environment:
sudo apt install git python3-venv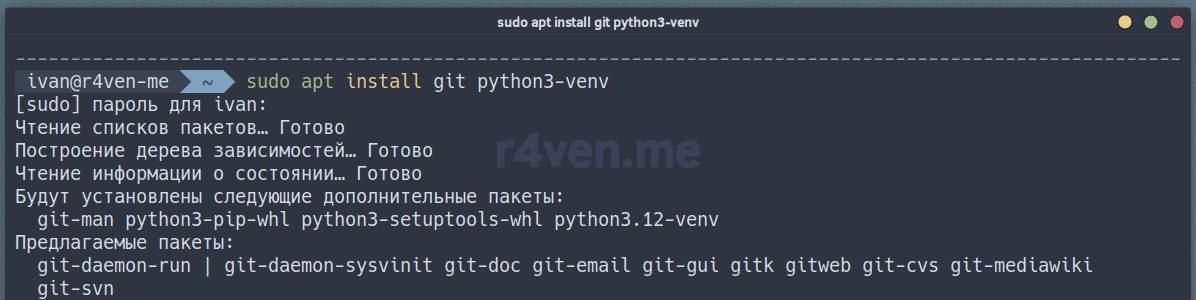
Now let’s clone the xmir-patcher repository files and set up the virtual environment (venv):
git clone https://github.com/openwrt-xiaomi/xmir-patcher

cd xmir-patcher

python3 -m venv venv

source ./venv/bin/activate

python3 -m pip install -r requirements.txt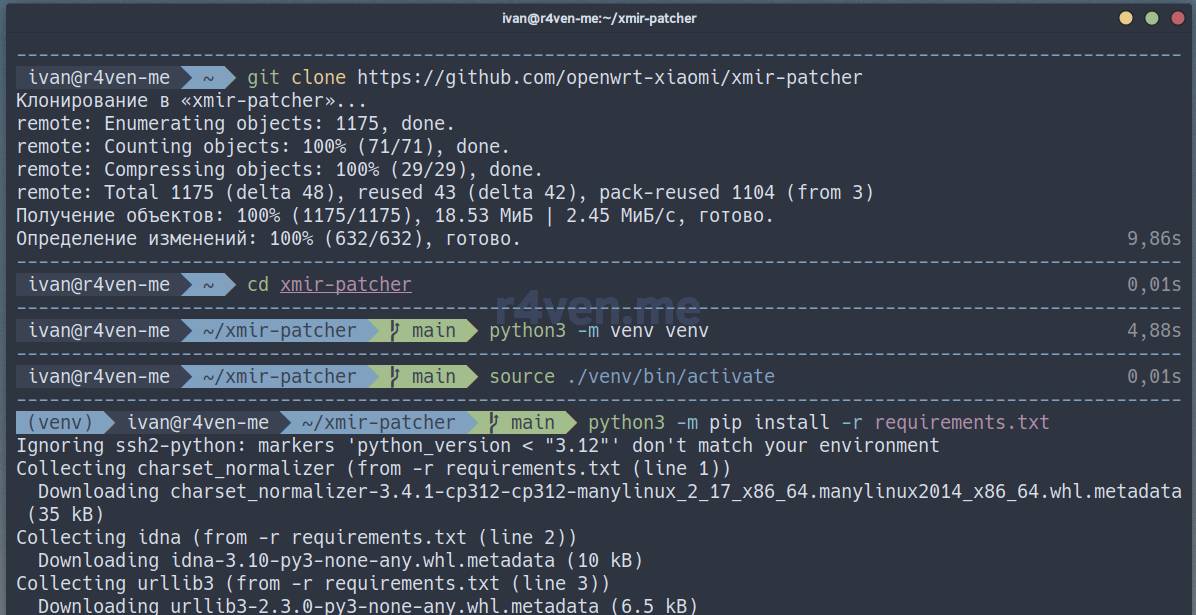
Click to view a description of the commands above
git clone https://github.com/openwrt-xiaomi/xmir-patcher— clones thexmir-patcherrepository from GitHub into the current folder;cd xmir-patcher— changes into the directory with the cloned project;python3 -m venv venv— creates a Python virtual environment (an isolated environment for dependencies) in thevenvfolder;source ./venv/bin/activate— activates the virtual environment, after which all installed packages will be stored invenvrather than in the main system;python3 -m pip install -r requirements.txt— installs all the dependencies listed in therequirementsfile (needed for the firmware scripts to work).
If everything went smoothly, exit venv with the command:
deactivate
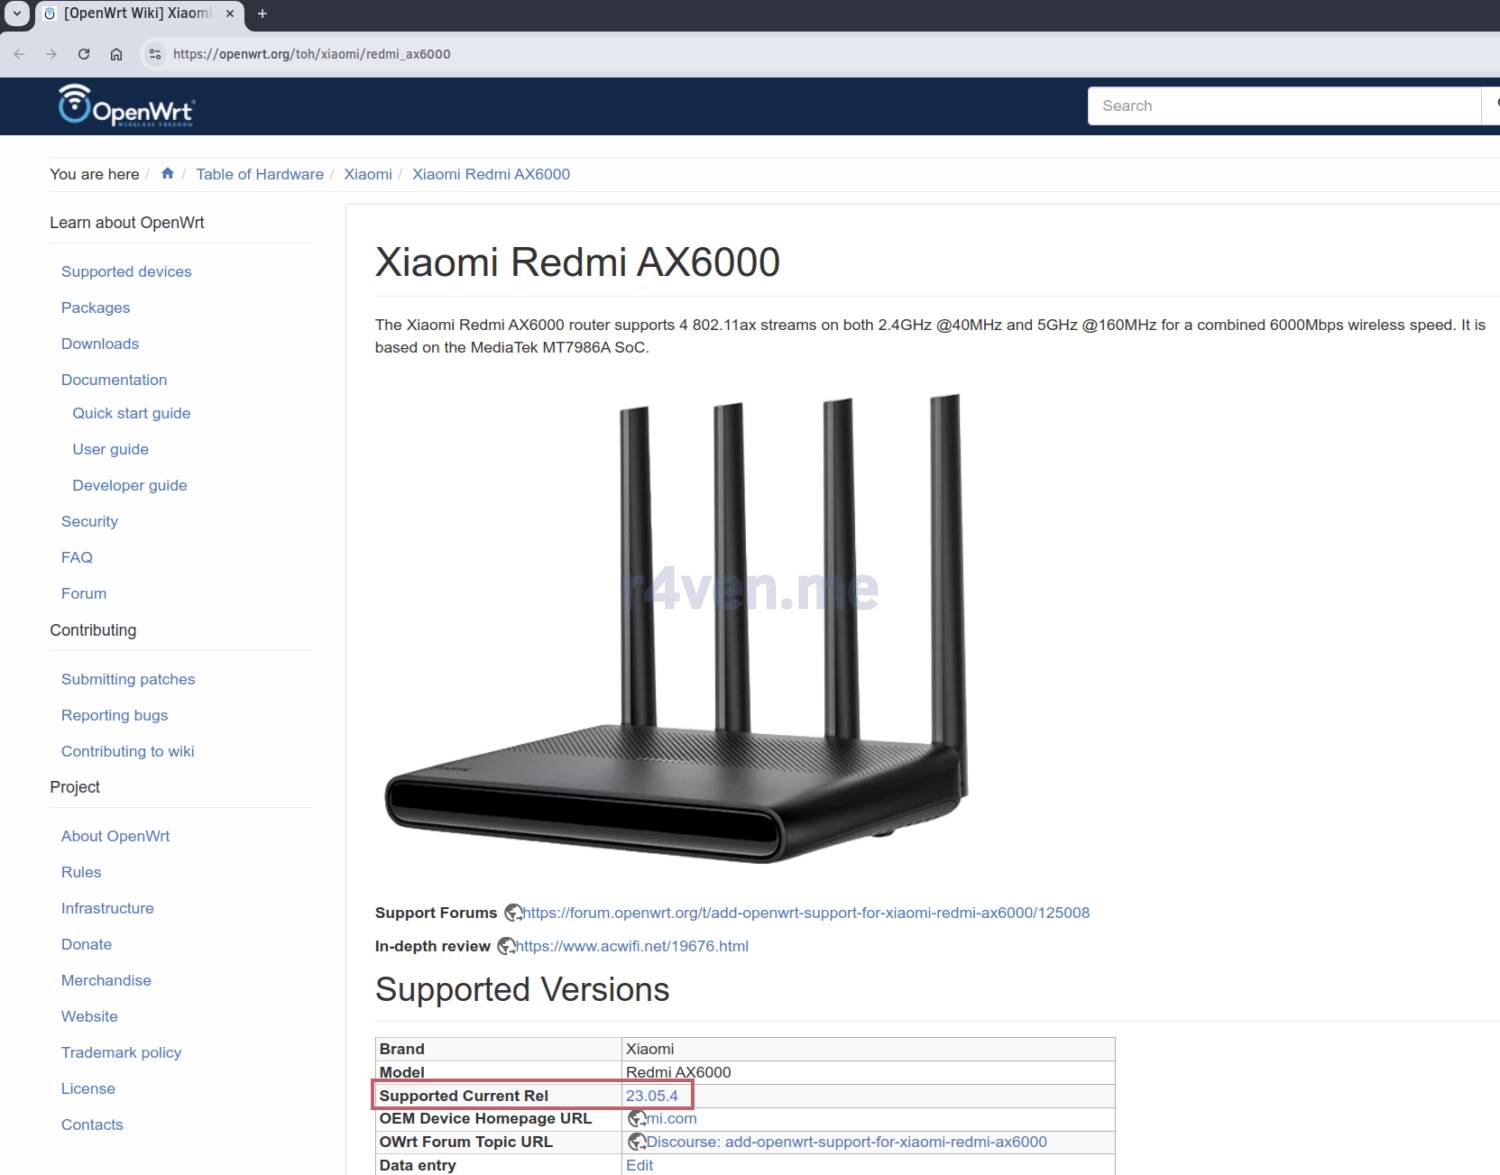
Now we need to determine the latest version of OpenWrt supported by the router. For the Redmi AX6000, go to the router’s page on the OpenWrt website and find the line “Supported Current Rel”. At the time of writing, this is OpenWrt version 23.05.4:
After finding out the version, go to the downloads section, to the page for the needed release:
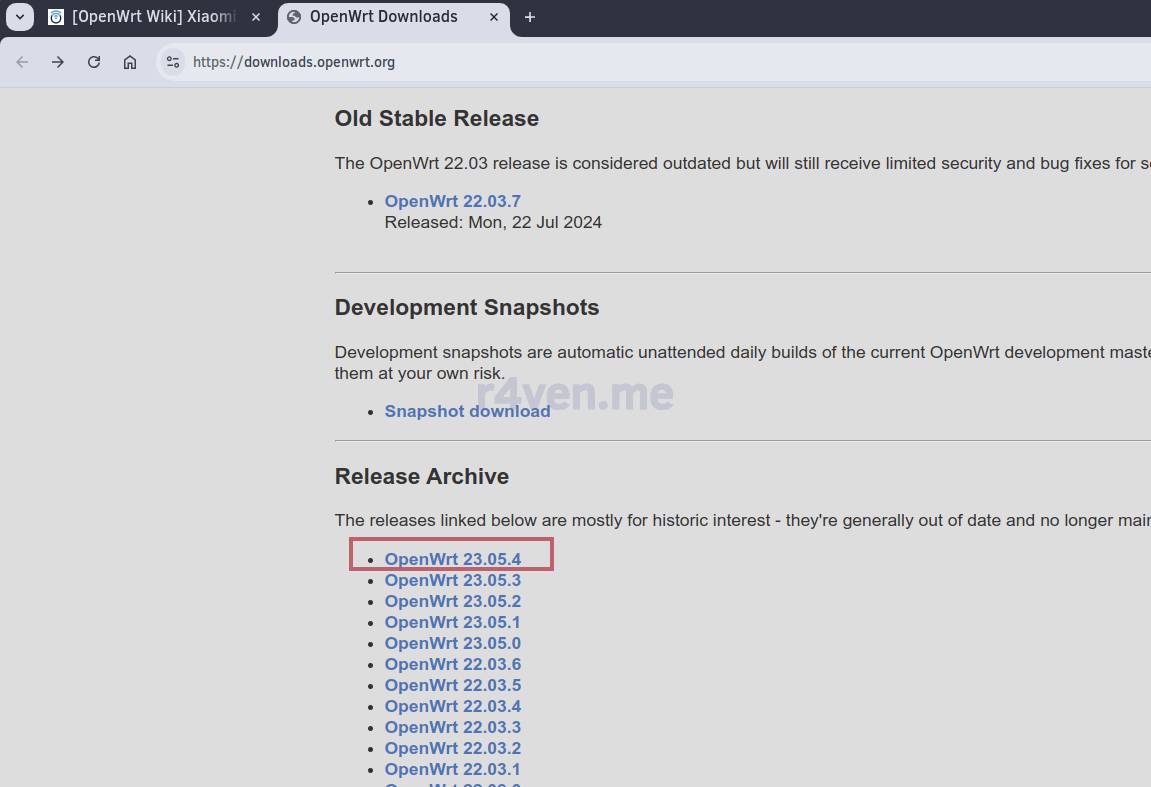
Here we’re interested in filogic — mediatek:
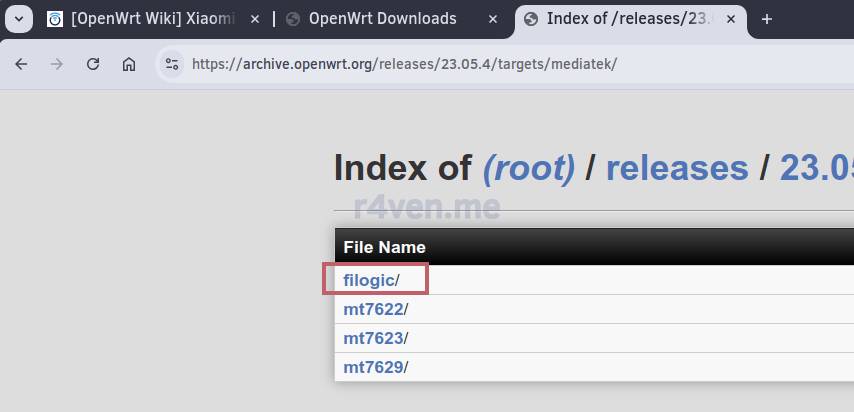
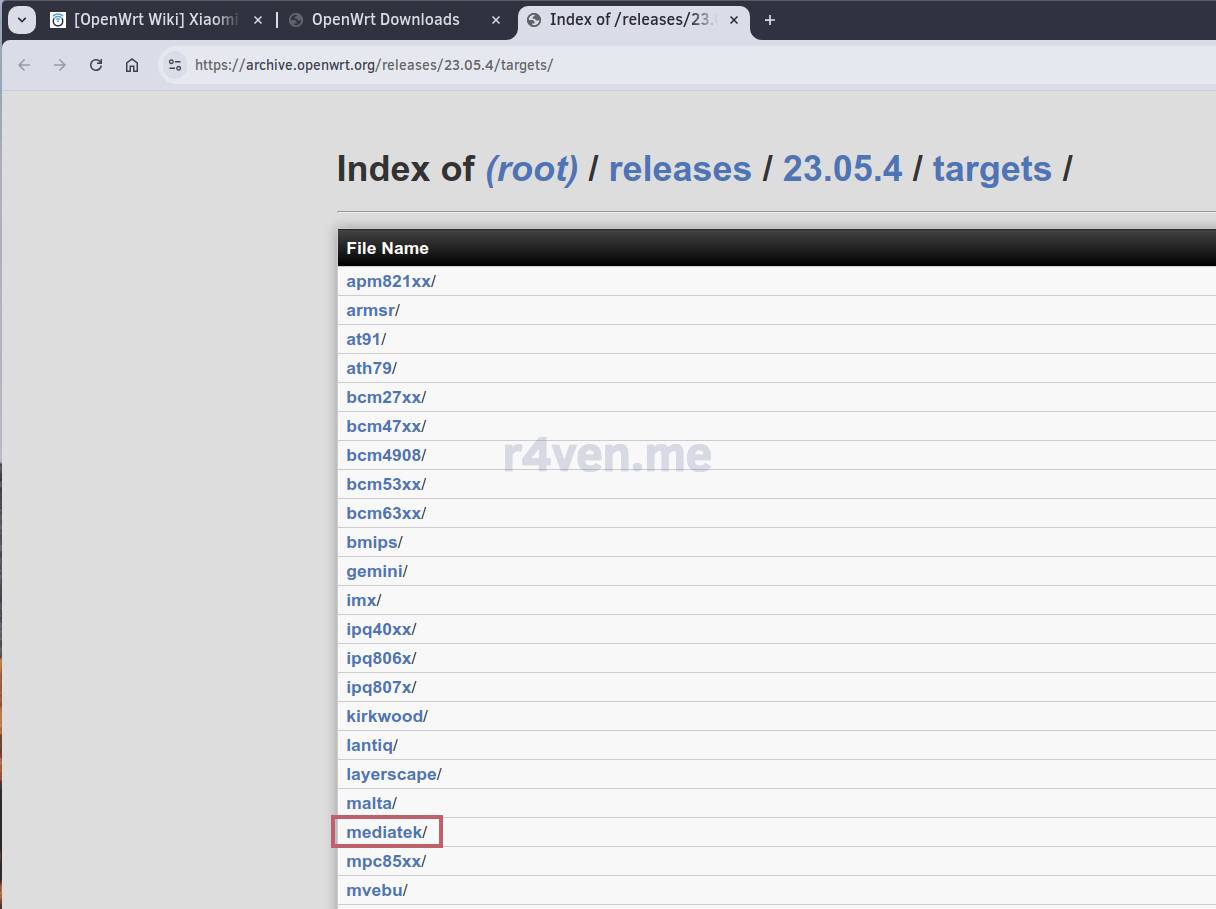
By the way, here’s the page we need for version 23.05.4.
On this page we need the link to the file named xiaomi_redmi-router-ax6000-stock-initramfs-factory.ubi:
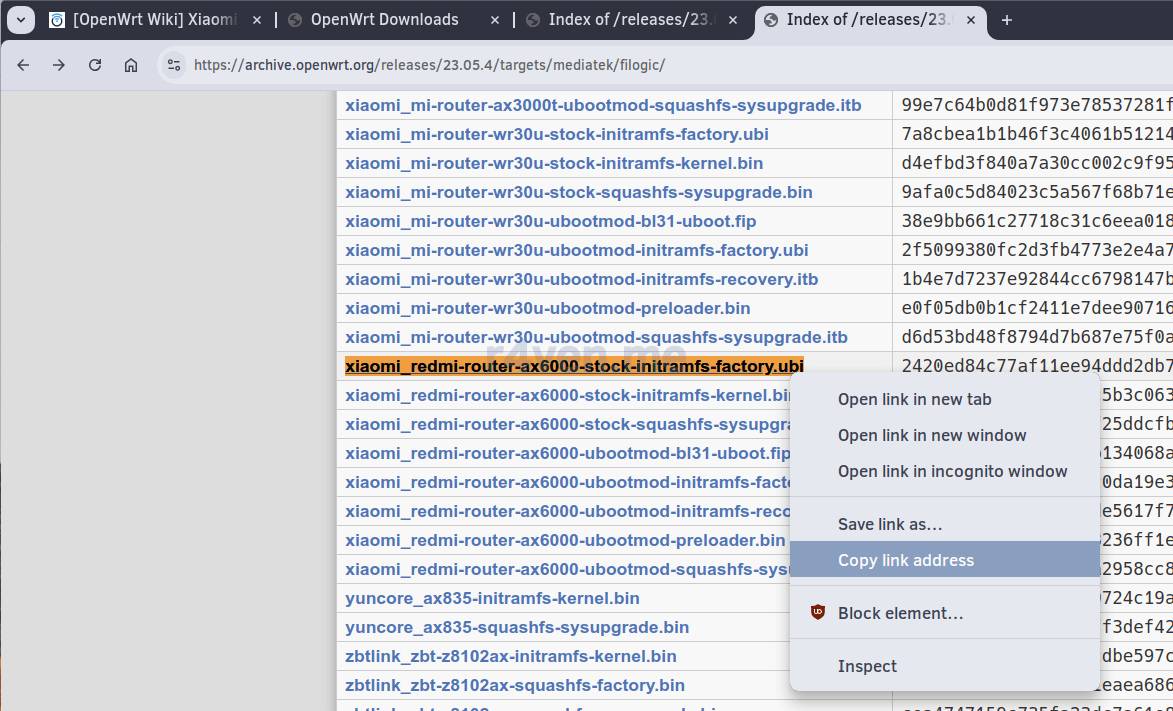
Download the needed file into the firmware directory in the parent directory of xmir-patcher using curl:
curl -fLO https://archive.openwrt.org/releases/23.05.4/targets/mediatek/filogic/openwrt-23.05.4-mediatek-filogic-xiaomi_redmi-router-ax6000-stock-initramfs-factory.ubi \
    --output-dir ./firmware/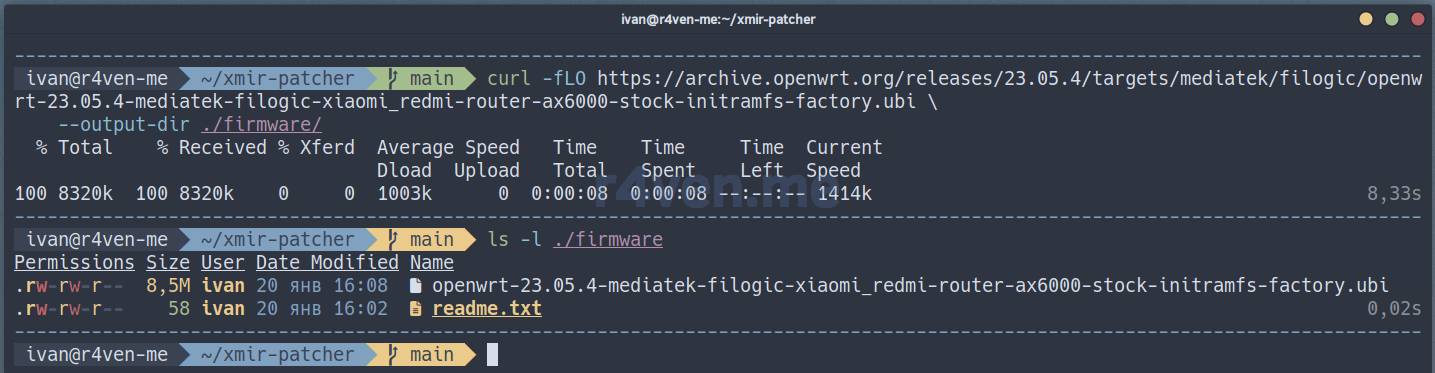
Preparation is complete, let’s move on to the actual flashing⬇️.
Installing OpenWrt
While in the ./xmir-patcher directory, run the run.sh script, which should bring up an interactive menu:
./run.sh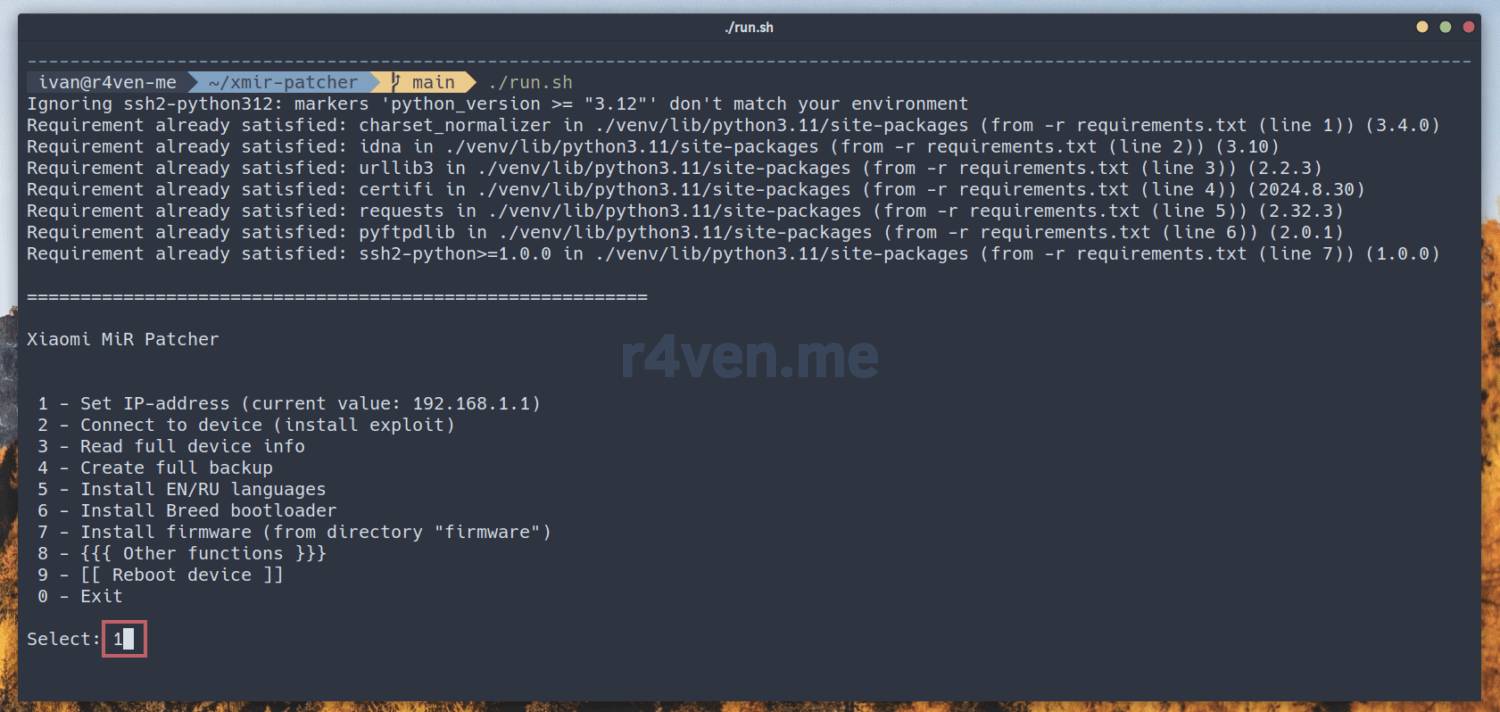
Select option 1. Here we’ll be asked to enter the router’s IP address:
1

# default address
192.168.31.1
Next, select 2 to connect to the device and install the exploit😱:
2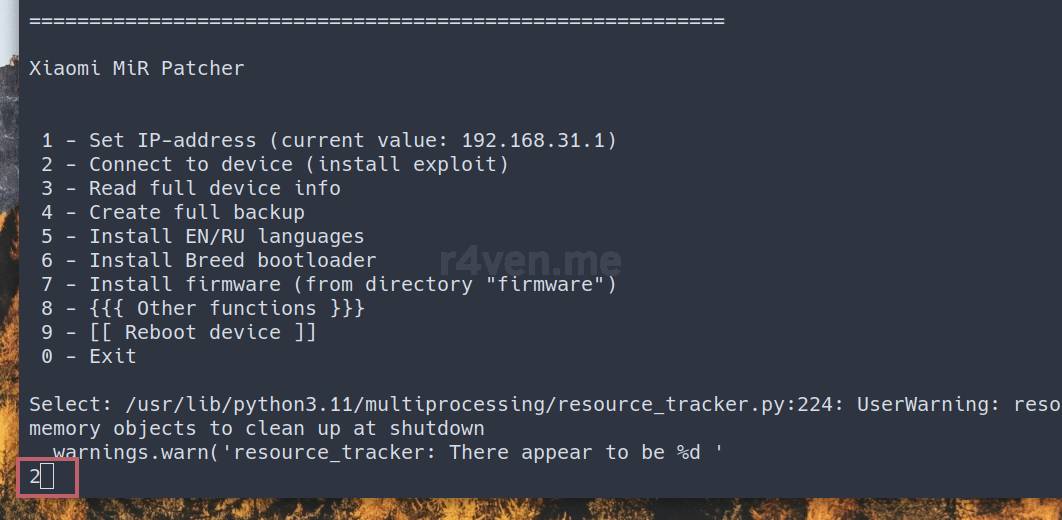
The script will prompt you to enter the router’s web interface password, we enter it:
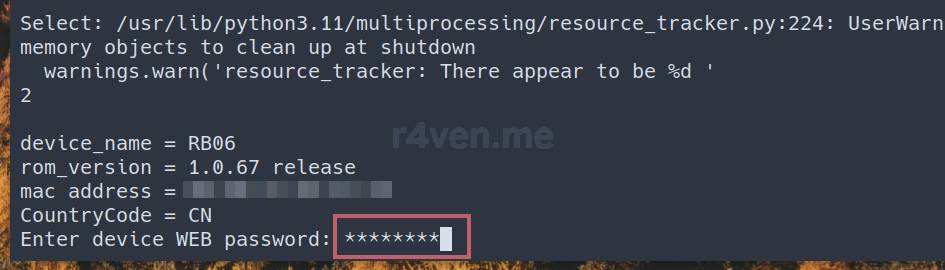
Next, the script should enable the SSH server on the router for further configuration:
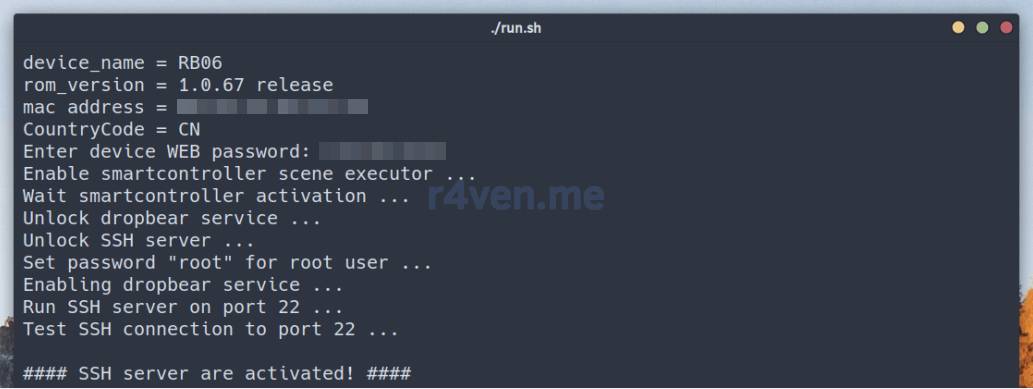
It’s probably worth doing a full backup (option 4), but honestly I didn’t do it🫣.
After completing the previous step, we move on to installing the firmware file from the firmware directory, which we downloaded earlier with curl. Select option 7:
7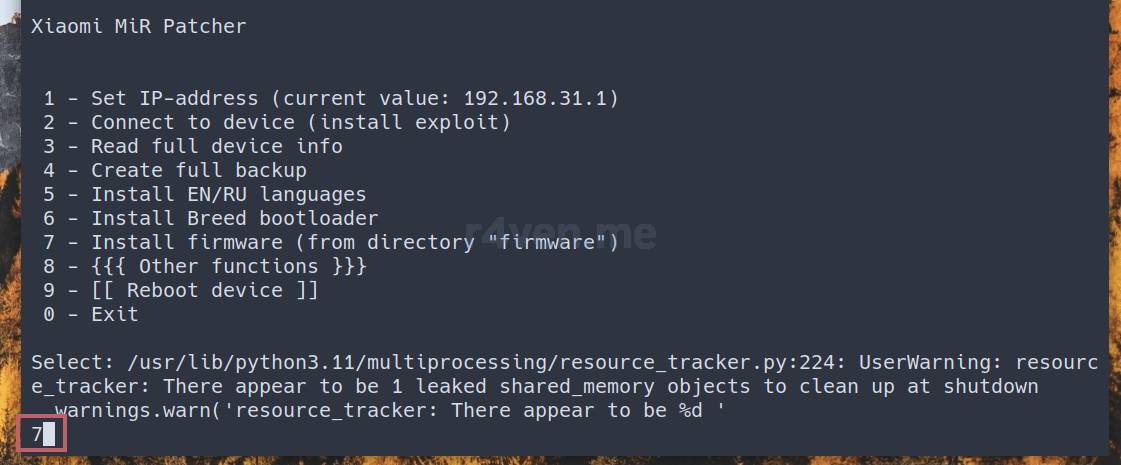
⚠️Never turn off the router’s power during the update!
At the end of the command output you should see “The firmware has been successfully flashed” and a message about sending the reboot command to the router via SSH:
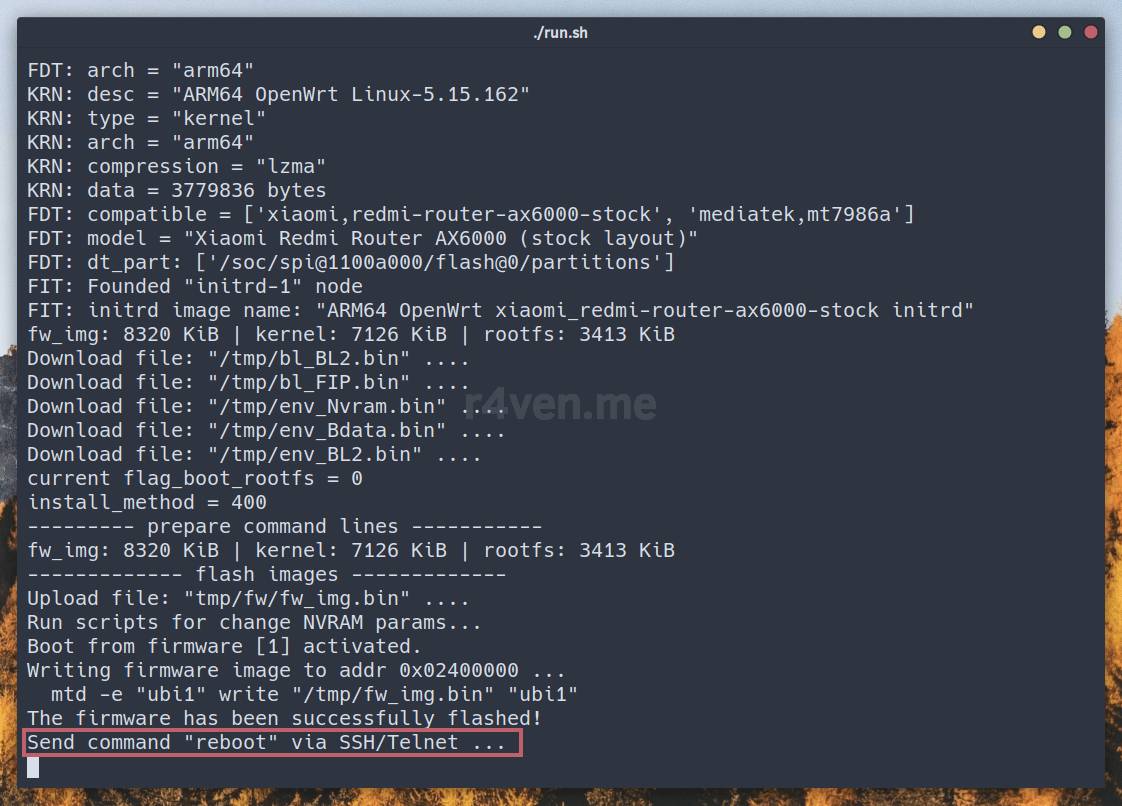
In my case, the script displayed a timeout message while waiting for a response to the restart command:
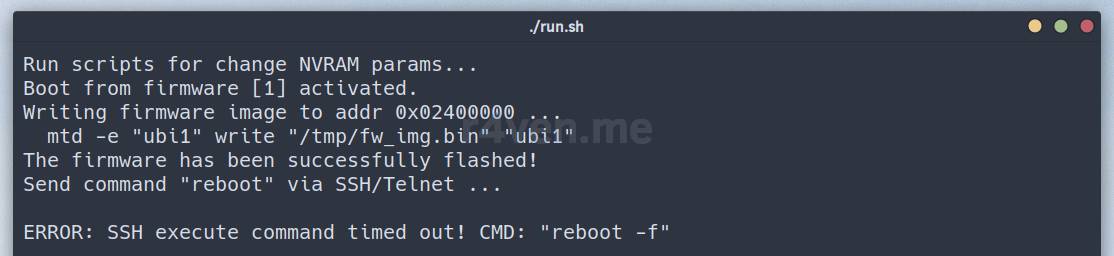
But the router rebooted successfully, and when navigating in the web browser to the router’s address (the address had changed) I saw the already-familiar Luci interface😌:
http://192.168.1.1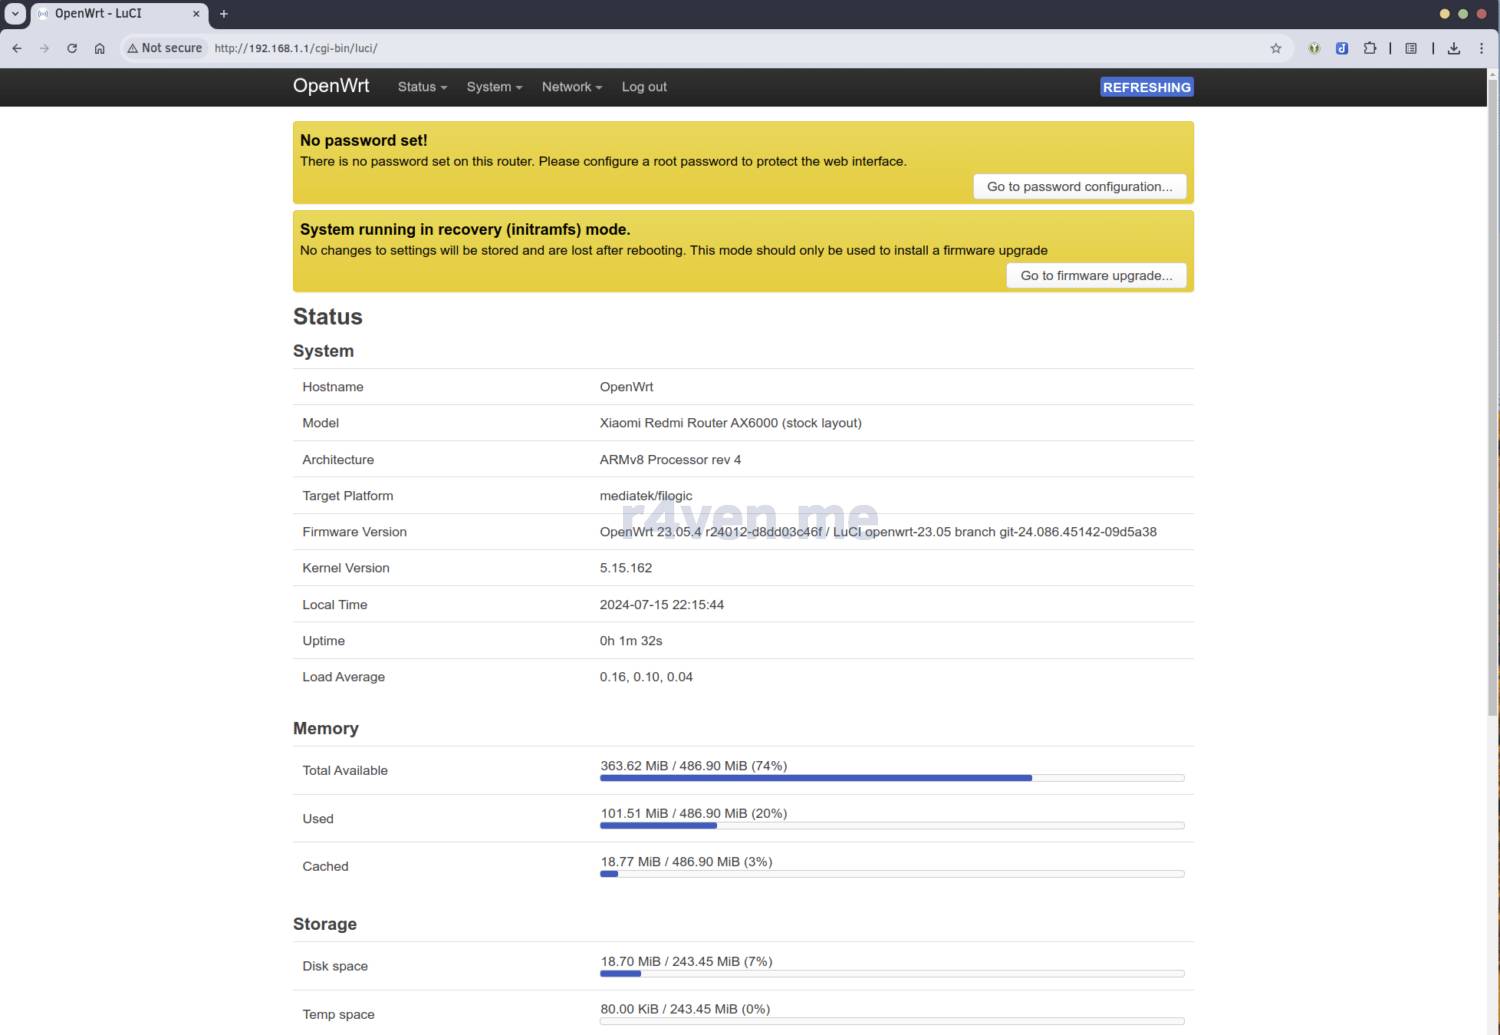
Successful success, in my case. Don’t forget to set an administrator password.
Installing system updates
The next step is installing OpenWrt system updates. To do this, go to the page where we previously got the firmware and download in your web browser the file named xiaomi_redmi-router-ax6000-stock-squashfs-sysupgrade.bin:
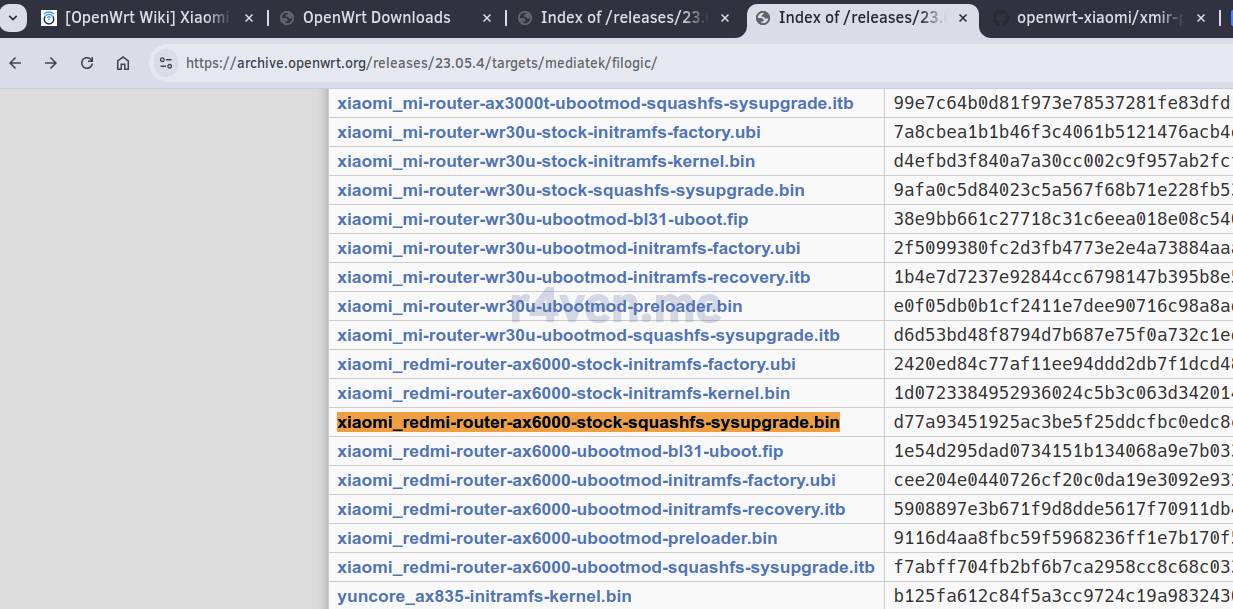
Or copy the link and download it via terminal:
curl -fLO https://archive.openwrt.org/releases/23.05.4/targets/mediatek/filogic/openwrt-23.05.4-mediatek-filogic-xiaomi_redmi-router-ax6000-stock-squashfs-sysupgrade.bin
Next, go to the router’s web interface, here: http://192.168.1.1/cgi-bin/luci/admin/system/flash:
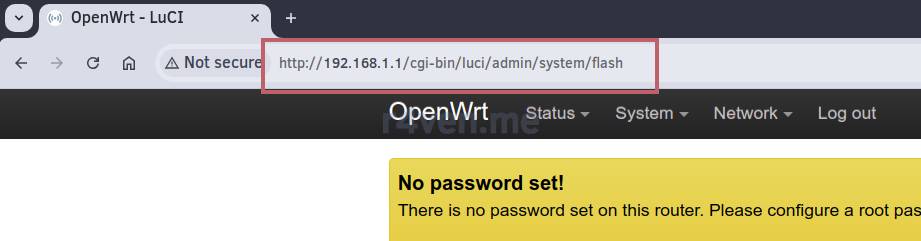
And upload the update file in the Flash new firmware image section:

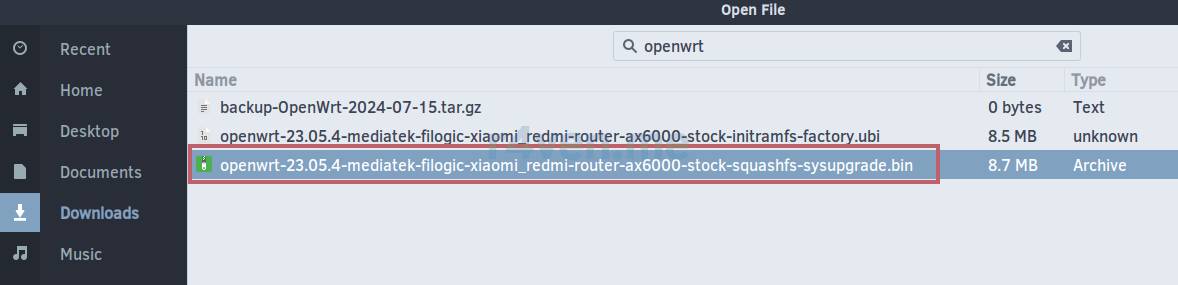
Confirm:
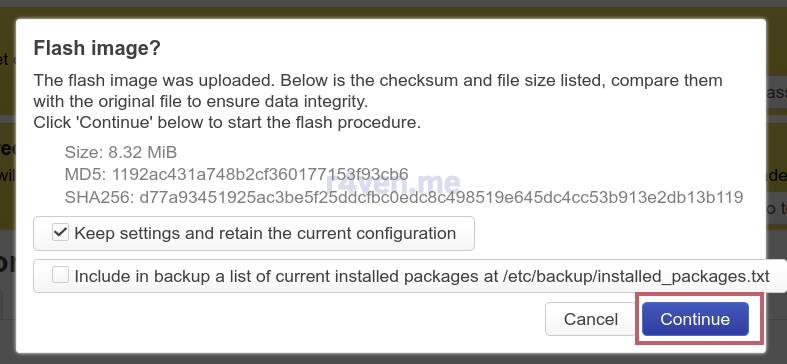
❗️Never turn off the router’s power during the update!
Done:
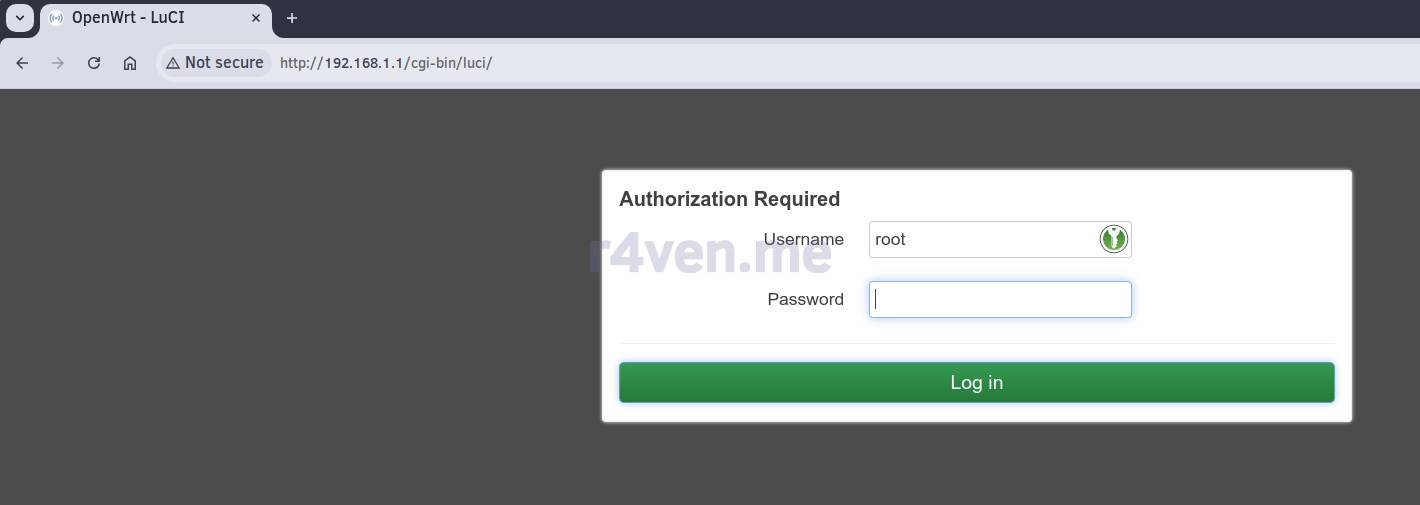
The OpenWrt installation is complete😌.
Afterword
I expected the router flashing process to be more complicated, but it turned out to be quite simple, since most of the work was done by the scripts of the xmir-patcher project. After installing OpenWrt, I successfully configured the router’s client connection to the OpenConnect server, which I deployed in docker in one of the previous articles. I might write a note on this topic so I don’t forget it myself. I also set up selective routing through OpenConnect based on a specified list of DNS addresses… but that’s a different story😎.

All the best!
Sources used
- Xiaomi Redmi AX6000 router page | openwrt.org
- openwrt download page from the article | openwrt.org
- xmir-patcher project repository | GitHub
- Xiaomi Redmi AX6000 router discussion page | 4pda
- Which router should you buy for OpenWrt in 2025? | Habr
👨💻And…
Don’t forget about our Telegram channel 📱 and chat
Or maybe you want to become a co-author? Then click here🔗
💬 All the best ✌️
That should be it. If not, check the logs 🙂

Comments