
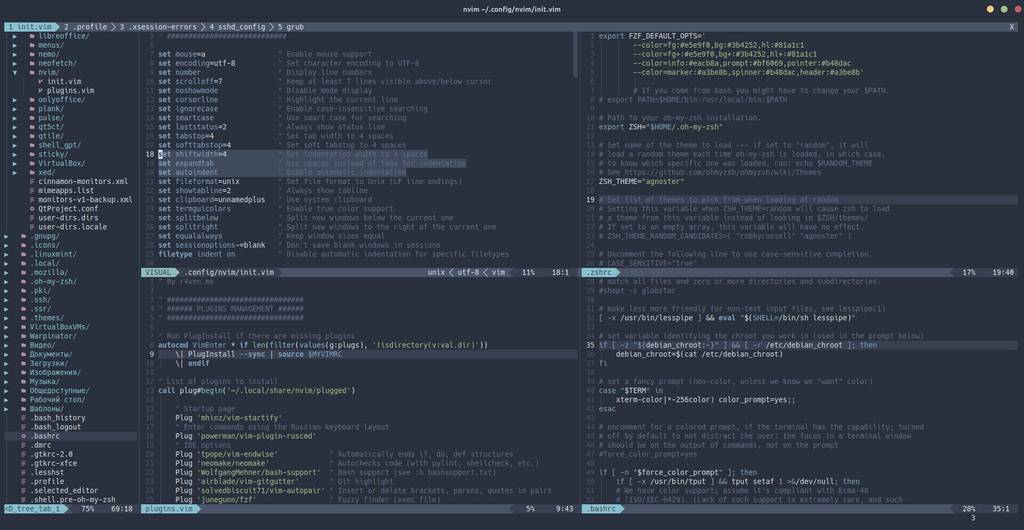
Given the volume of my previous articles with a detailed description of the Neovim setup process, I decided to break out a short instruction on bringing the editor into a working state (according to my configuration) into a separate note. Installation and configuration require only 6 commands in the Linux terminal. If you share my views on what Neovim should be — save this note to your bookmarks 😉
🖐️Hey!
Subscribe to our Telegram channel @r4ven_me📱, so you don’t miss new posts on the website 😉. If you have questions or just want to chat about the topic, feel free to join the Raven chat at @r4ven_me_chat🧐.
Preface
The config has been tested on Neovim version v0.6.1+ in the following distributions: Linux Mint 21 (Ubuntu 22.04), LMDE 6 (Debian 12), Archlinux 2024.01.01.
The installation and configuration demonstration will be performed in the Linux Mint 21 distribution environment.
In all other distributions, the steps are practically identical.
What we get in the end: a customizable status line, a scroll bar, linter integration for the Bash and Python programming languages, git support, a sidebar with the project file tree, and, since Neovim supports LSP, connection of an autocompletion library based on the Python language server. And much more.
If you’re looking for details on the config’s contents, read the « Afterword » at the end of the note.
Video Instruction
Installing and Configuring Neovim
Installation and configuration will take only 6 commands in total. Let’s get started.
1. Installing Neovim and the required packages:
sudo apt update

sudo apt install -y neovim shellcheck pylint fzf bat git curl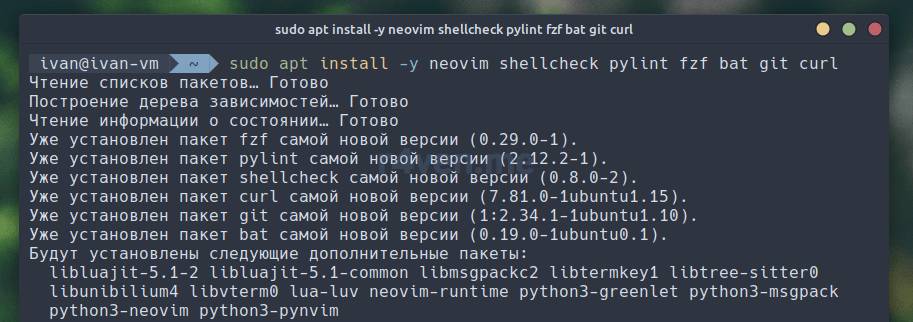
2. Installing the Nord color scheme for the bat utility (needed for fzf highlighting):
echo 'export BAT_THEME="Nord"' >> ~/.profile && source ~/.profile
3. Installing the vim-plug plugin manager:
curl --create-dirs -fLo ~/.local/share/nvim/site/autoload/plug.vim https://raw.githubusercontent.com/junegunn/vim-plug/master/plug.vim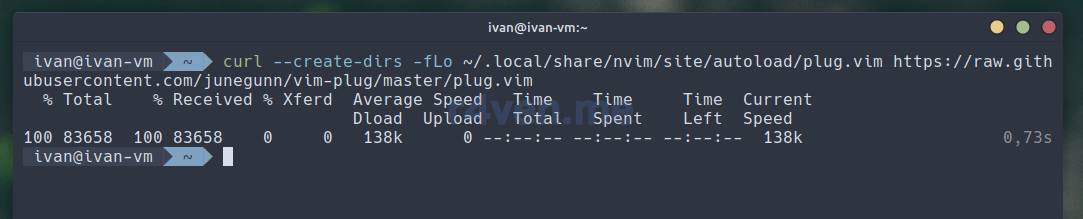
4. Copying the base Neovim config:
curl --create-dirs -fLo ~/.config/nvim/init.vim https://raw.githubusercontent.com/r4ven-me/dots/main/.config/nvim/init.vim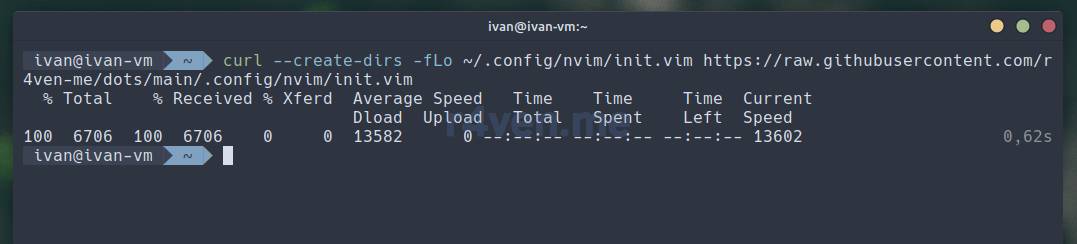
5. Copying the Neovim plugins config:
curl --create-dirs -fLo ~/.config/nvim/plugins.vim https://raw.githubusercontent.com/r4ven-me/dots/main/.config/nvim/plugins.vim
6. Installing the plugins:
nvim -e -c 'PlugInstall' -c 'qall!'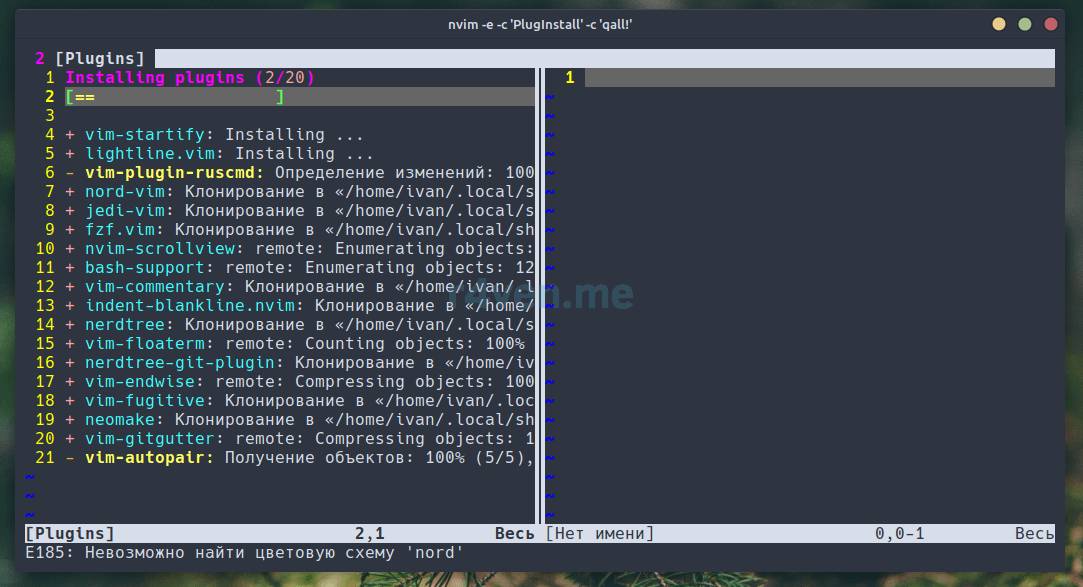
The command will finish with an error because the editor needs to be restarted, don’t pay attention to it.
Verifying the installation:
nvim ~/.config/nvim/plugins.vimYou should get this:
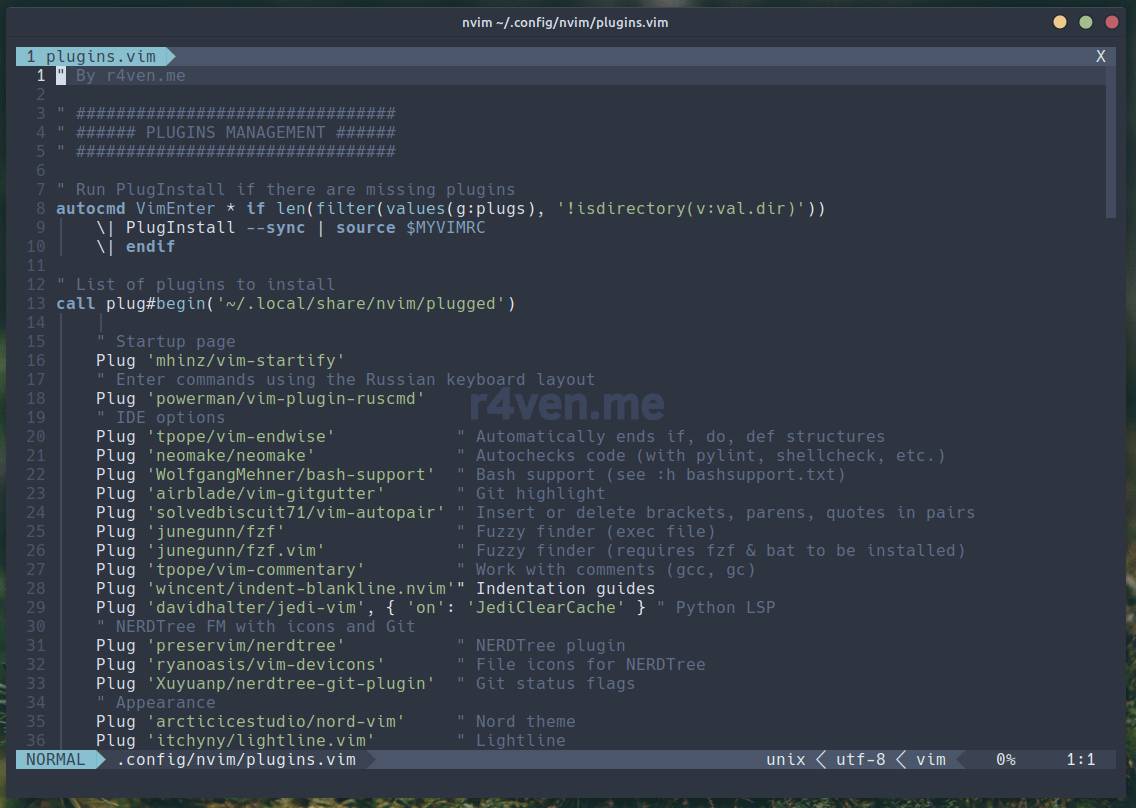
The appearance of Neovim after configuration
Well, now your Neovim is ready for the labor and defense of your config files and source code.
Also, to display icons in the terminal from the Neovim color theme, you need a Powerline font. Any Nerd font will do, which you can download here: https://www.nerdfonts.com/font-downloads.
Personally, I prefer the monospaced font Hack. The font needs to be placed in
/usr/share/fonts.
This config is available in the repo on GitHub.
Neovim Screenshots
Below are a few screenshots of the installed config for demonstration:

Search with fzf when pressing F2
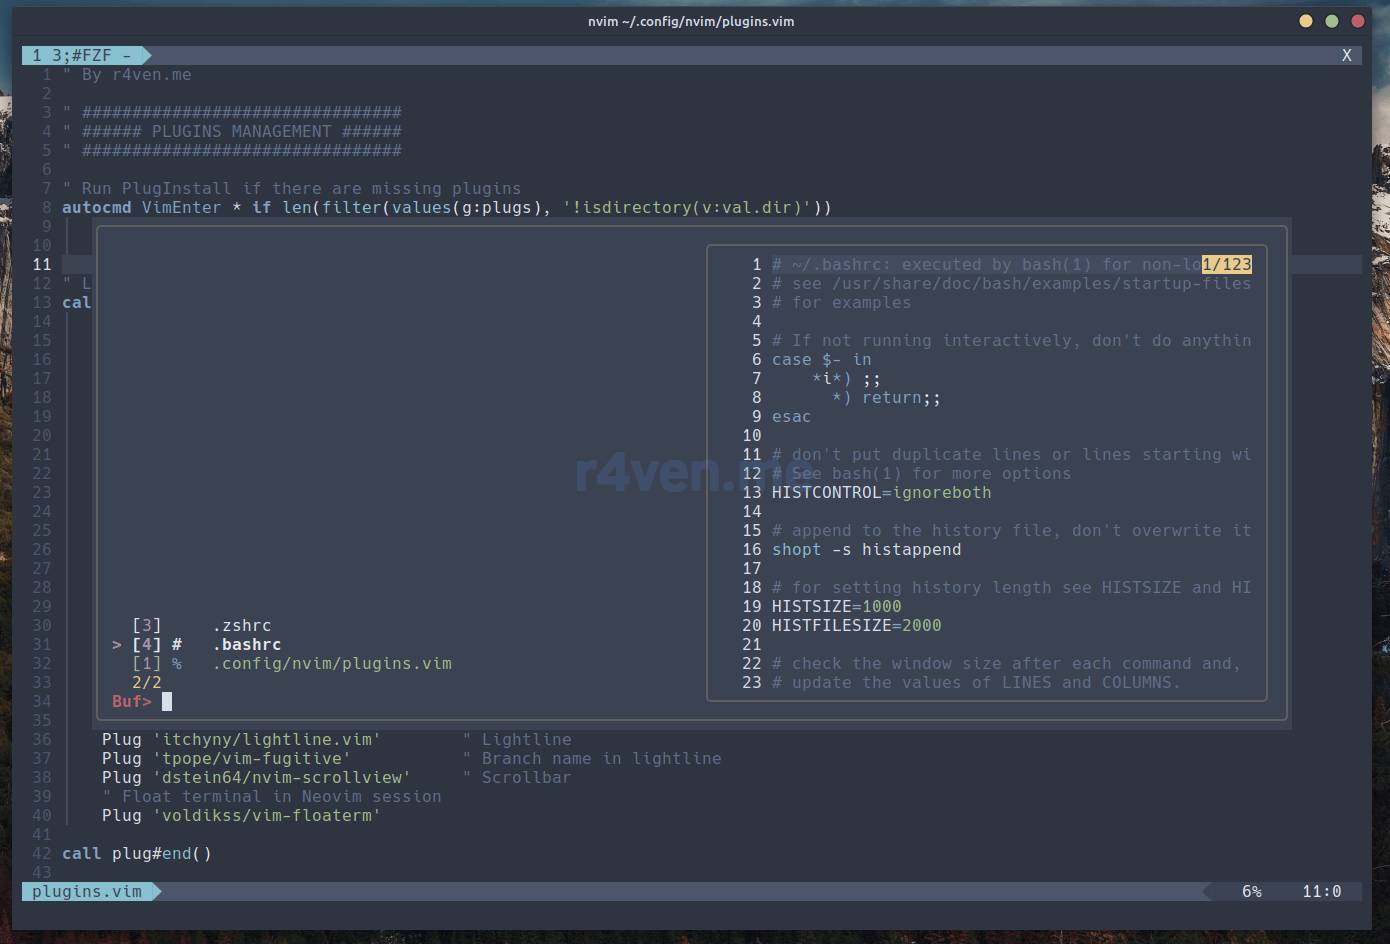
Buffer list with fzf when pressing Shift+F2
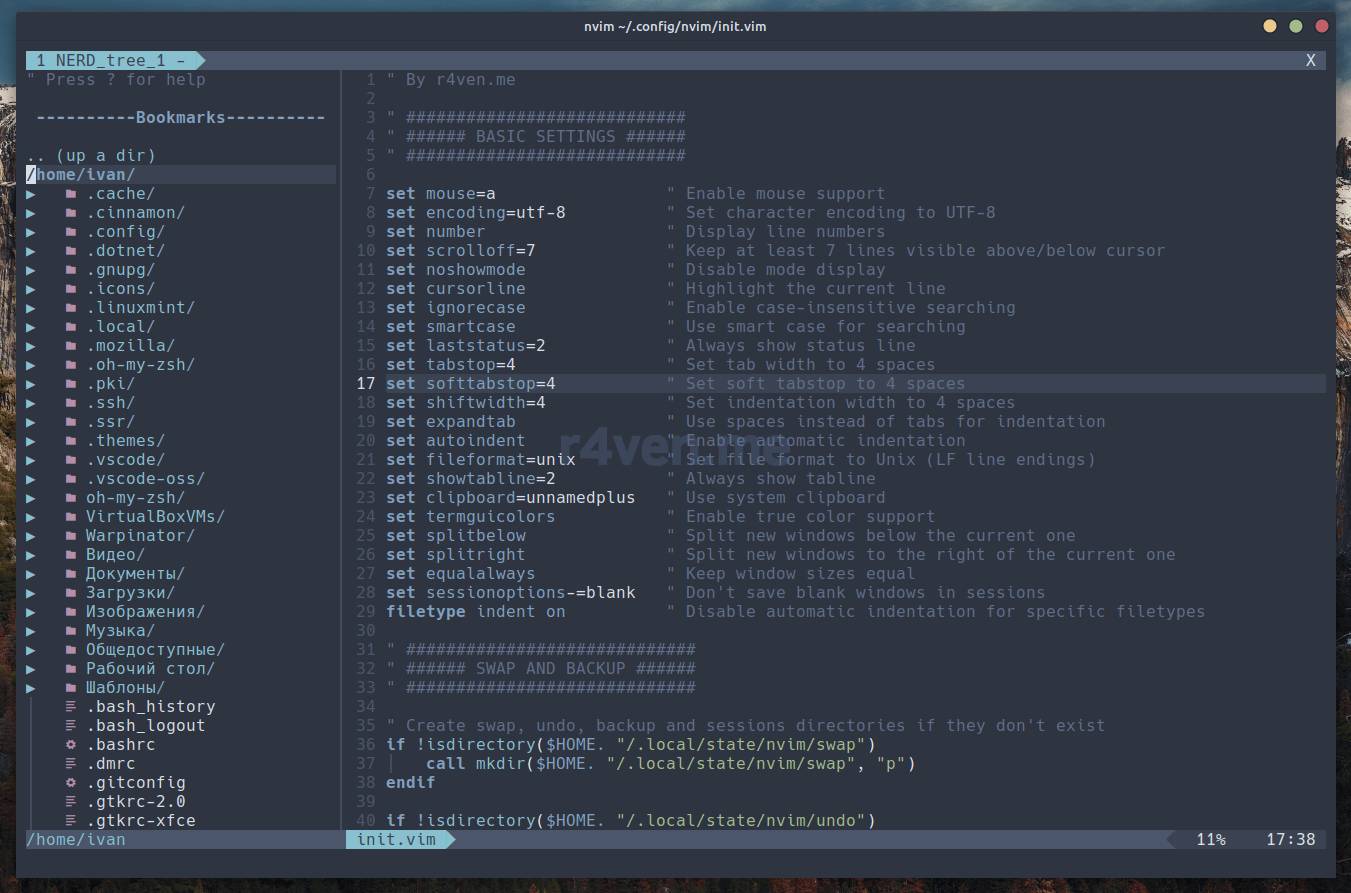
NERDTree sidebar when pressing F3
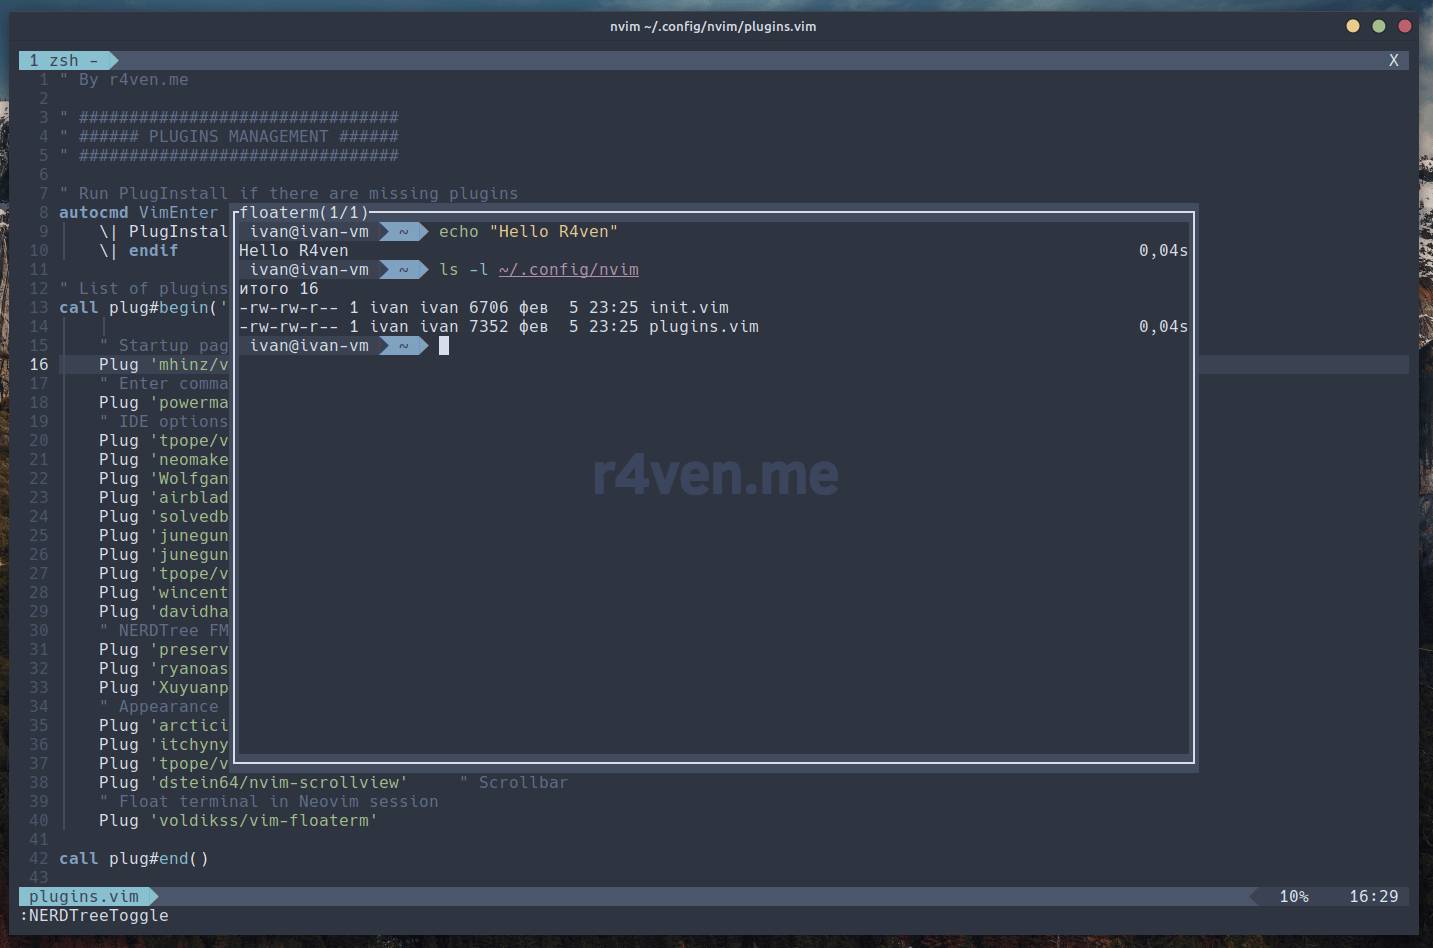
Floating terminal when pressing F4
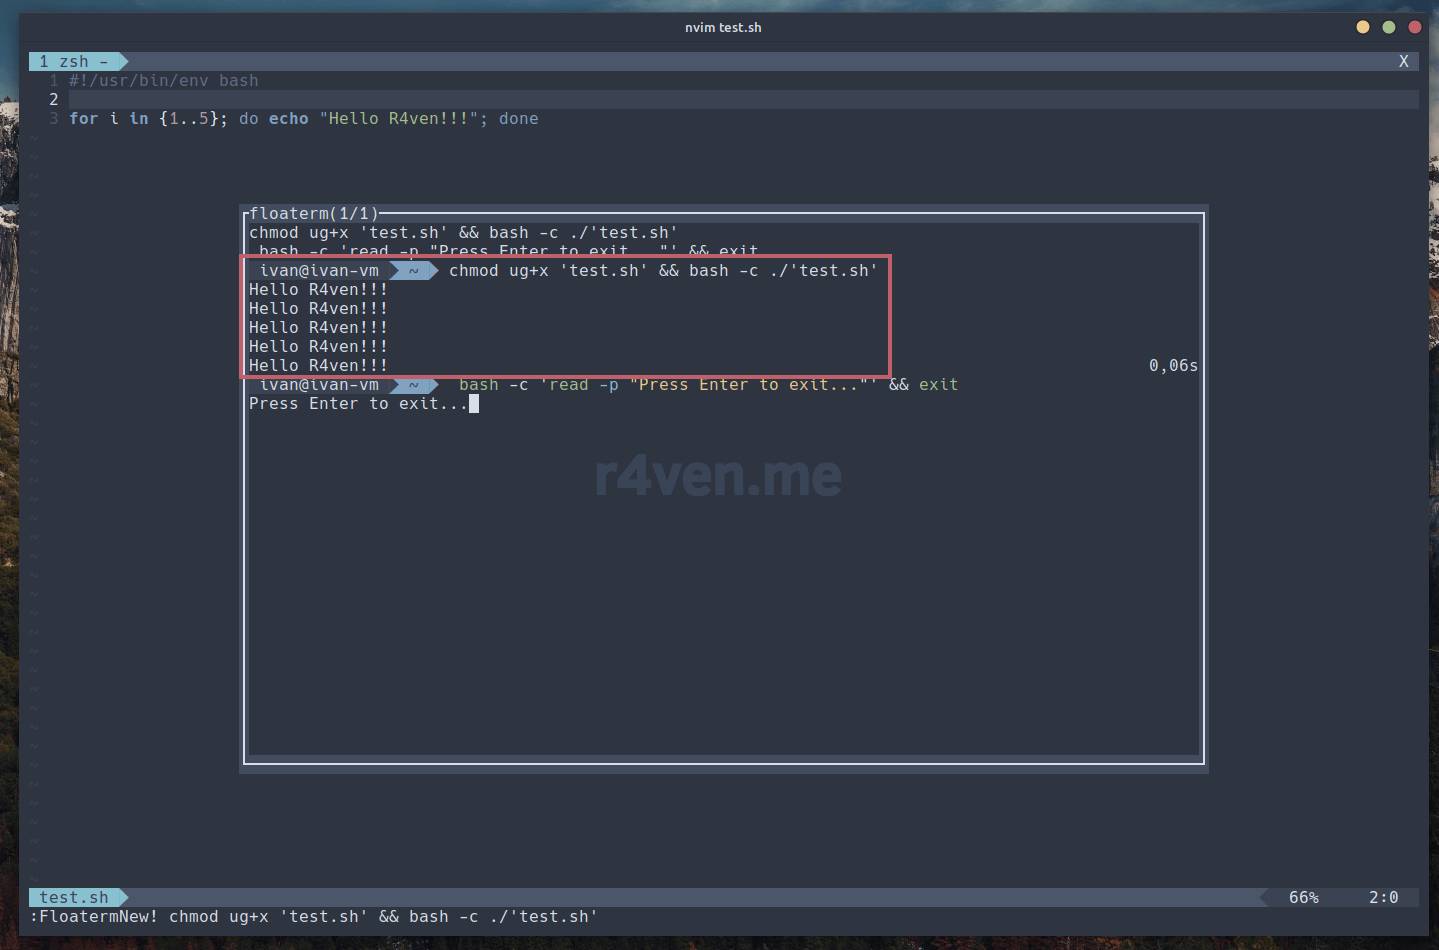
Running .sh/.py scripts in the floating terminal when pressing F5
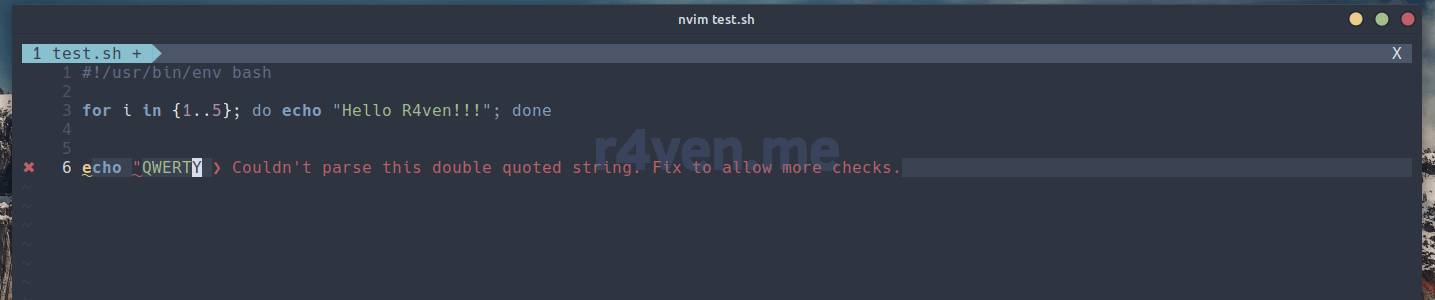
The shellcheck linter at work

The pylint linter at work
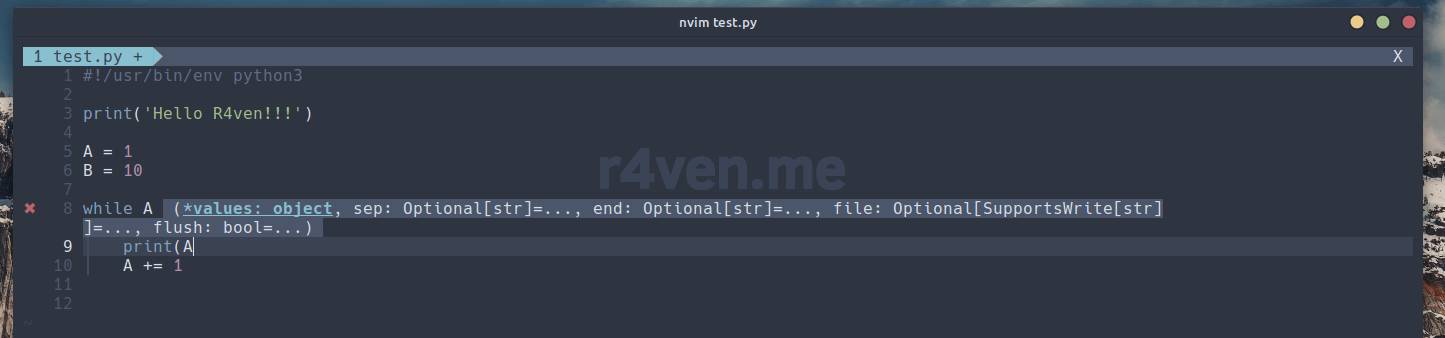
LSP working with Jedi
Afterword
If you have never worked in *vim like editors because they seem too complicated to you, I highly recommend my introductory article:
Perhaps it will shed some light for you and help you start using this magnificent creation of the Unix-like OS world.
For those interested in the process of configuring the editor from the config we installed in this note, you’re here:
- Neovim – Editor Configuration: Basic Setup
- Neovim — Editor Configuration: Swap, Backup and Undo Files
- Neovim — Editor Configuration: Setting Up Hotkeys and Auto-running Commands
- Neovim — Editor Configuration: Installing and Configuring Plugins
These articles contain a detailed breakdown of the basic capabilities, a description of hotkeys (including custom ones), as well as a demonstration of the built-in and extended (plugin) functions of the Neovim editor.
If you’d like to customize the appearance of your Linux Mint, including setting up the Nord theme, then check out this guide:
Thanks for your time. All the best!
👨💻And…
Don’t forget about our Telegram channel 📱 and chat
Or maybe you want to become a co-author? Then click here🔗
💬 All the best ✌️
That should be it. If not, check the logs 🙂

Comments